Traffic Services Polybulks

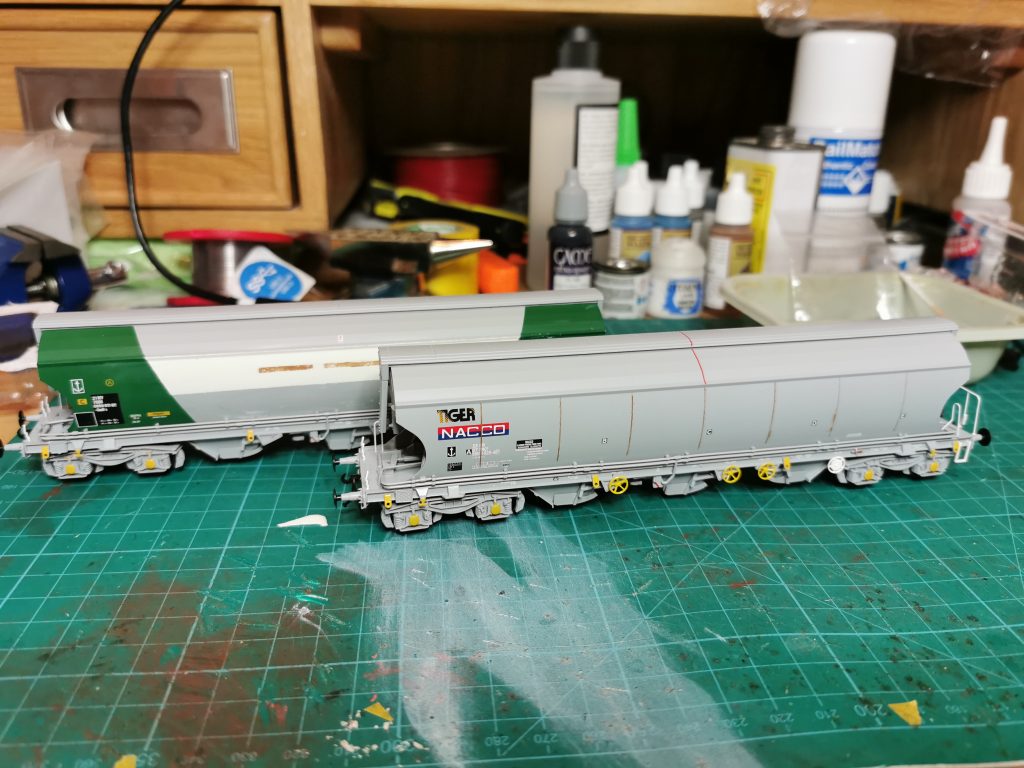
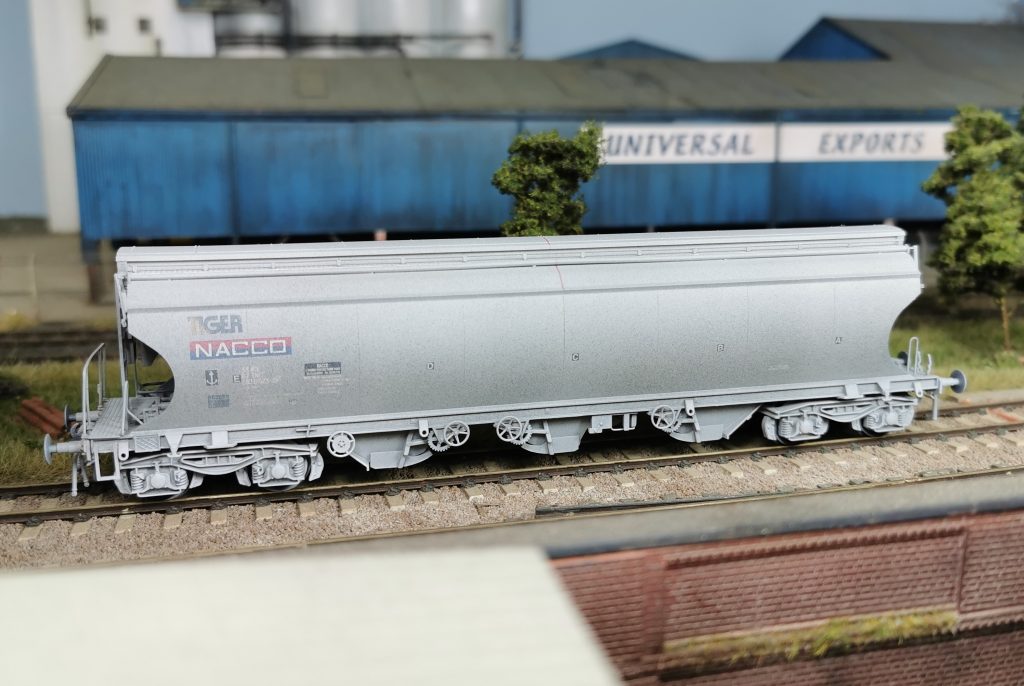
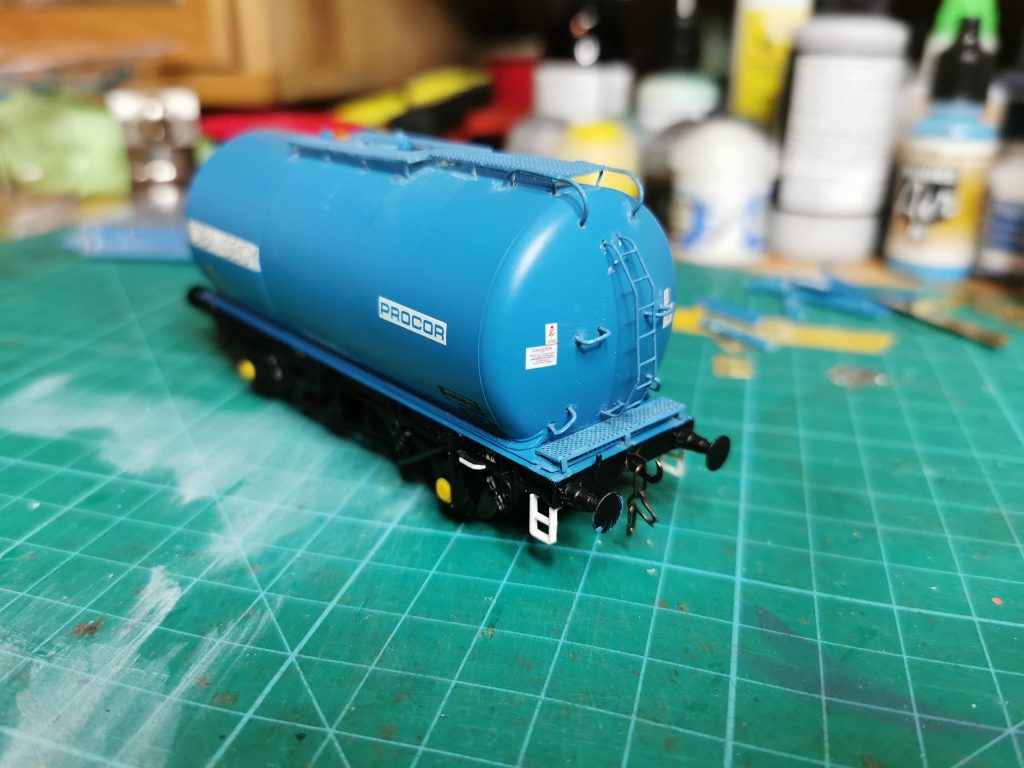
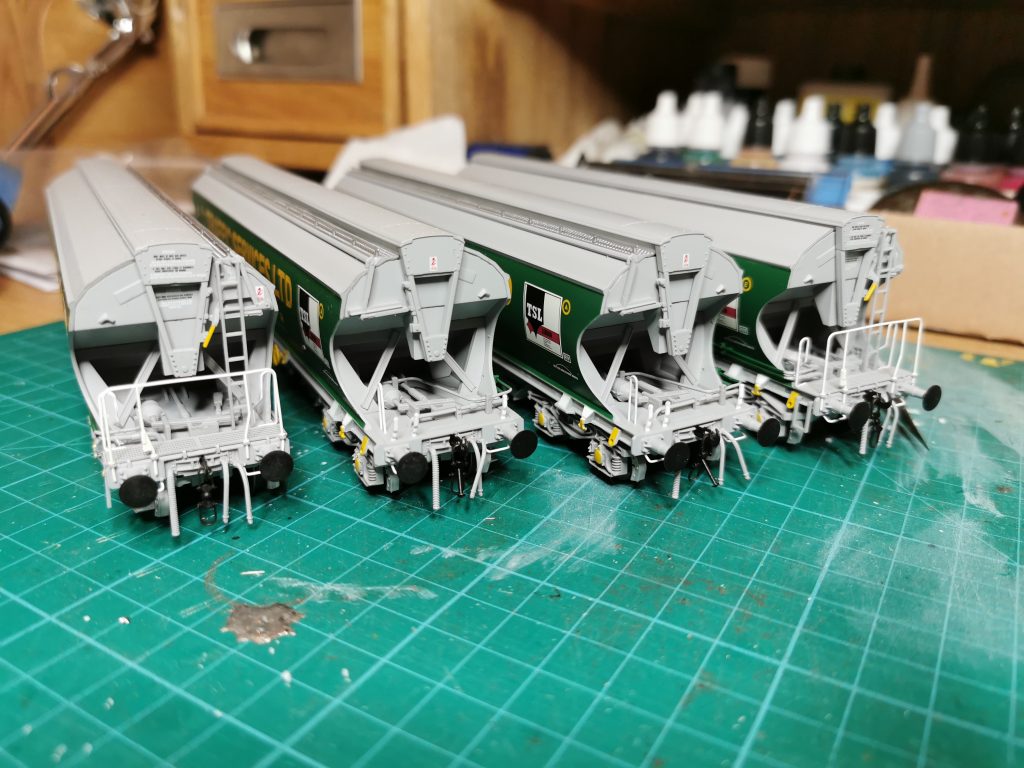
Recently, I’ve enjoyed doing the two Rails of Sheffield exclusive Polybulk wagons, so I decided to pull out the four original Bachmann released wagons I’ve had in storage since they first became available.

A little research on Paul Bartlett’s website soon helped me decide on the prototypes:

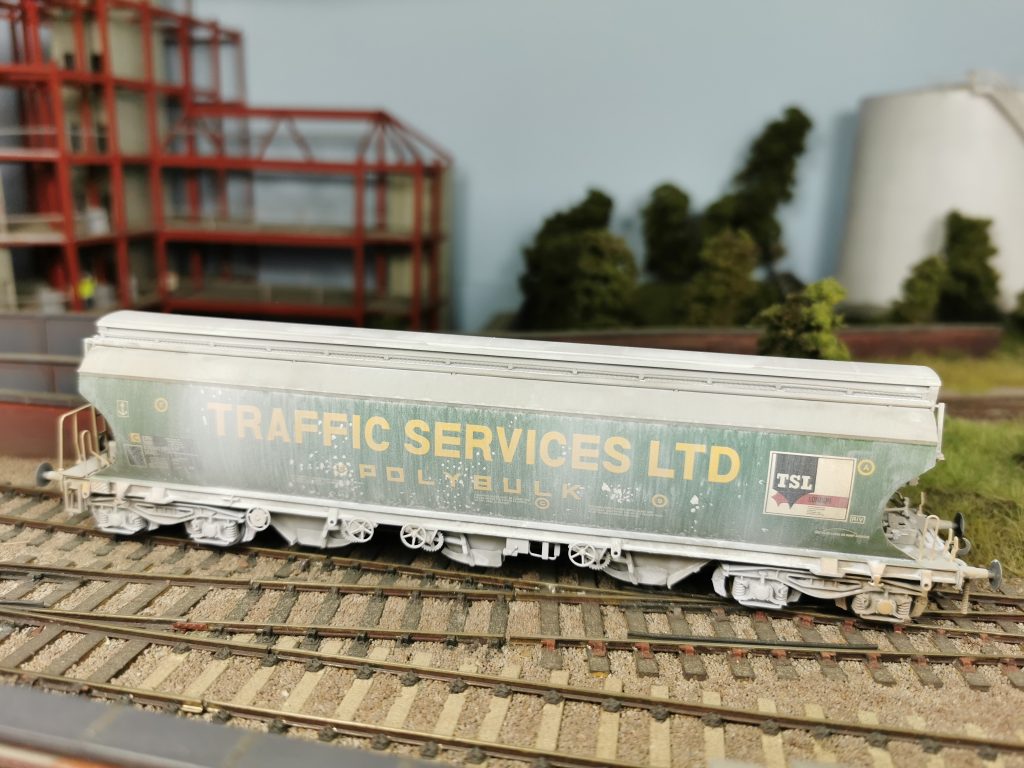
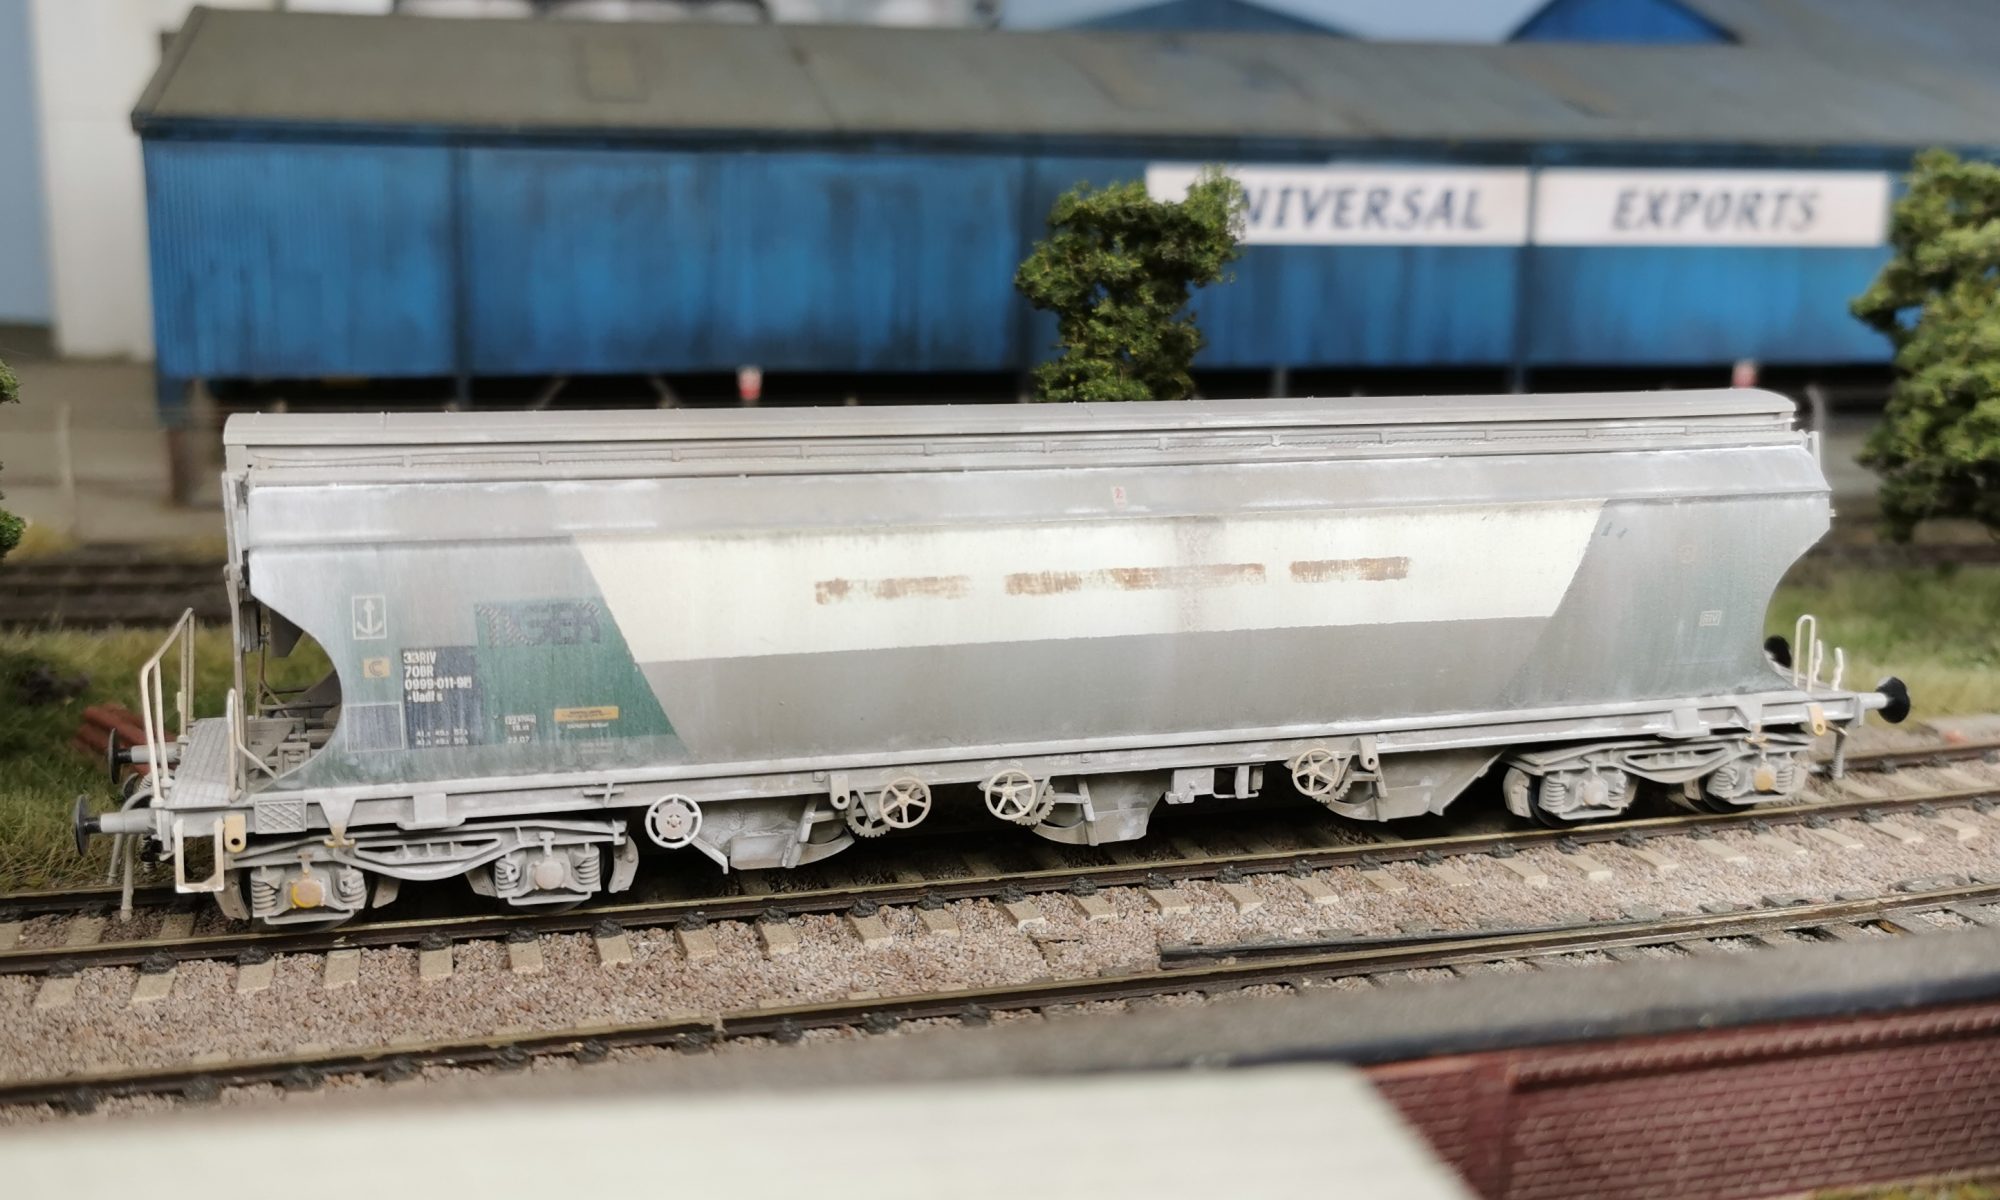
33 70 938 2014-6 This one is fairly dirty with more brown at the outer ends.
33 70 938 2017-9 This photo was taken in 1987, so some imagination was required to add 3 years worth of weathering.
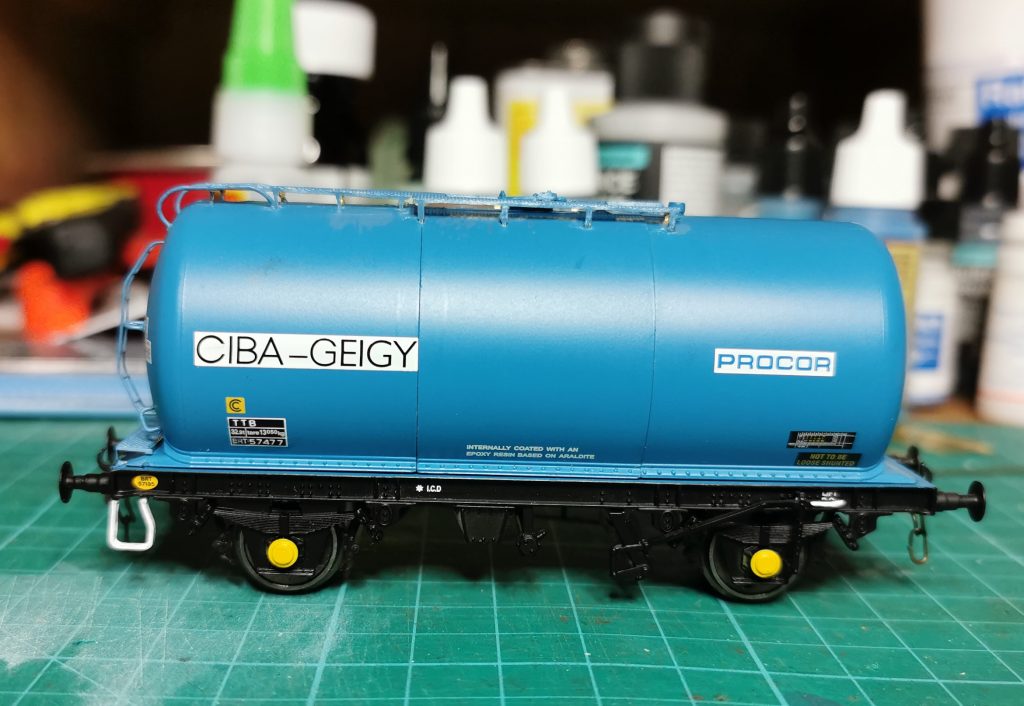
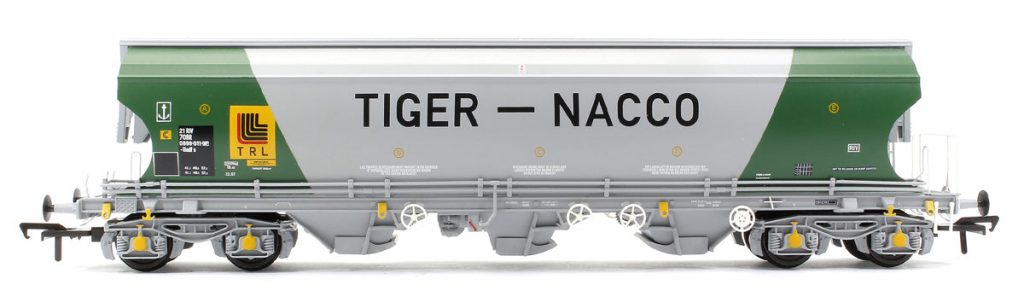
33 70 938 2041-9 This wagon was repainted in 1989 so will remain fairly clean. This wagon wasn’t renumbered and is the standard Bachmann release.
33 70 938 2052-6 This photo is later (1993) and has CAIB branding so this was ignored.

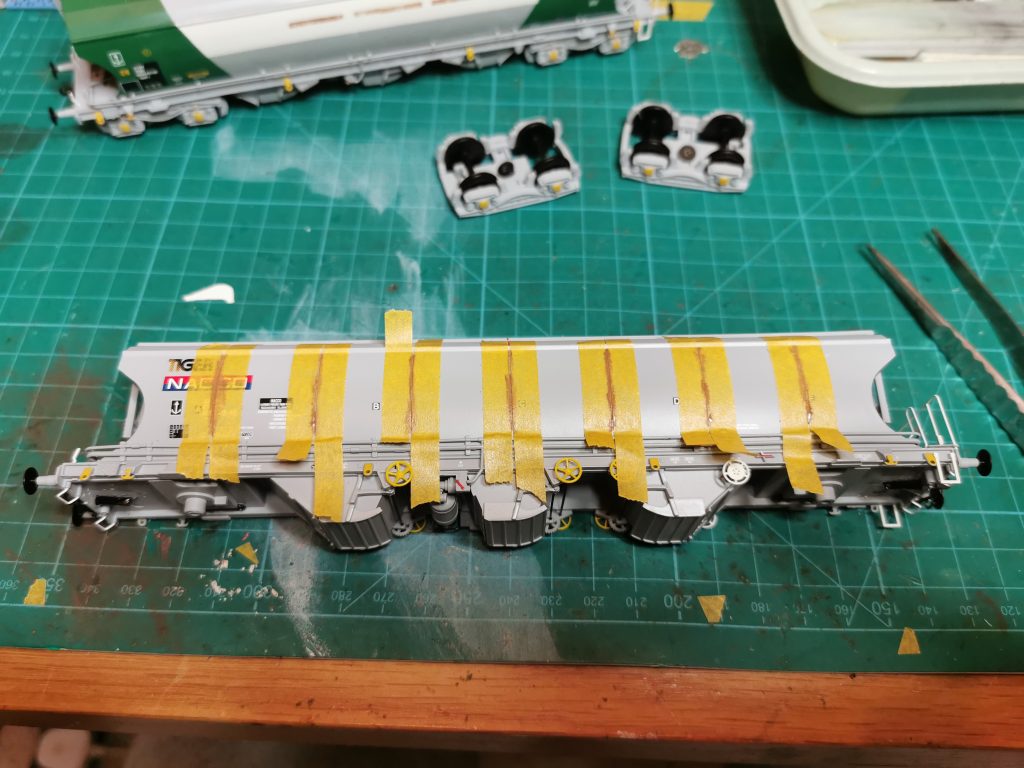
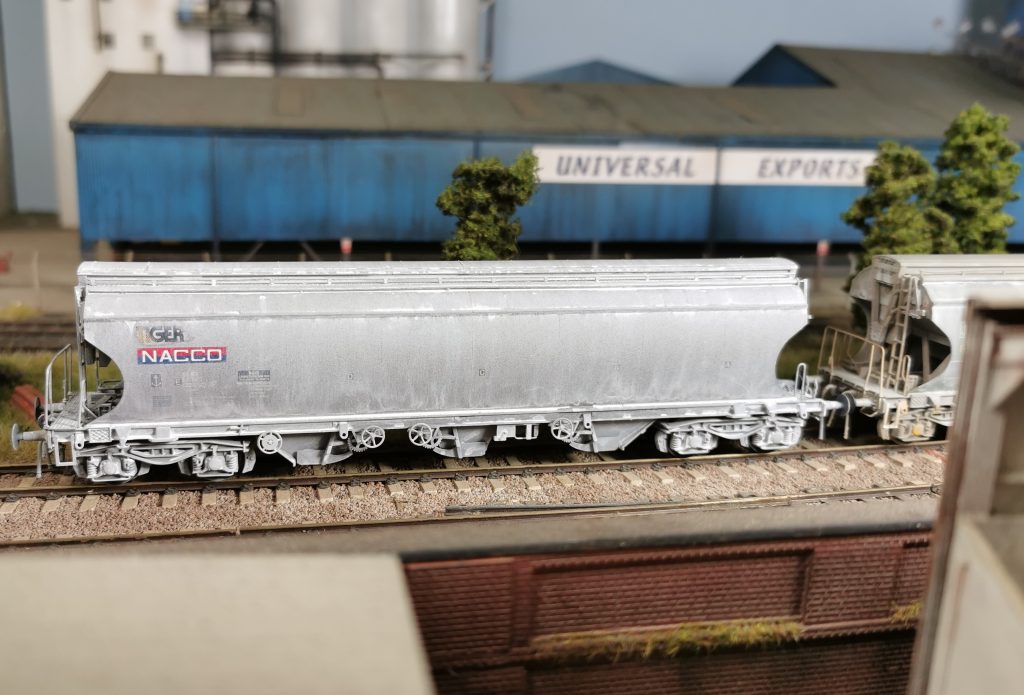
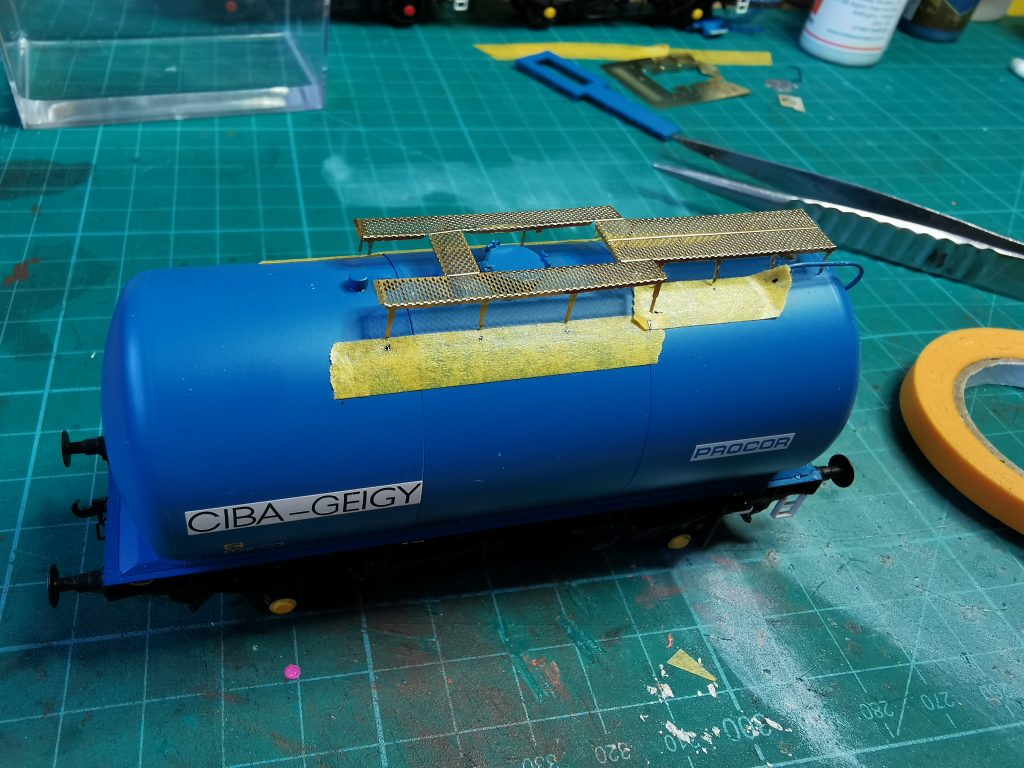
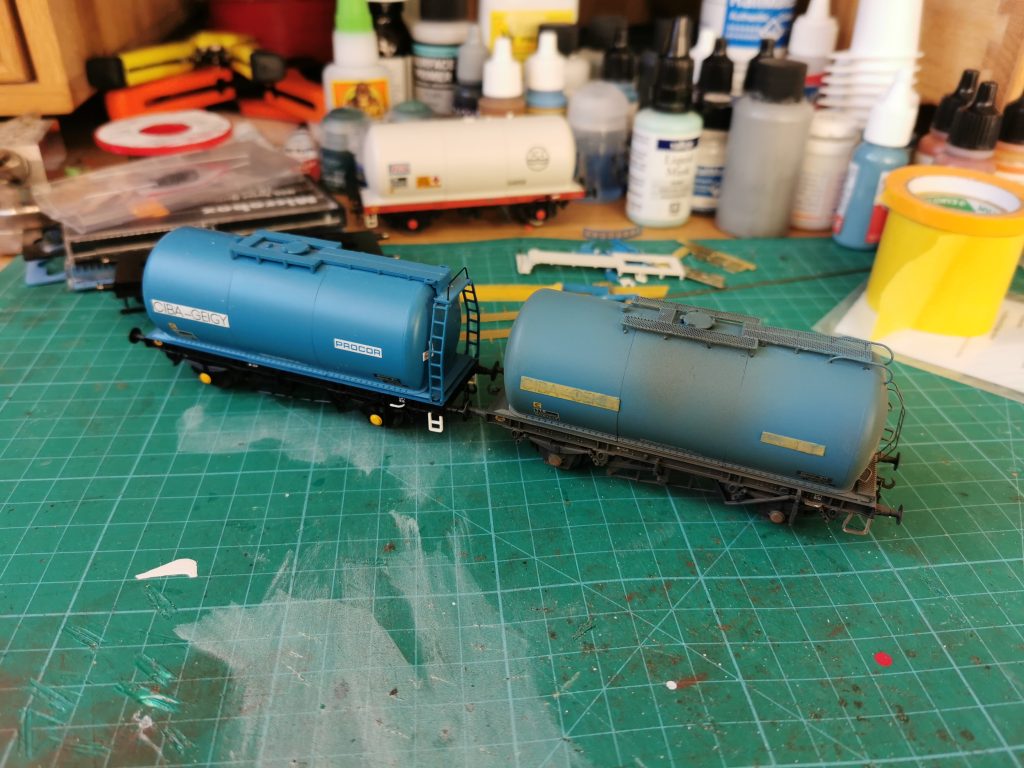
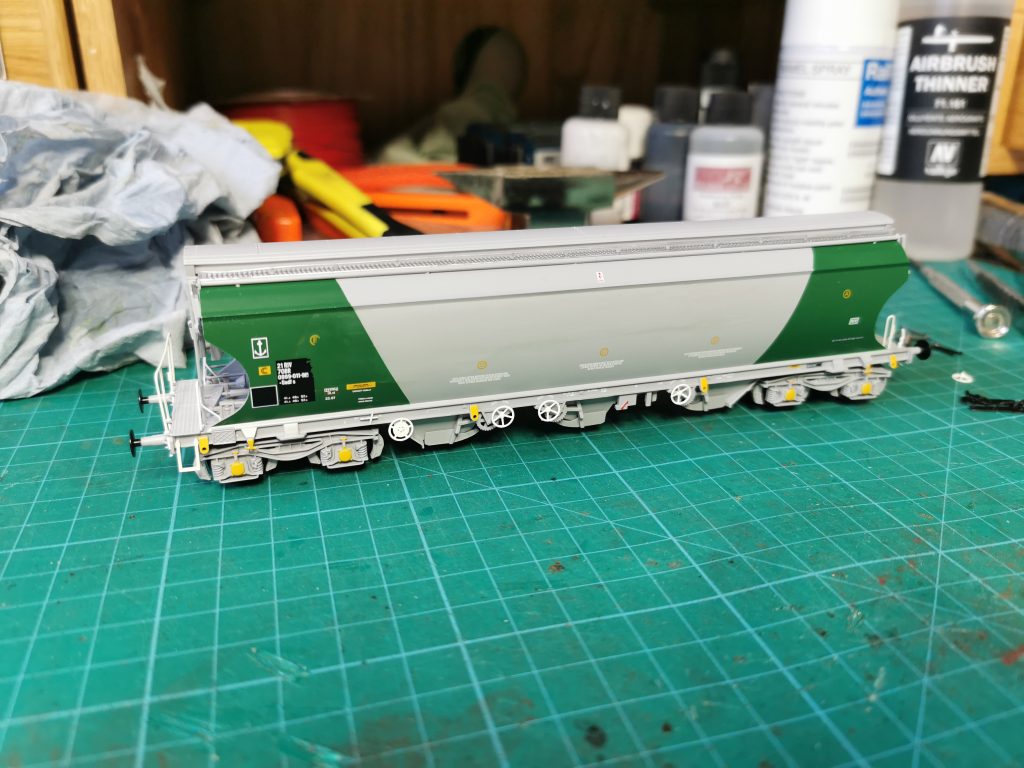
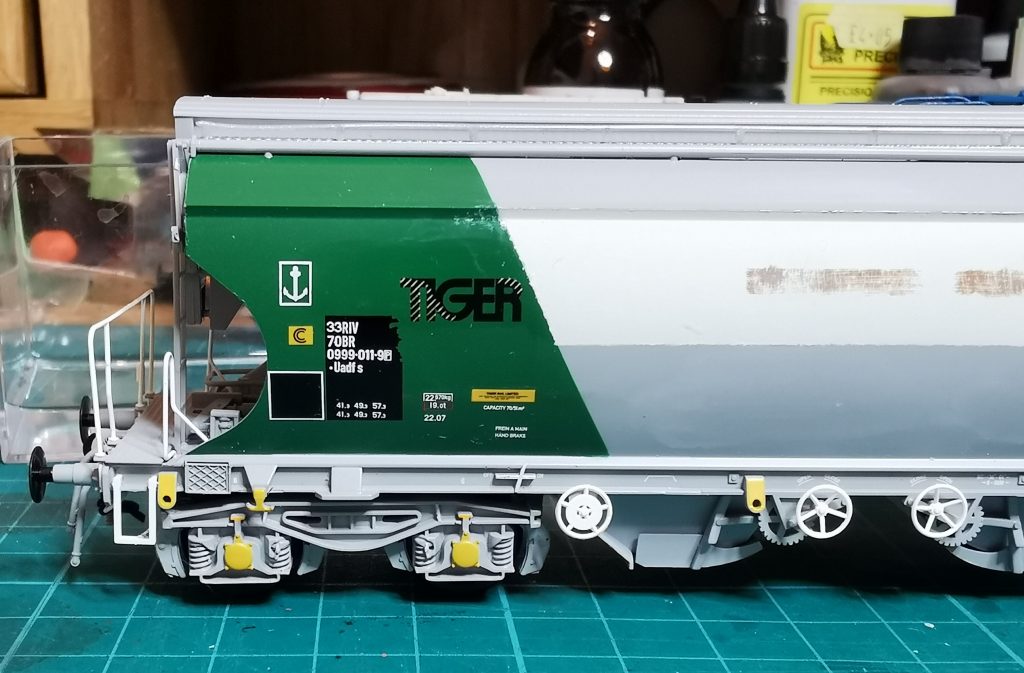
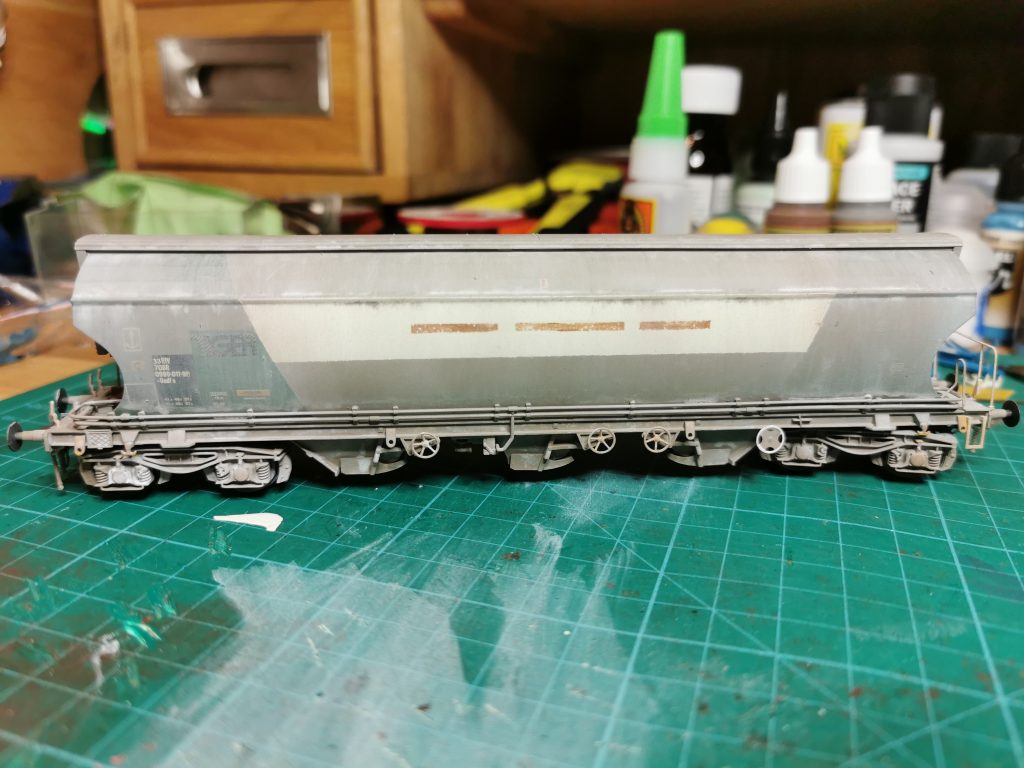
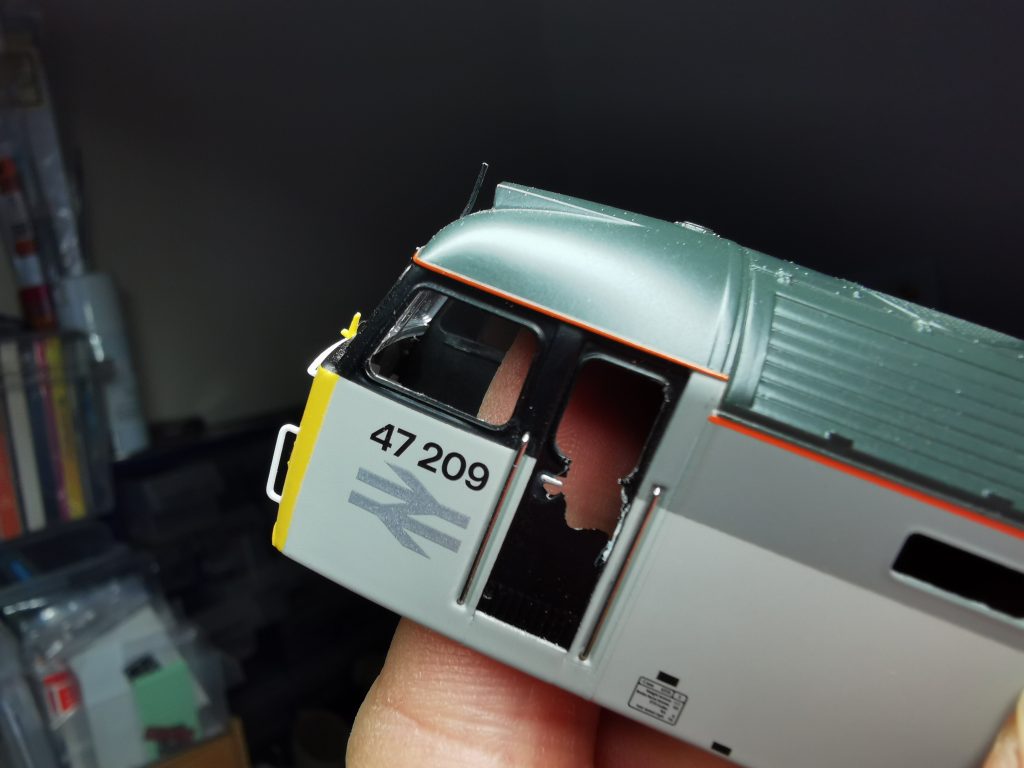
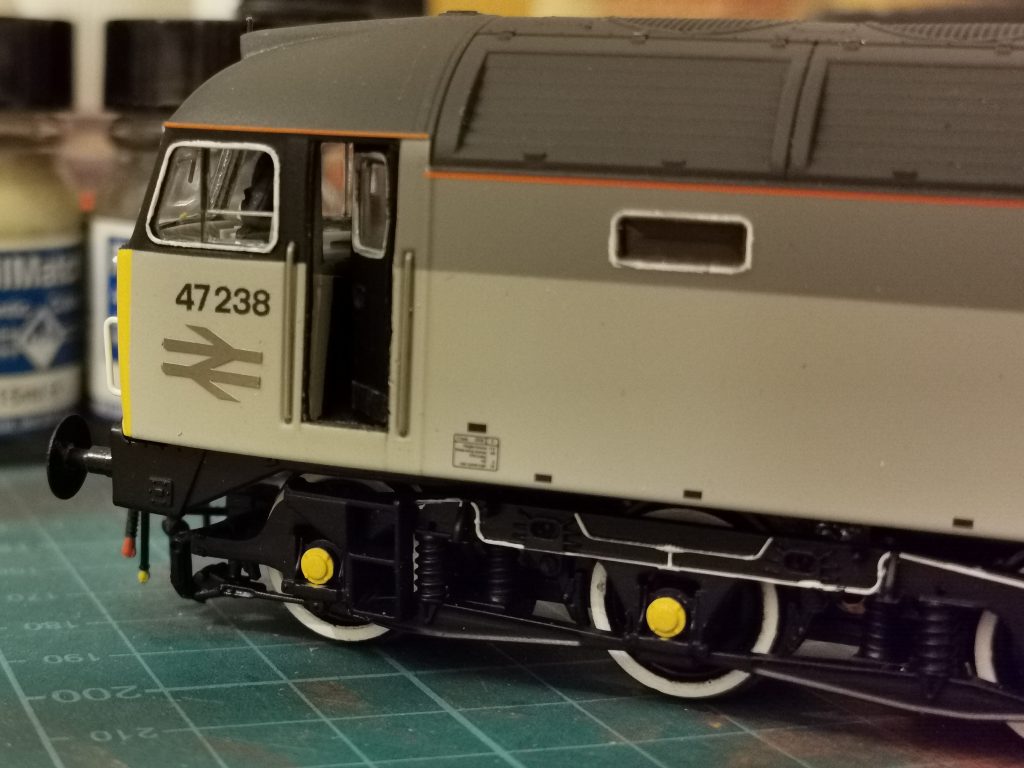
To give four different running numbers, three were chosen to have parts of their numbers removed. This was done by simply brush painting over the tiny numbers with matt black. Once dry, gloss varnish was then applied as a base for the transfers.

Bachmann Polybulk pipework

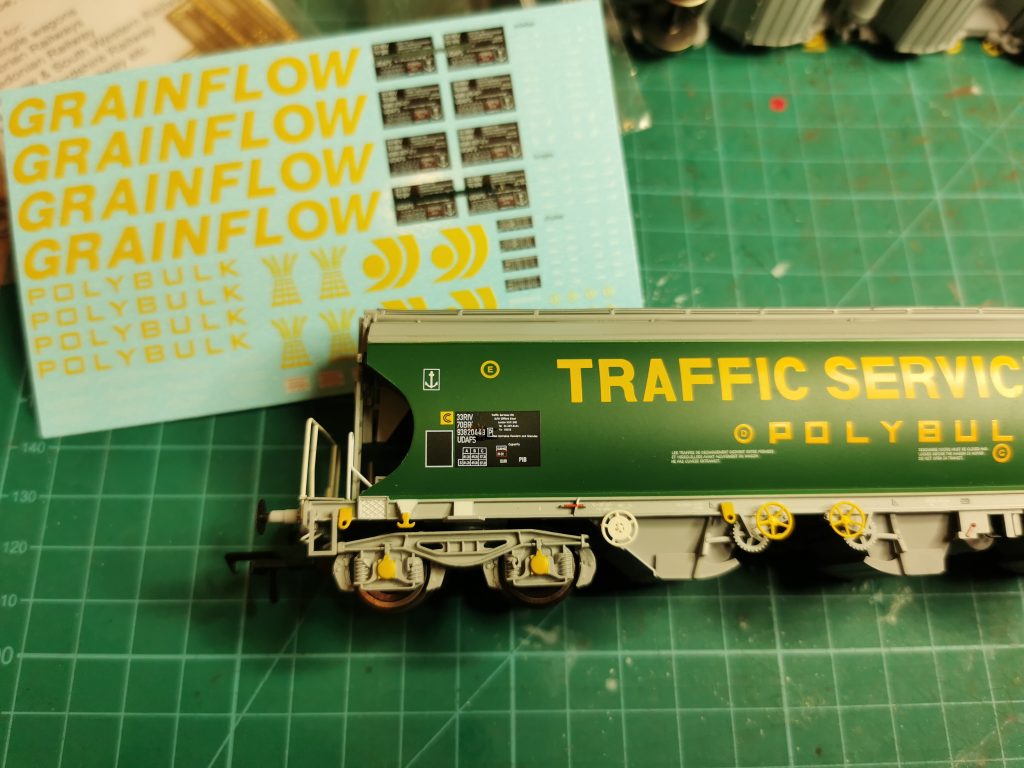
I ordered the Grainflow sheet from Railtec Transfers, and cut out individual numbers from the sheet. The numbers were then applied and sealed the following day with gloss varnish, and once that had dried the whole wagon was given a coat of matt varnish.

Numbers changed using the Grainflow sheet

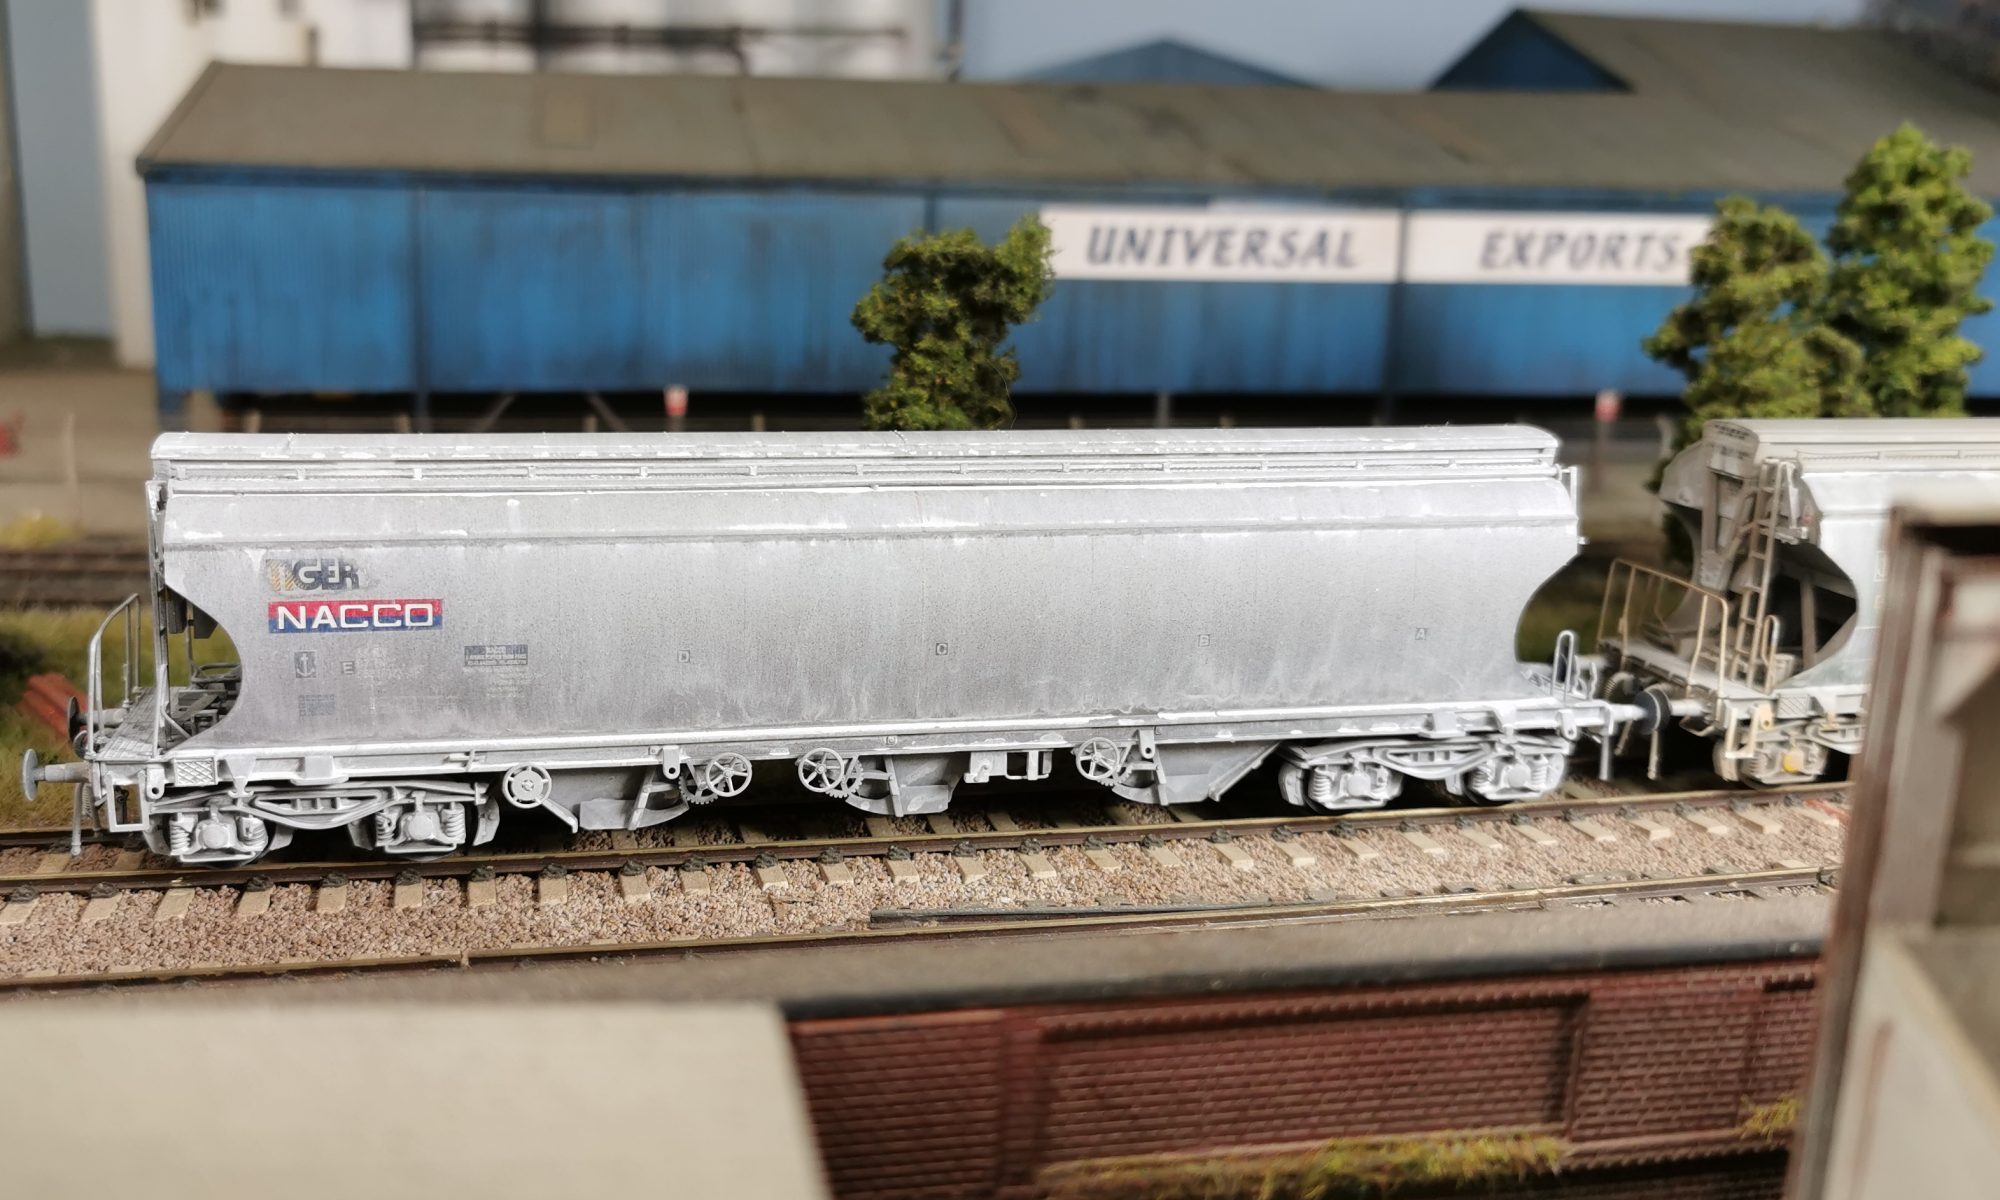
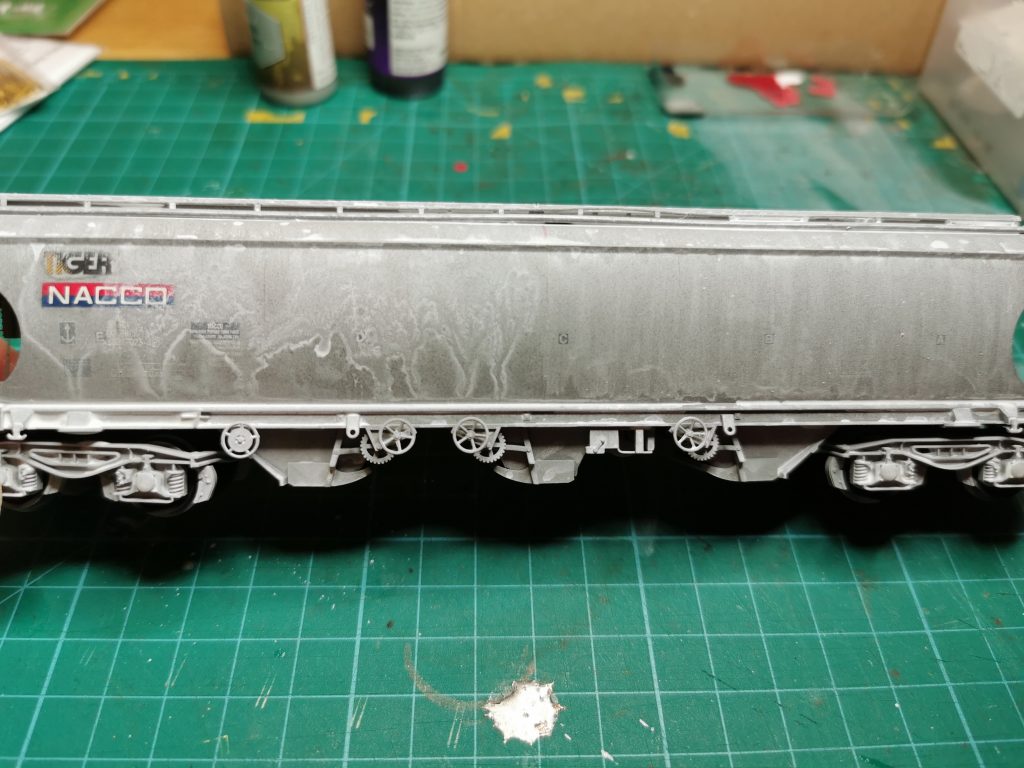
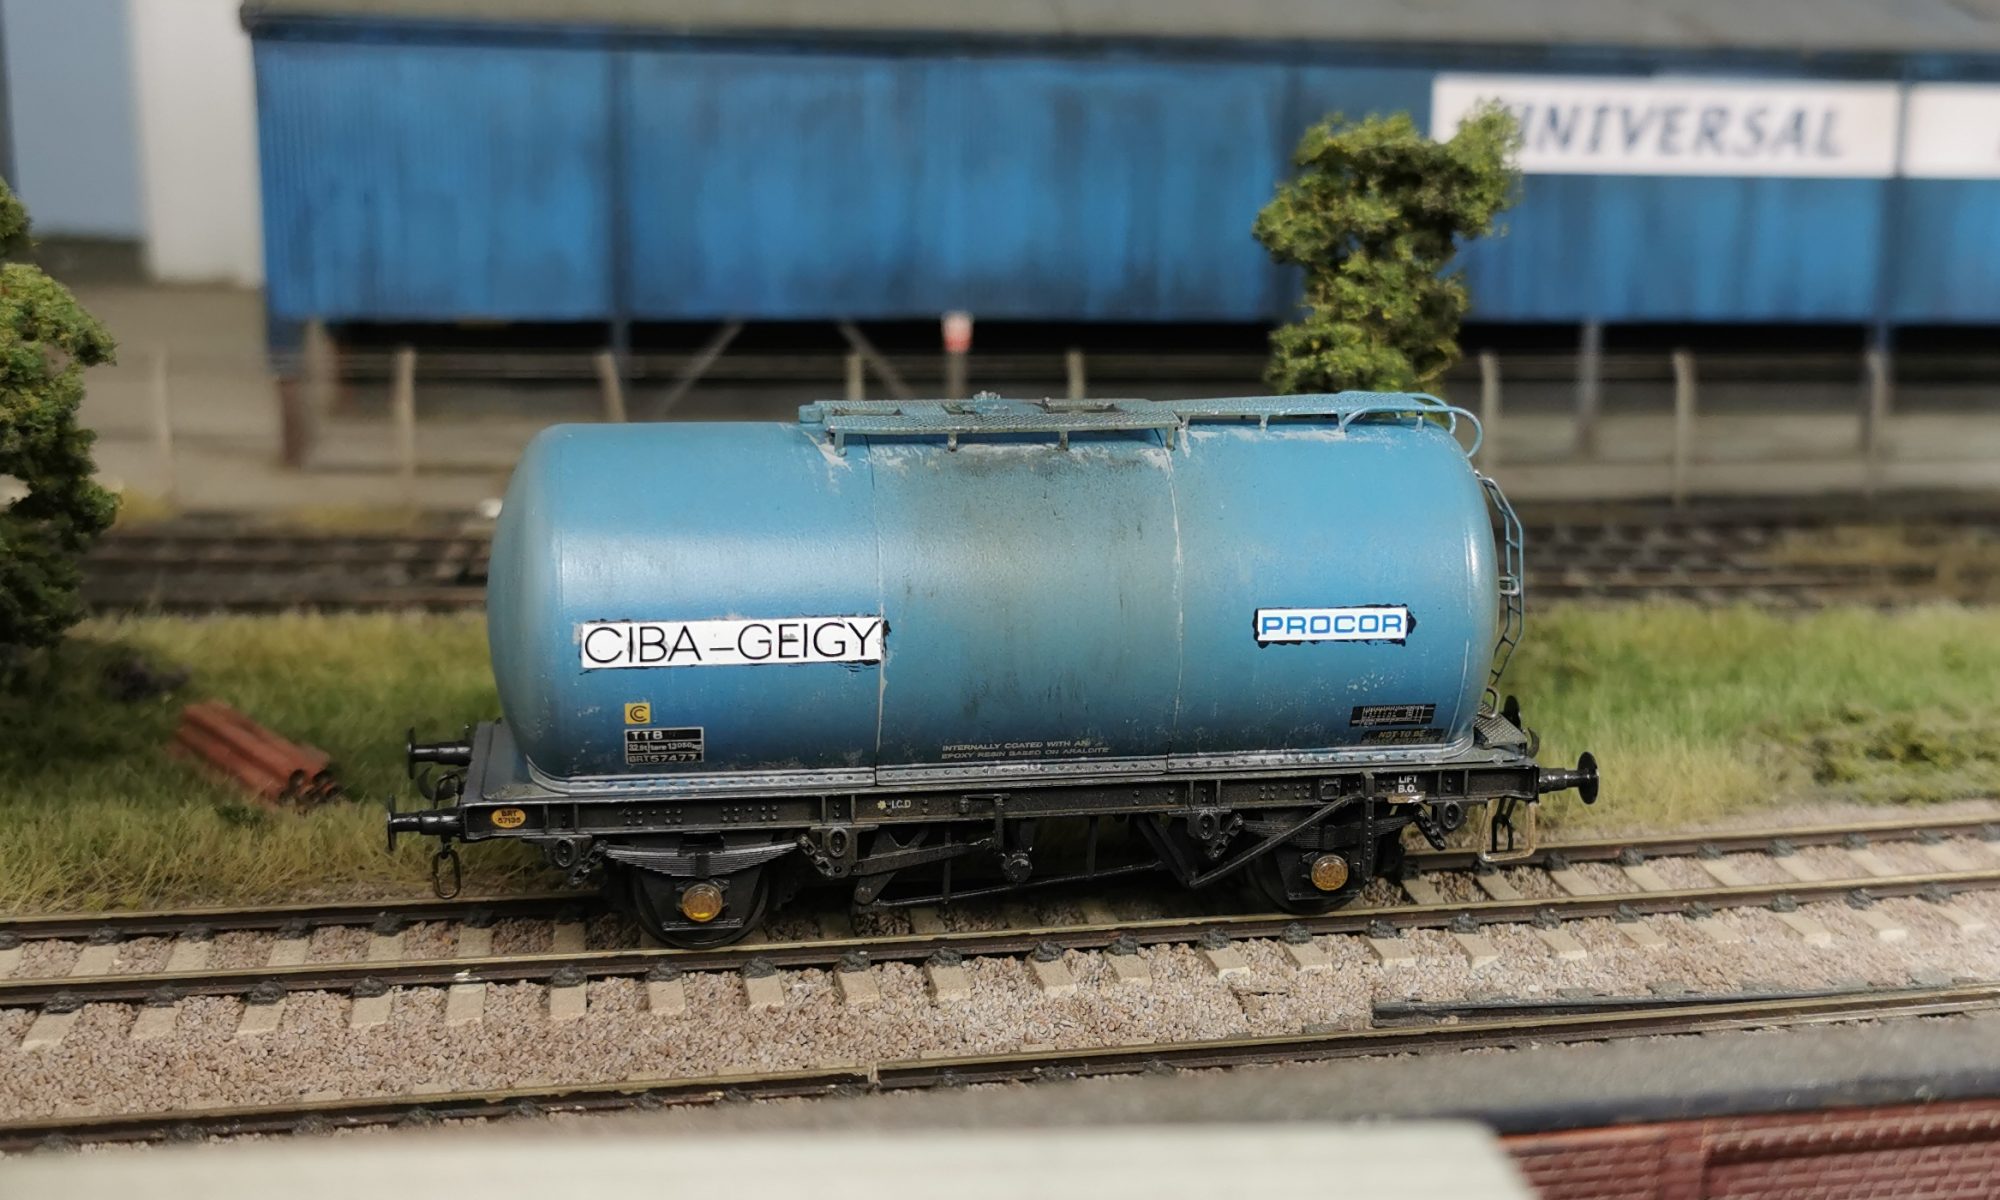
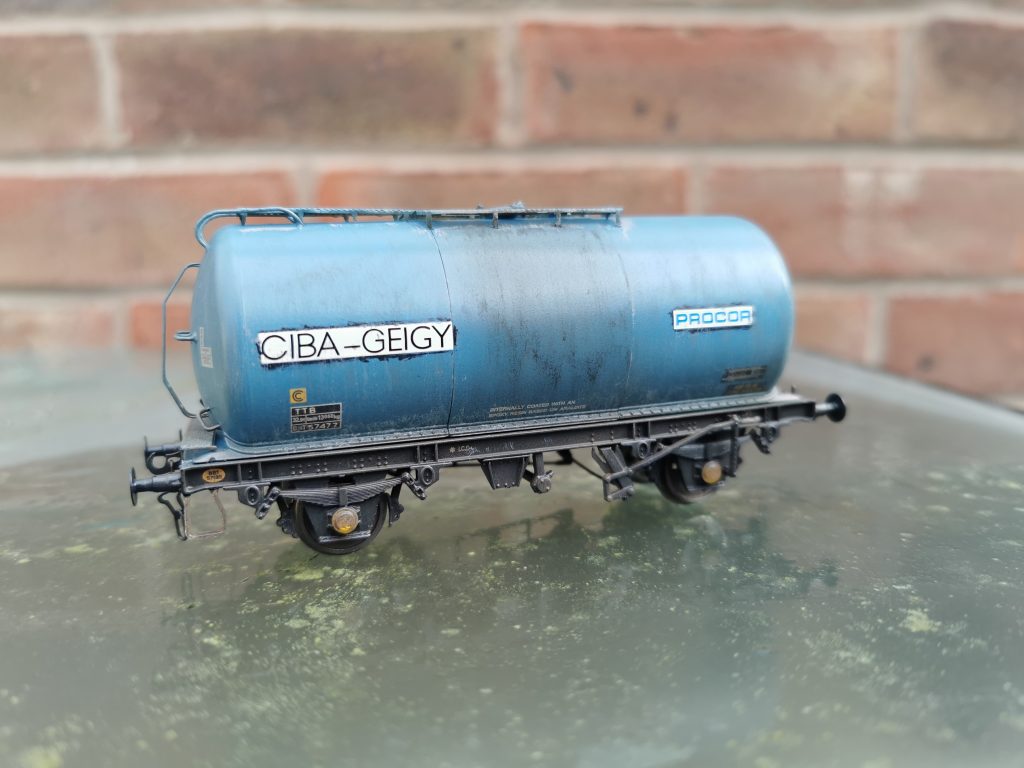
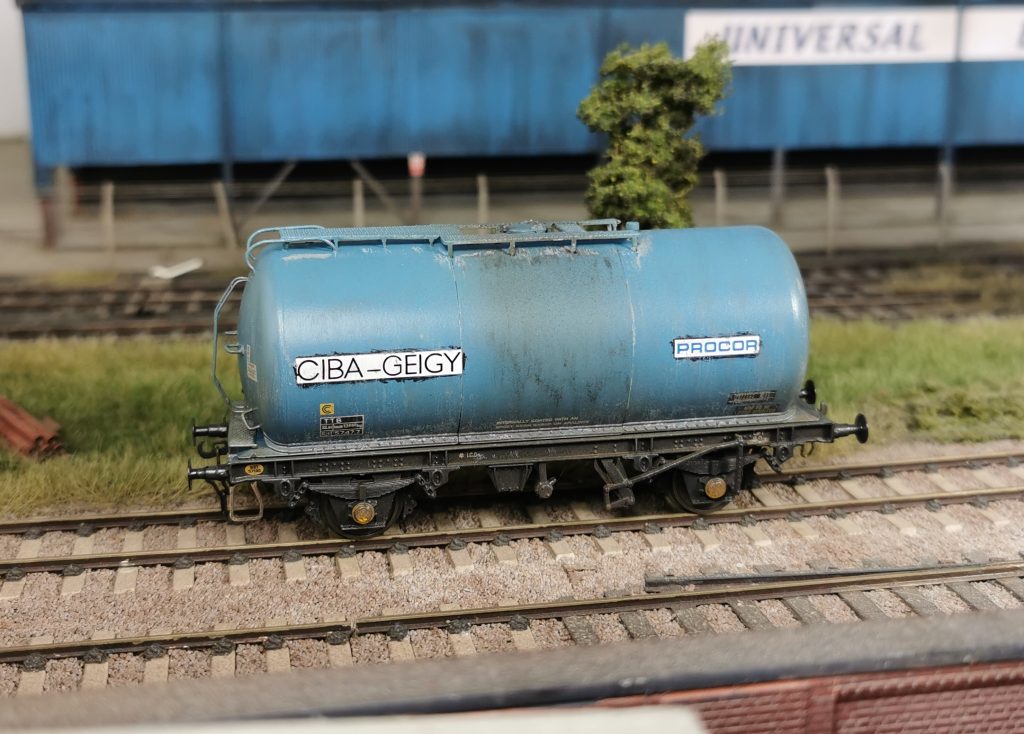
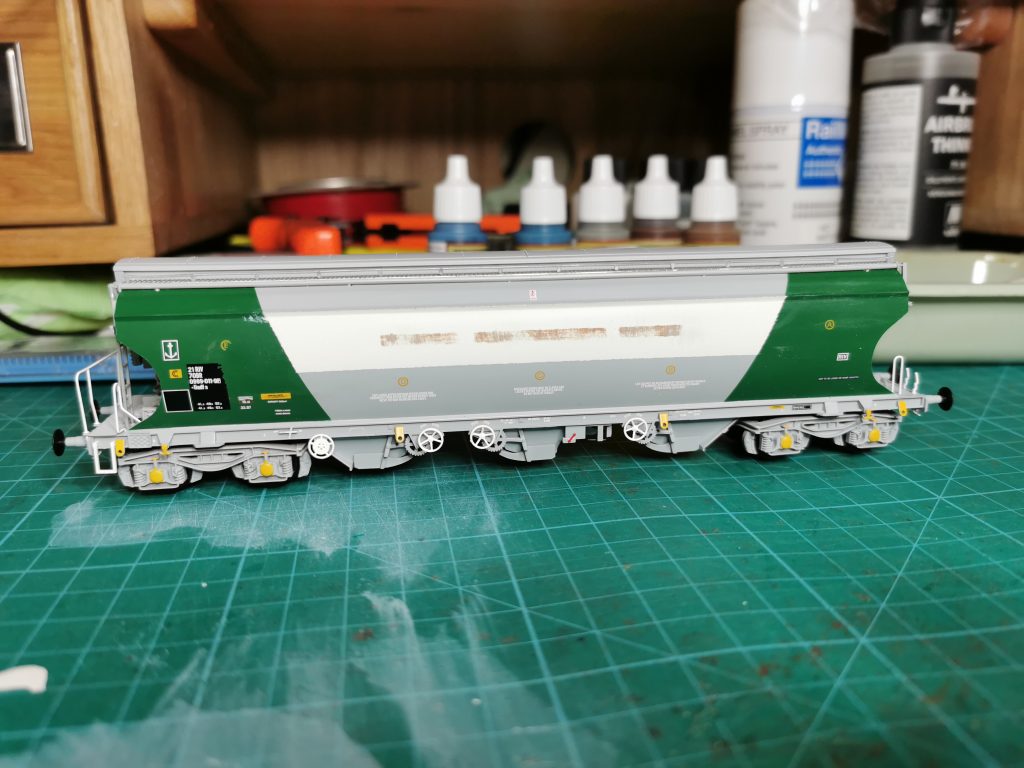
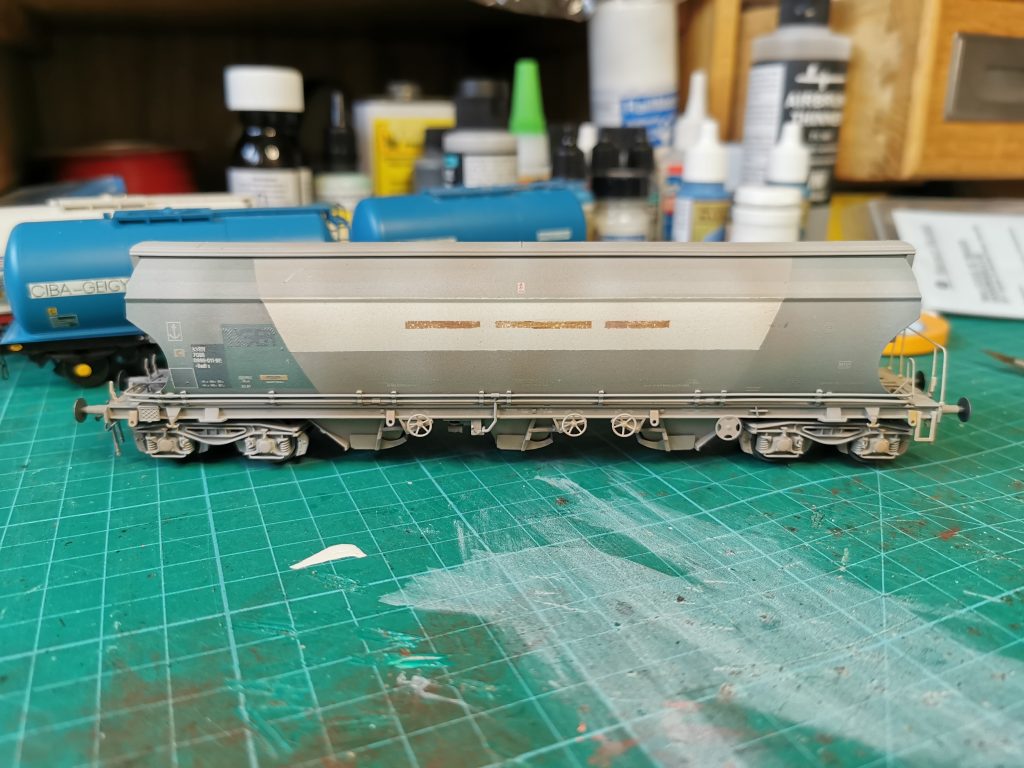
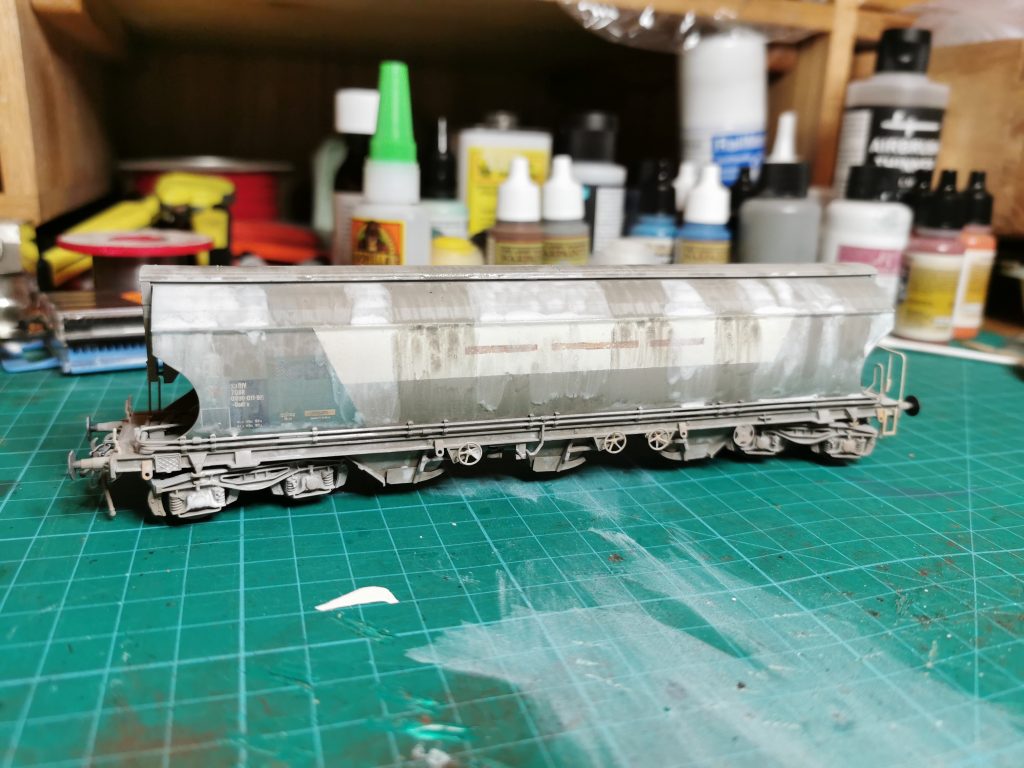
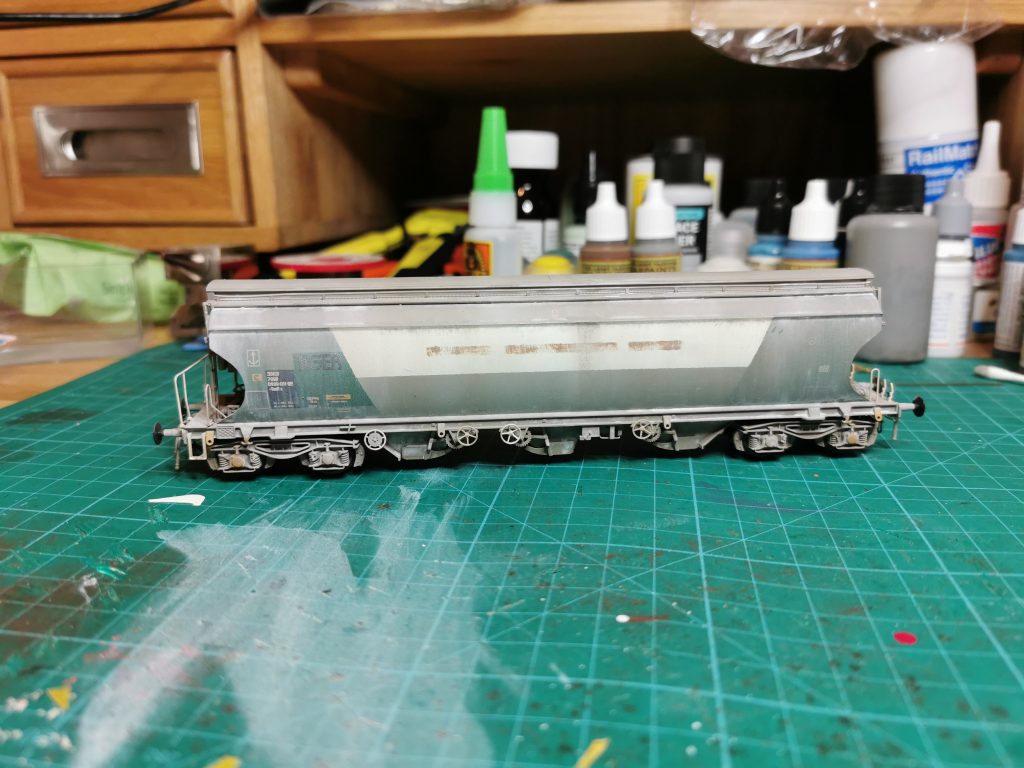
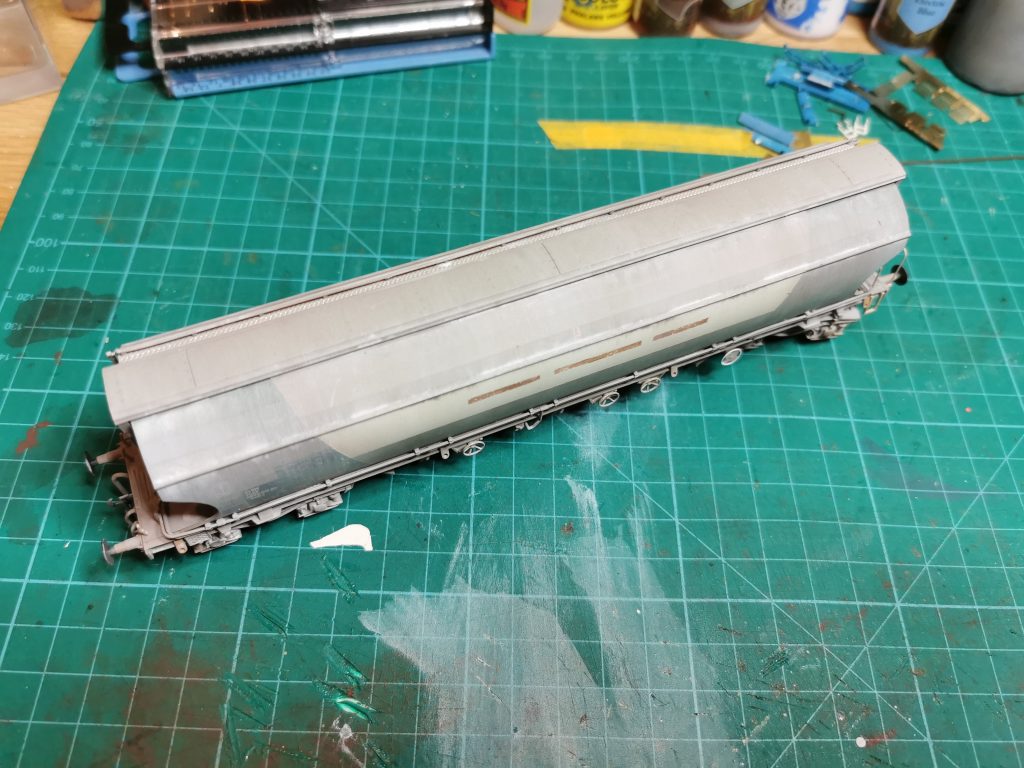
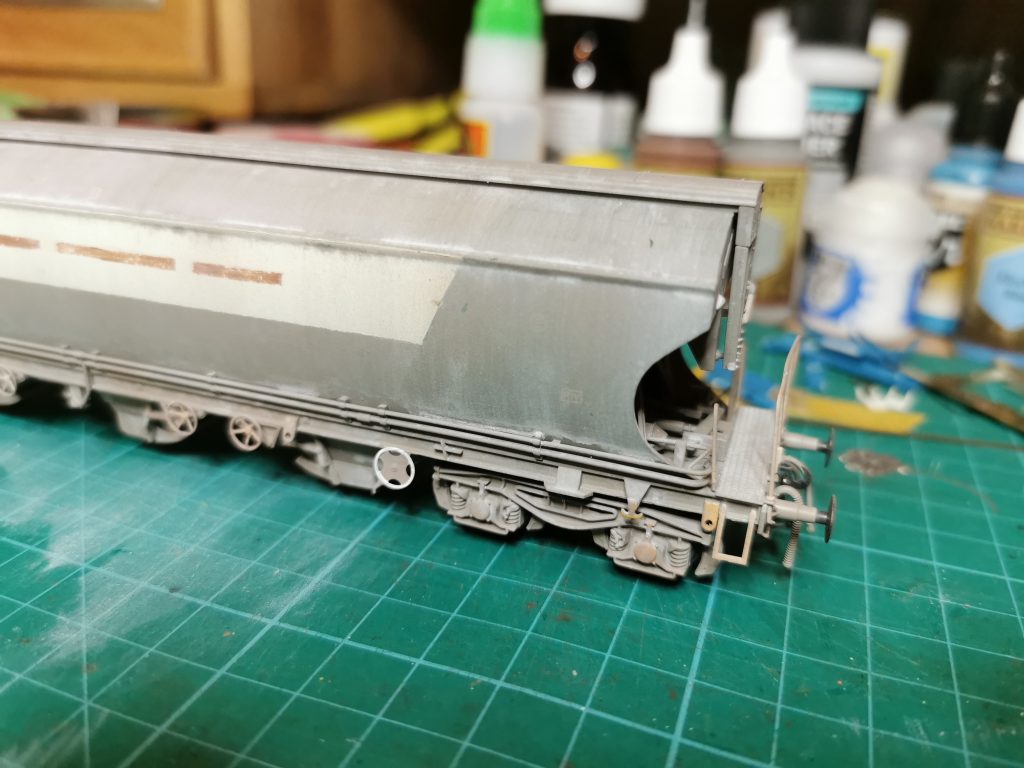
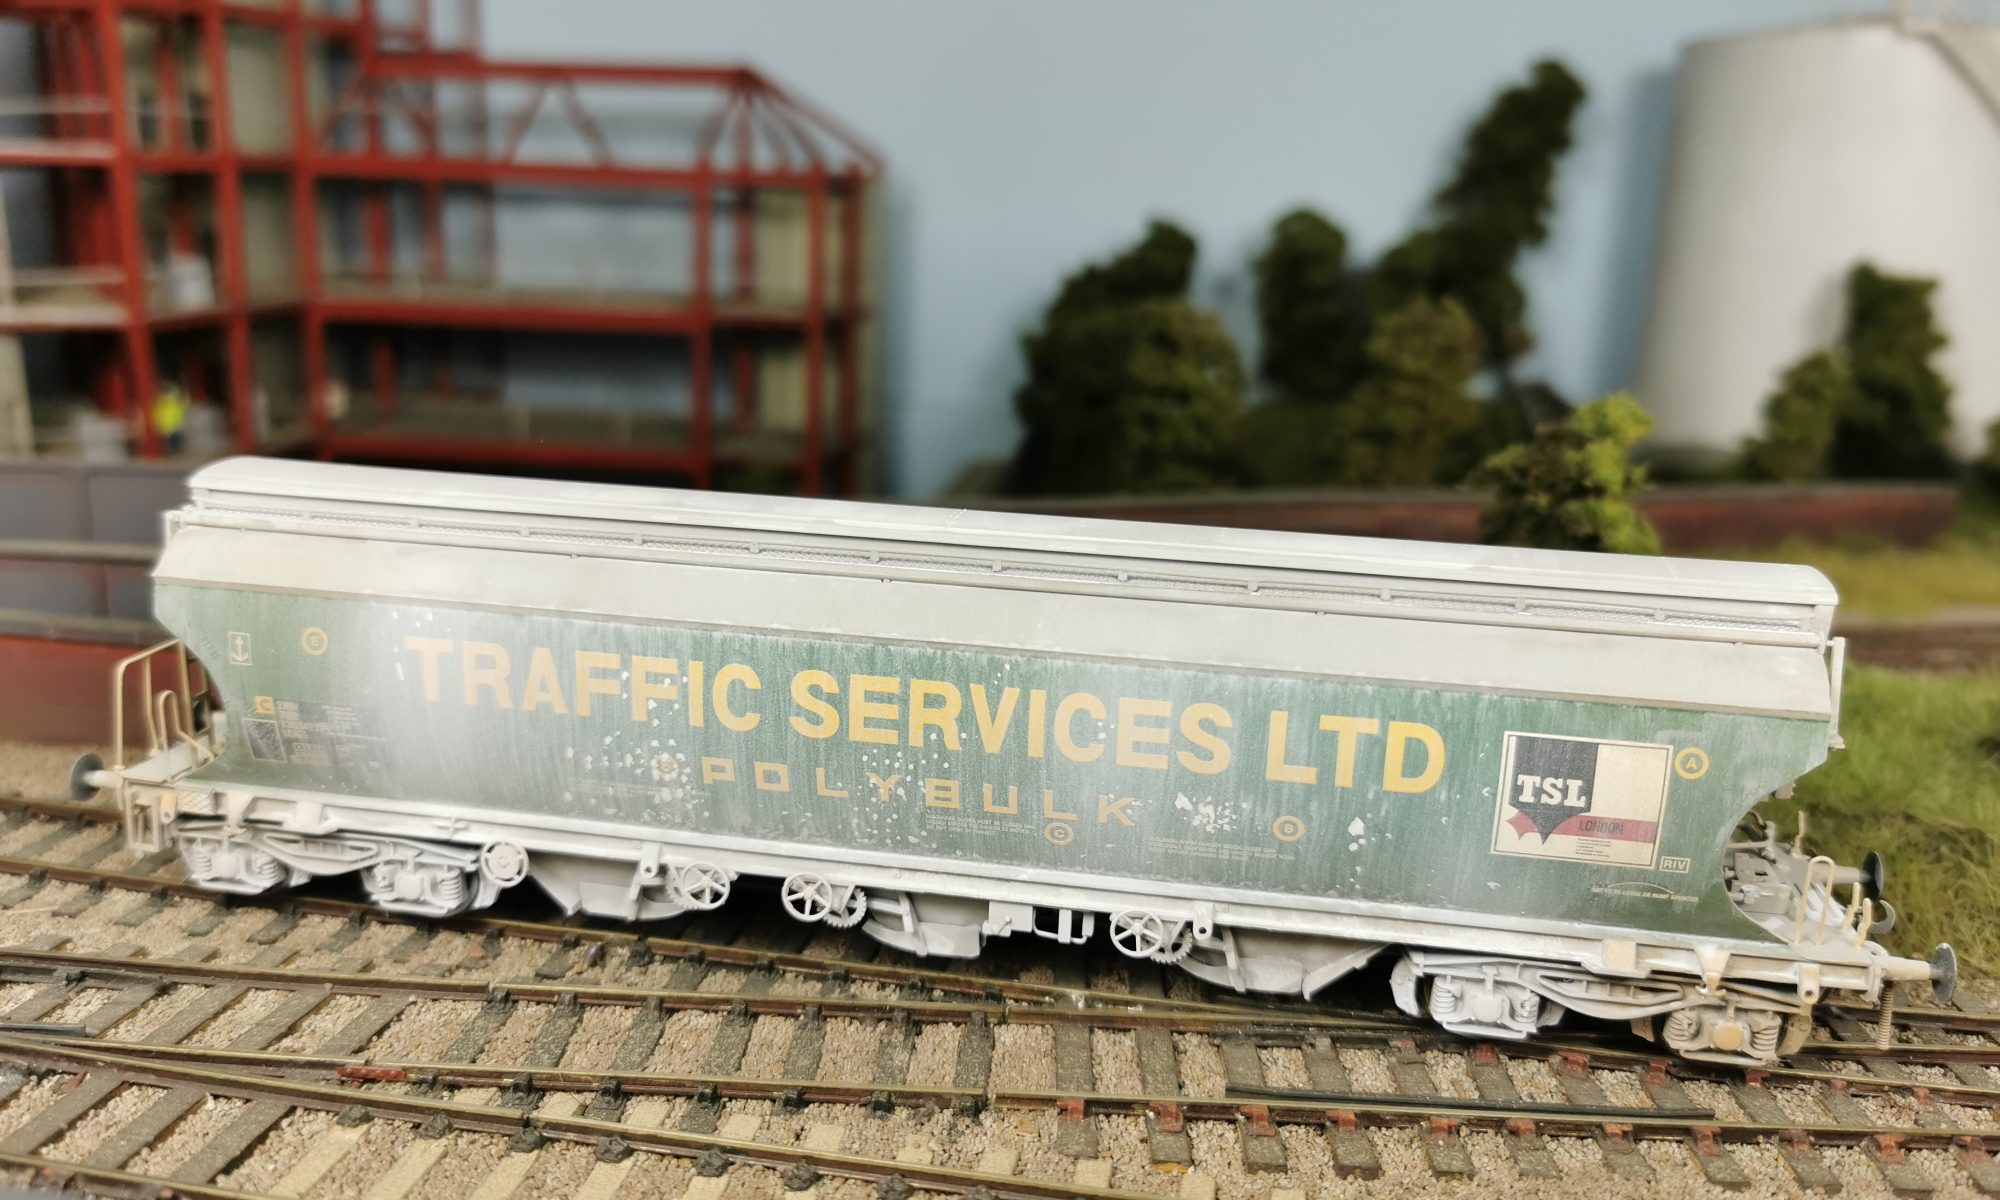
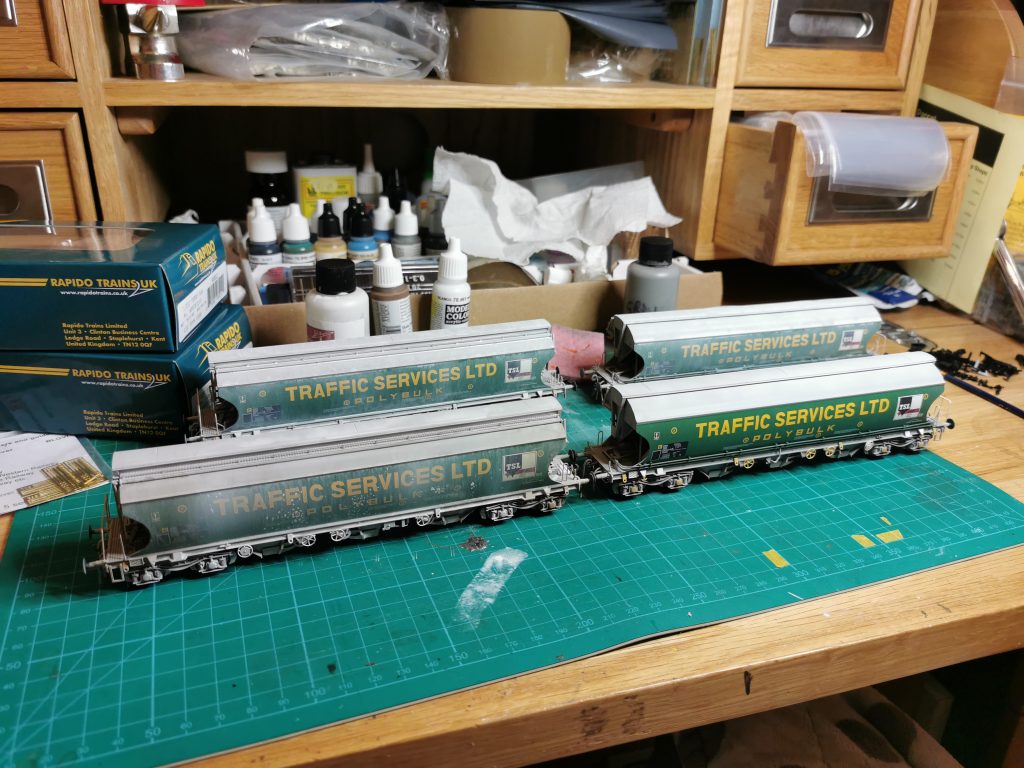
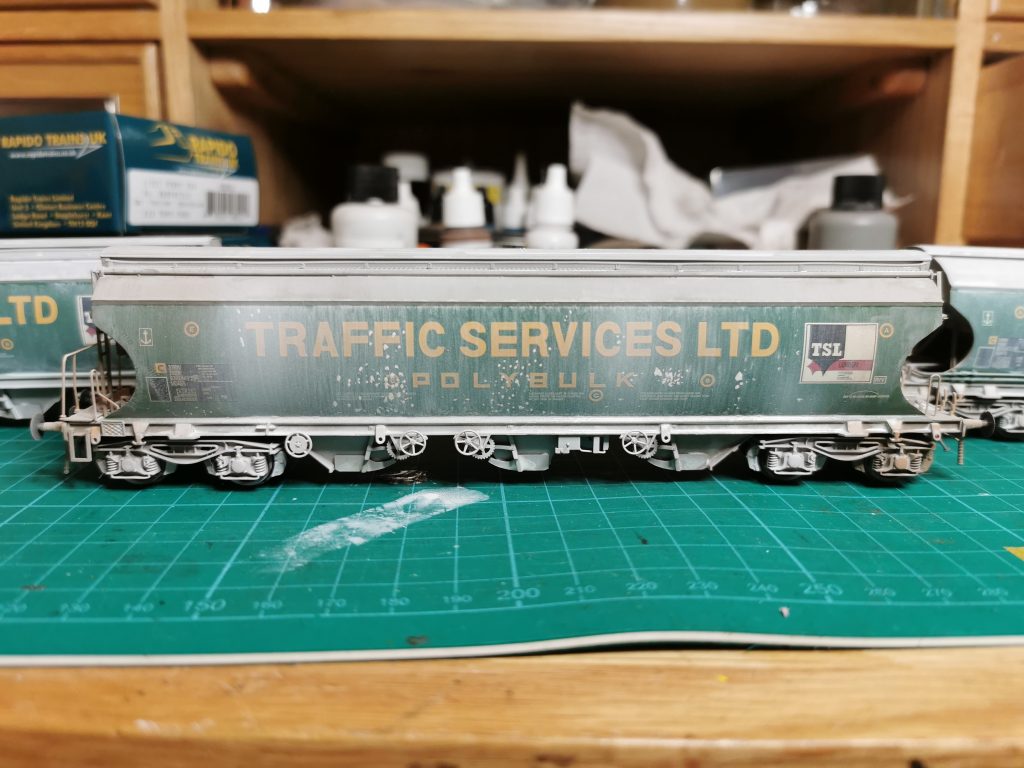
All four wagons were then weathered with the airbrush, paying attention to the prototype photos for each wagon. One wagon had some ‘white spotting’ to the body sides, so this was added with a small brush and a mix of an off-white colour. Finally, a Flory Models wash was applied, left to dry, and then wiped in a downward motion with a sponge.

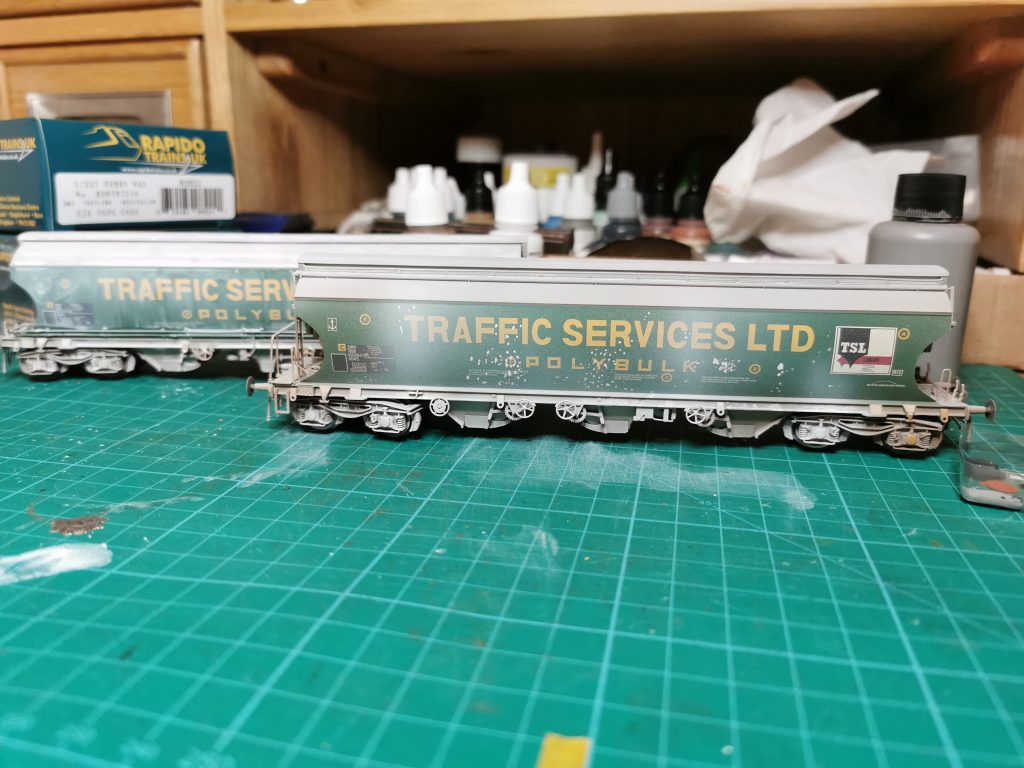
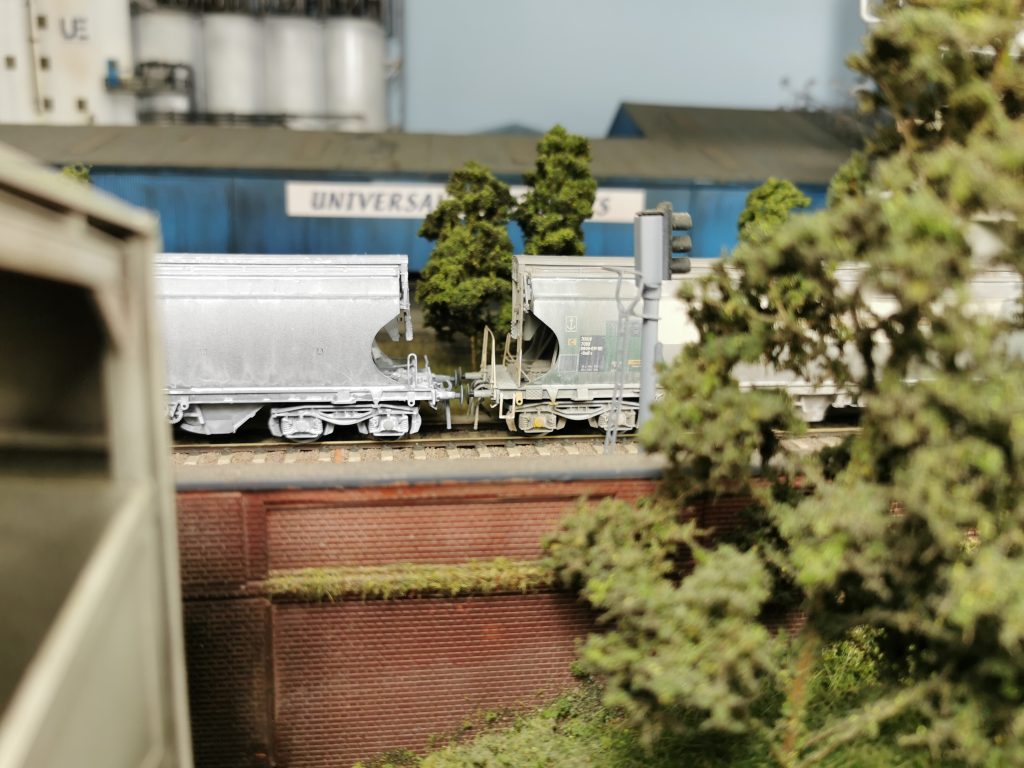
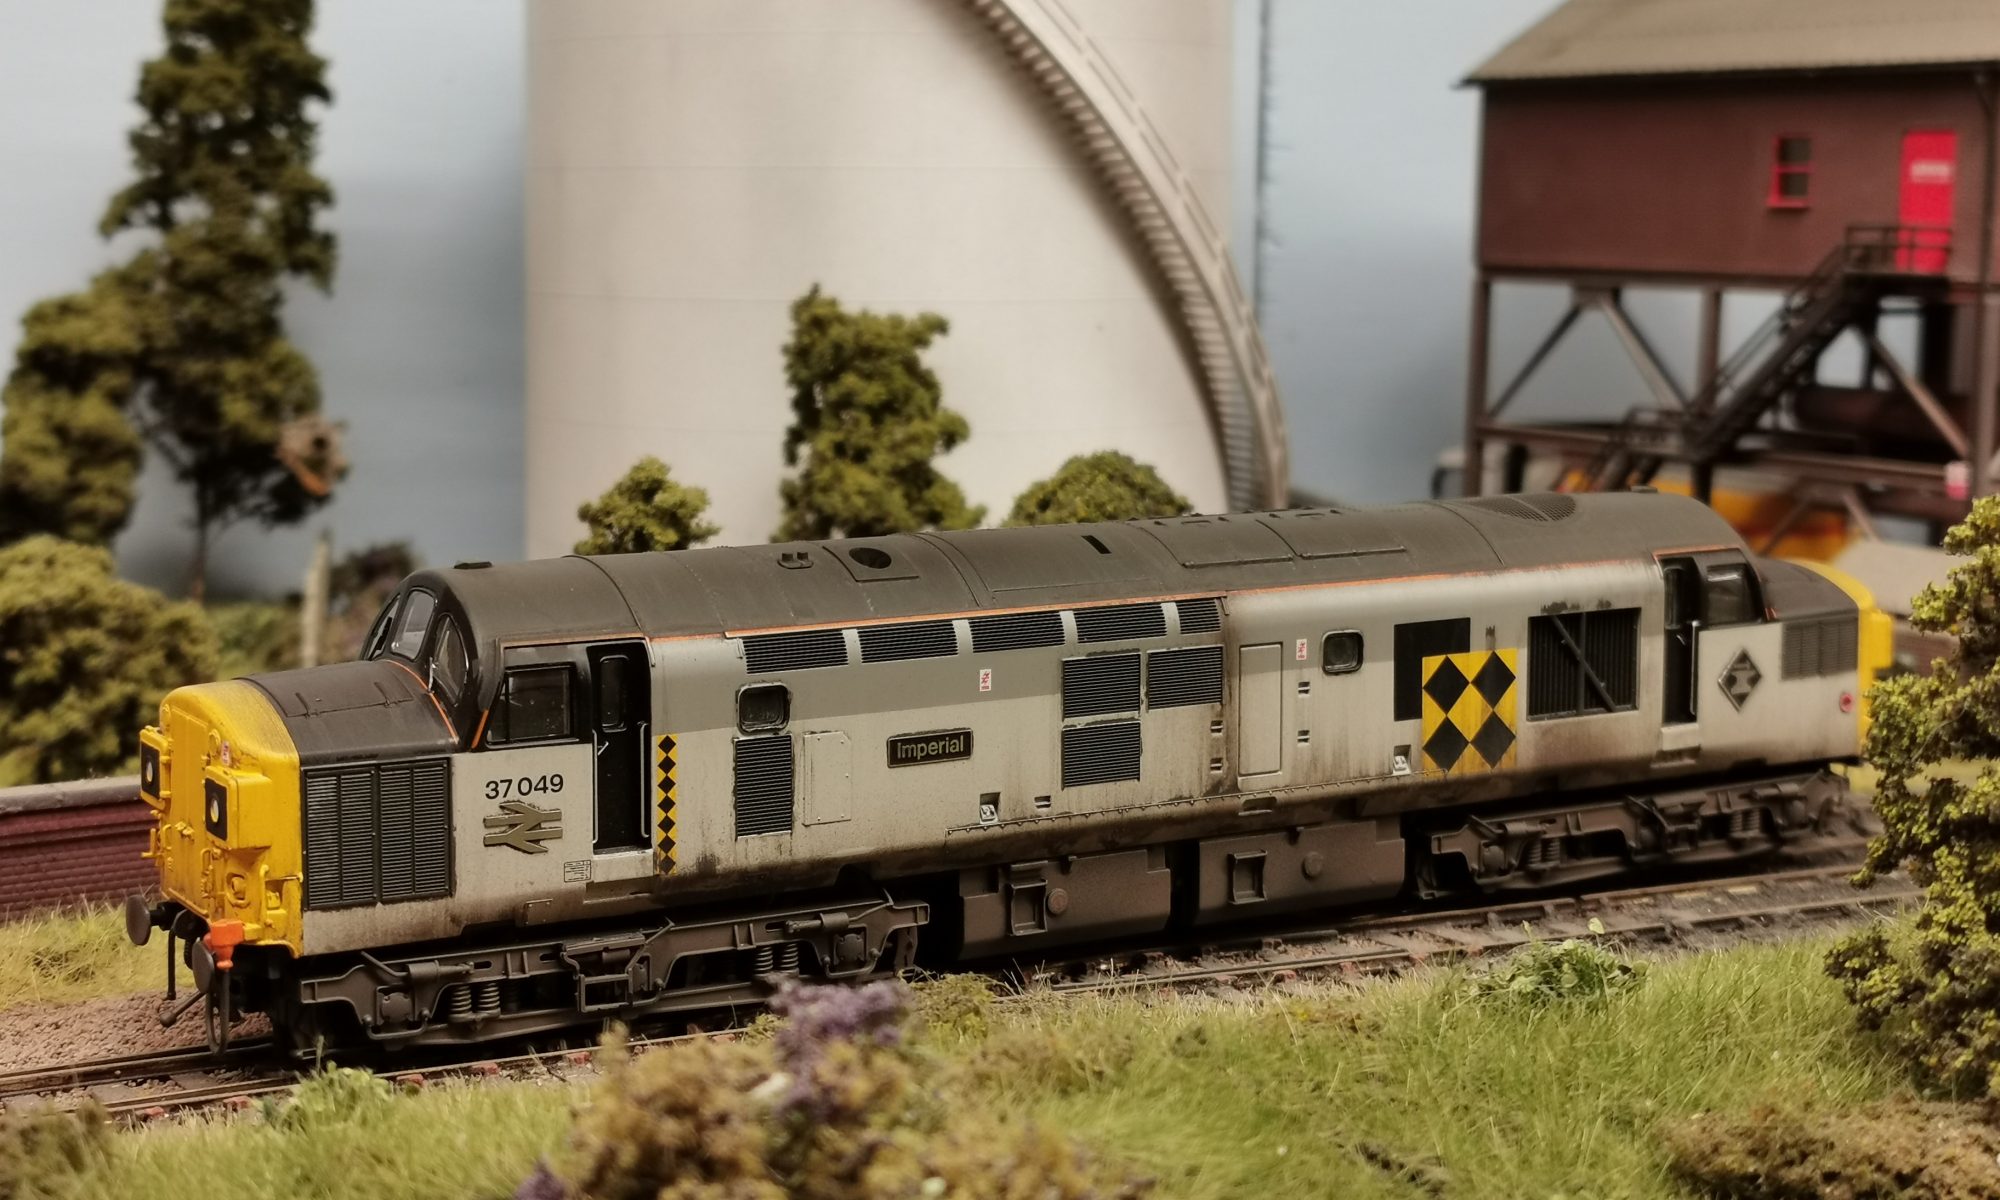
I’m really pleased with how these have turned out, they’ll look perfect once I’ve done the Clay Tigers to go with them. Now, onto the next project!

One of the finished Polybulk wagons

Another 90s Polybulk

Polybulk Grain Wagon on Farkham

The second of the Rails of Sheffield exclusive Polybulks, fits perfectly into 1990 straight from the box so a minimum amount of work was required. Looking at the prototype, the plain grey Polybulks appear to have visible seam welds to the body side. Or at least, these seam welds weather heavier than the rest of the steel work.

The first job then, was to mask up the seam weld lines and paint them with a brush using Brown Leather from the Army Painter range.

Masking up the internal welded seams
Seam weld lines brush painted

The next stage was to airbrush weather the wagon, using Charcoal Grey and White. The charcoal grey was used to darken the body slightly, while the white highlights areas of clay dust.

Weathered with the airbrush

The Tiger and Nacco logos were then cleaned of airbrushed paint with Isopropyl Alcohol and a cotton bud. These appear cleaner on the prototype. Finally, the wagon was given a wash of Florey Models White, and left to dry. Once dry, this was wiped off with a damp sponge leaving streaks to the body sides.

Starting to wipe the wash off, leaving streaks
The finished wagon
The first two finished Polybulks together

The Glue Train: A Ciba-Geigy TTB Tank

Ciba Geigy TTB tank wagon

Recently, I’ve been doing some research on 6N84, Duxford to Tyne Yard speedlink service, nicknamed ‘The Glue Train’.

The service carried chemicals between the Ciba-Geigy plant at Duxford, as well as Urea for Haverton Hill for use in chipboard manufacturing. The train was made up of ICI TTA tanks, Ciba-Geigy TTA/TTB tanks and ICI PAA hoppers. This was the mainstay but occasionally Grainflow and Scottish Malt Distillers Polybulks would be included too.

I had a couple of the Bachmann Ciba-Geigy TTA wagons that I’d put aside since they were released, so this seemed like a logical starting point.

The Bachmann Ciba-Geigy TTA

I renumbered the wagon and changed the tops code to TTB by painting out the printed numbers, brush painting gloss varnish, and adding individual numbers. Gloss varnish was applied to seal the transfers.

The new tops code and number transfers applied

The walkway is incorrect for the Ciba-Geigy TTA and TTB, but Bachmann were never going to retool it as it wouldn’t be economical. So this was removed and a Stenson Models walkway replaced the plastic item. I placed masking tape on the tank and marked the required drill holes, and drilled them using an Archimedes drill and a 0.5mm bit.

Stenson Models walkway

The new walkway was located with a gell superglue, primed with vellejo grey primer, and once dry painted with Griffon Blue. Next, I added handrails, bufferbeam walkway, a central end ladder and painted them in the same way.

New handrails and end ladder

It was now ready for weathering. I masked up the Ciba-Geigy and PROCOR logos as these appear less dirty on the real item. Looking at prototype photos on Paul Bartlett’s website, I mixed some Sons of Honus Green and Electric Blue. A nice weathered base colour, which I applied to the tank with the airbrush. The chassis and tank centre were then blown over with Brown Leather and Charcoal Grey.

Before and after for comparison

Finally, I used Charcoal Grey and dry brushed around the masked logos. I then removed the masking tape and applied Flory Models Grey and Grime washes to provide some streaks to the sides. I’m quite pleased with the finished wagon.

The finished TTB

A polybulk project

Resprayed Bachmann Polybulk

With a surprise release of two new Bachmann Polybulk wagons from Rails of Sheffield, I decided to add both into the Farkham roster. These two wagons are ideal for Speedlink era modellers.

Here I’ll document the first of the two, the Tiger-Nacco branded version. With a little research, I could only find photos of this livery in the early 80’s. So it was time to think about post-dating the wagon to circa 1990. The prototype photo I’m using can be found on Paul Bartlett’s website here: https://paulbartlett.zenfolio.com/polybulk/h2af298ed

Bachmann Tiger-Nacco Polybulk

I removed the Tiger-Nacco branding and TRL logos with Isopropyl Alcohol and gently rubbing with a cotton bud. It came off very easily without affecting the models paint.

Branding removed

I then masked the upper half of the central grey bodyside, and painted it white. Once dry, I then masked up the brown blanking panels and brush painted these with Army Painter Brown Leather. I used a fine sanding stick to remove some of this paint to give a worn effect.

Rebrand Polybulk

Next, I removed the 21 wagon number prefix, as some time in the mid 80s the Polybulk number prefix was changed to 33. Gloss varnish was then applied to the data panel end, and once dry the 33 prefix was added, along with Railtec Transfers Tiger logos.

33 prefix and Tiger logos added

The wagon was now ready for the first stage of the weathering process. I masked up the painted white area, tiger logos and parts of the data panels, as these appear much less weathered on the prototype.

I used three colours in the airbrush, starting with Army Painter Brown Leather. After this base layer, I removed the masking tape before a second pass with the airbrush. I then changed to Army Painter Ash Grey before finishing with Games Workshop Scar White. At this point, I was really happy with the outcome, and I could have easily considered it finished.

The airbrush weathering is complete

I was now ready to introduce some weathered streaking effects caused by rainwater mixing with China clay dust. To do this I used Flory Models Grey and White clay based washes, applying a good amount with a 10mm flat brush and leaving it to dry.

Flory Models washes applied and left to dry

After half an hour it was dry and ready to be manipulated with a damp sponge. Always using a downward motion, I wiped the excess wash off, which leaves a nice dusty but streaky finish.

This one is now finished, and ready to be put to work on Farkham. It could be used as a single wagon in a Speedlink train or mixed in with other china clay wagons.

Diamonds are a girls best friend

Let me start by wishing you a Happy New Year! Thank you for your support throughout what has been a very difficult year for everyone.

Recently, it seems like I’ve dedicated much of my time on Class 47’s so for the sake of variety, I’ve finsihed a class 37 that has been on the workbench for a few months.

I usually like to at least renumber my locos, but this Bachmann release is a loco I remember well from the early 1990s. There are however, some easy changes required to back date it.

The out of the box Bachmann model.

First off, I masked up the split head code boxes with masking tape and masking fluid and once the fluid was dry I sprayed them matt black. The bufferbeam was detailed and screw link couplings were installed. In 1990, 37 049 carried Motherwell depot plaques, so etched items were fitted along with the BR arrows. The nameplates supplied with the Bachmann loco are red, which suits the loco in a later period. Using black enamel paint, I flooded the nameplates and once dry, I used a sanding stick to polish the paint off the lettering. They were secured in place using a small amount of varnish.

The split head code boxes masked for painting.

The loco comes with round buffers fitted, which were also only fitted later in the decade. These were swapped with oval buffers from another Bachmann class 37, but normally I’d swap them for Hornby class 50 items which look so much better. Unfortunately, they’ve not been available anywhere for some time.

Painted head code boxes and bufferbeam pipework added.

For the weathering I started with the airbrush, using Railmatch Frame Dirt for the bogies, fuel tanks and lower body side. Roof dirt for the roof and cab nose tops, followed by some matt black for the exhaust soot and greasey areas on the bogies. Finally, a Flory Models dark dirt wash was applied all over the loco and left to dry before wiping with a damp sponge in a downward motion. The result is a work stained loco with some oily residue and water streaks down the body side.

A Bescot Celebrity Class 47

One loco that has always been on my radar to do is 47 238 ‘Bescot Yard’. In fact, I’ve had the nameplates for this loco for a number of years, buying them at a Wolverhampton model railway club show from the orignal Shawplan owner, Graham Shaw.

The Bachmann Class 47 as supplied

The donor loco for this project is a Bachmann 31-663 Class 47, 47 209 in Railfreight livery. The first job was to remove the windows, which is usually a simple job, but not this time. Some of the windows were well and truely glued in, and on being a little too heavy handed, one of the cab doors cracked and came off with the window. I don’t know what they used in the factory when this loco was assembled, but its good stuff! As a precausion, the remaining glazing was removed with Glue Buster.

The broken cab door.

At this point, I decided to cut out the rest of the cab door so the loco could be modelled with the cab door open. It is the summer of 1990 afterall. Part of the chassis needed to be cut out to allow the door to be open, and the wiring for the lights was rerouted to the other side of the cab. The cab and bulkhead also needed modification with the razor saw, and a new cab floor and brace was fabricated with some plastikard. All these were painted after they were fixed in place. A rumage through the parts box found a suitable cab door from a Hornby class 56. Although not identical to a class 47 cab door, it looked fine inside the cab. You can’t see enough of it to notice it’s different. A kick plate was made and glued to the bottom of the door, covering the lower door handle which is found on the class 56. I then made a plastic bracket and located the cab door in place.

Part of the chassis removed.

Next, the loco numbers, nameplates and BR arrows were removed. The new numbers, etched nameplates, depot plaques and arrows were secured in place with some varnish. Attention could then turn to painting the window surrounds white, with a good quality brush and a steady hand. The

was done for the bufferbeam before fitting screwlink couplings and appropriate pipework. The glazing was then reinstalled using liquid poly, and the fuel tanks were also swapped to suit. The bogies were also swapped from another Bachmann model that already had the details painted in white. Yellow stripes were painted on the fuel tanks, and the buffer heads painted silver, as per the prototype.

BR arrows offset and painted window surrounds.
The finished loco.