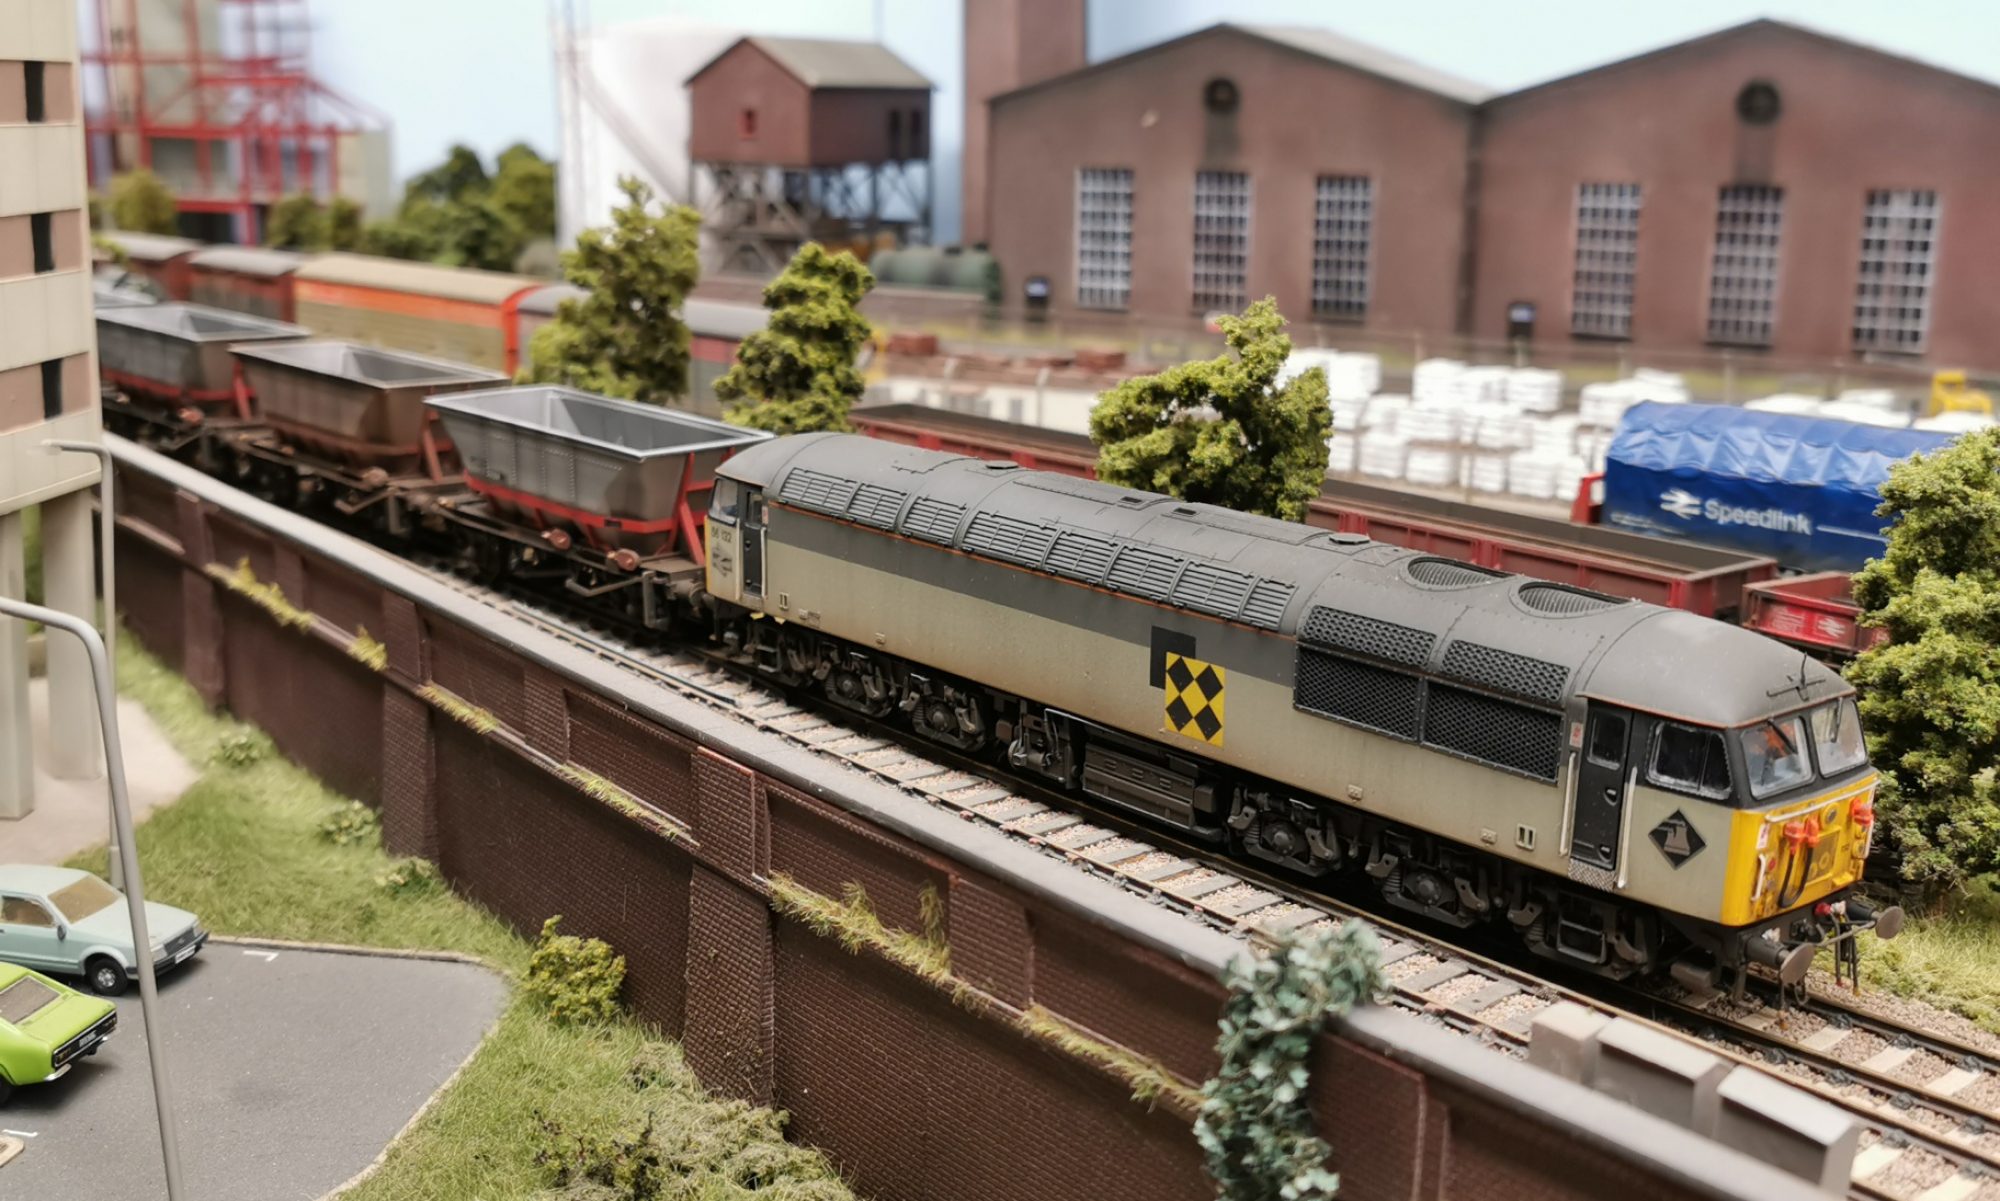
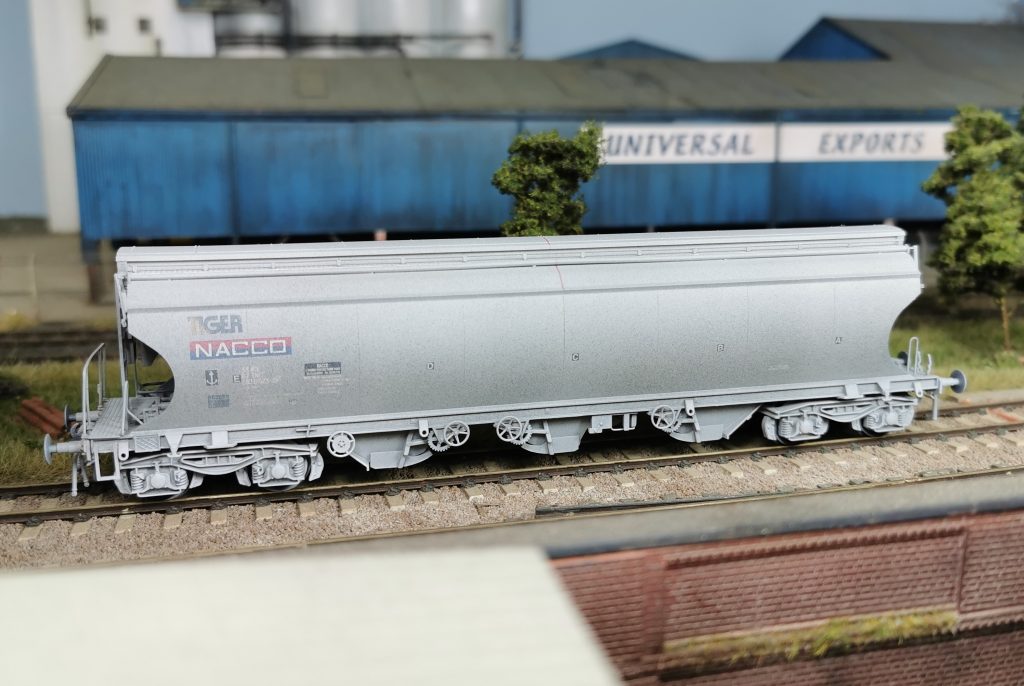
The second of the Rails of Sheffield exclusive Polybulks, fits perfectly into 1990 straight from the box so a minimum amount of work was required. Looking at the prototype, the plain grey Polybulks appear to have visible seam welds to the body side. Or at least, these seam welds weather heavier than the rest of the steel work.
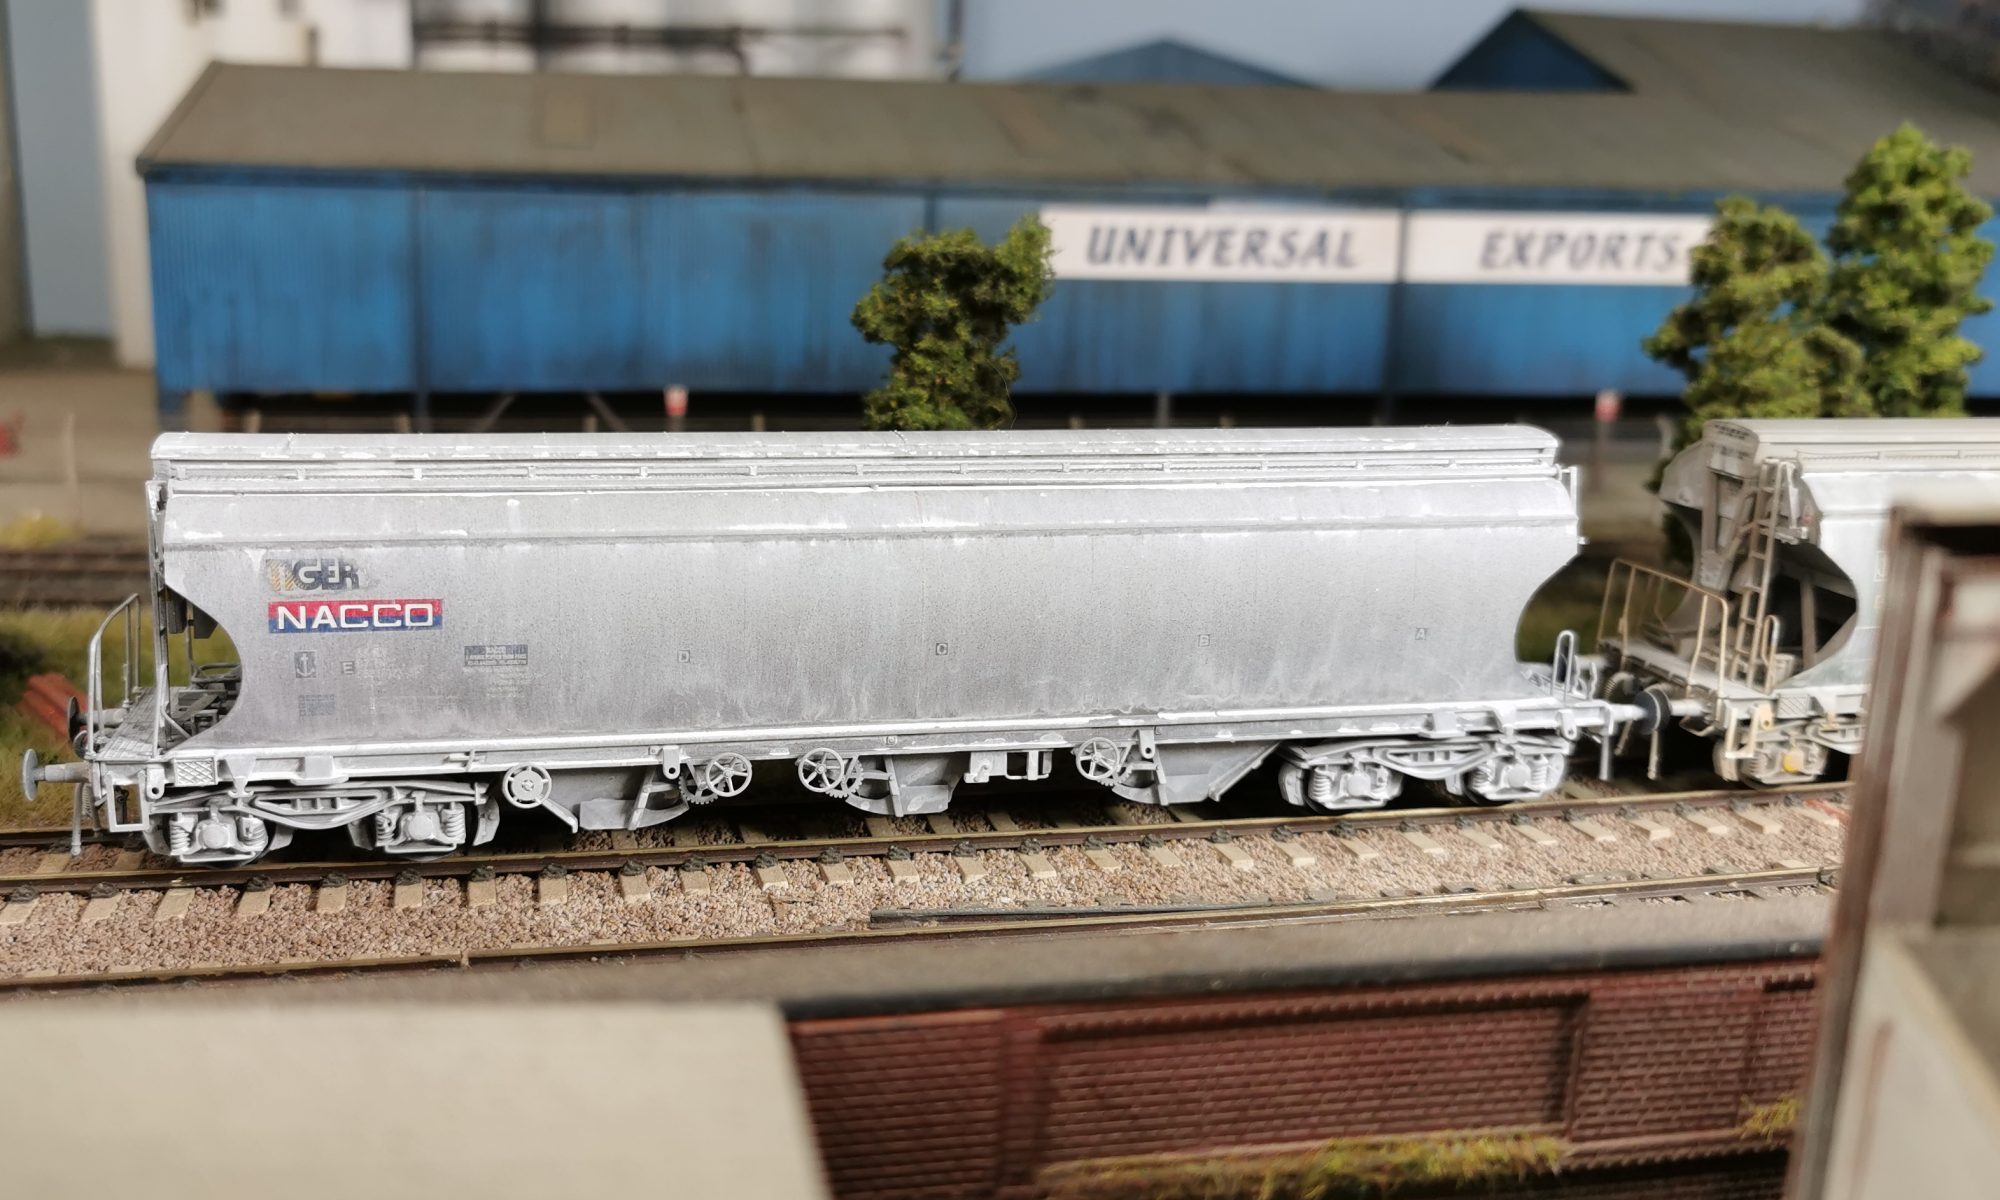
The first job then, was to mask up the seam weld lines and paint them with a brush using Brown Leather from the Army Painter range.
Masking up the internal welded seamsSeam weld lines brush painted
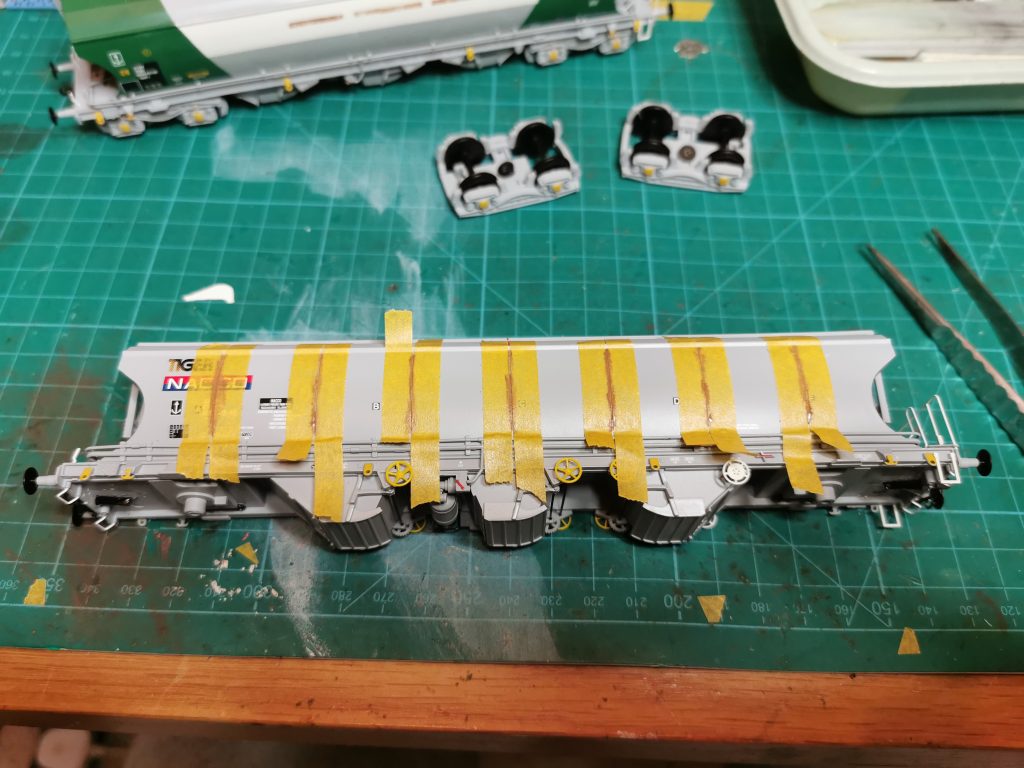
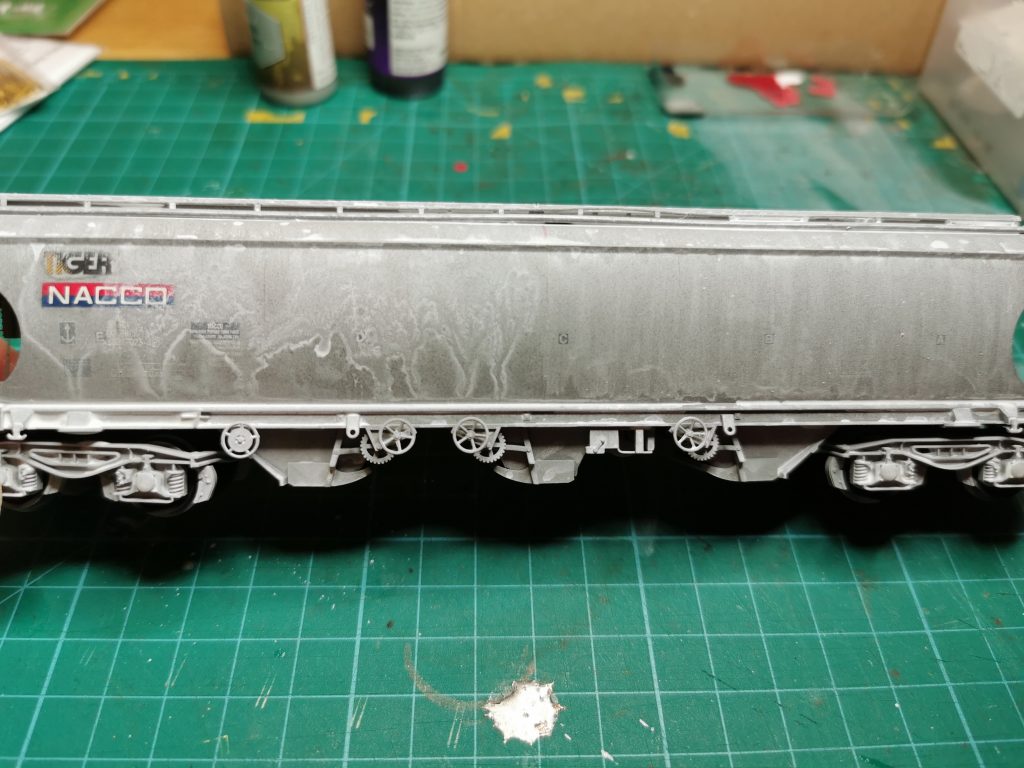
The next stage was to airbrush weather the wagon, using Charcoal Grey and White. The charcoal grey was used to darken the body slightly, while the white highlights areas of clay dust.
Weathered with the airbrush
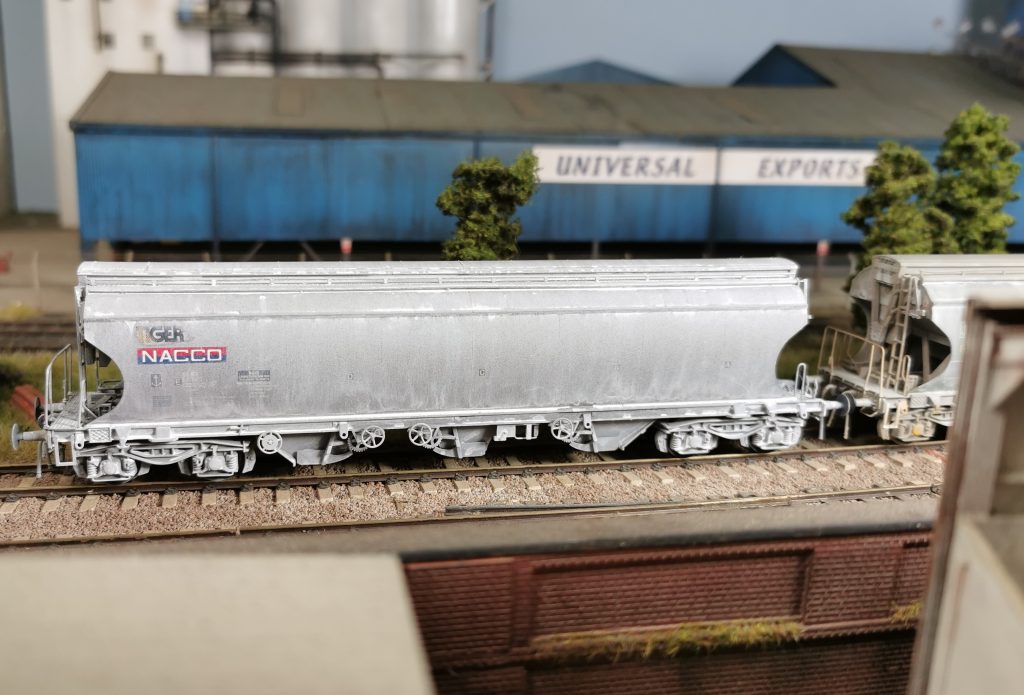
The Tiger and Nacco logos were then cleaned of airbrushed paint with Isopropyl Alcohol and a cotton bud. These appear cleaner on the prototype. Finally, the wagon was given a wash of Florey Models White, and left to dry. Once dry, this was wiped off with a damp sponge leaving streaks to the body sides.
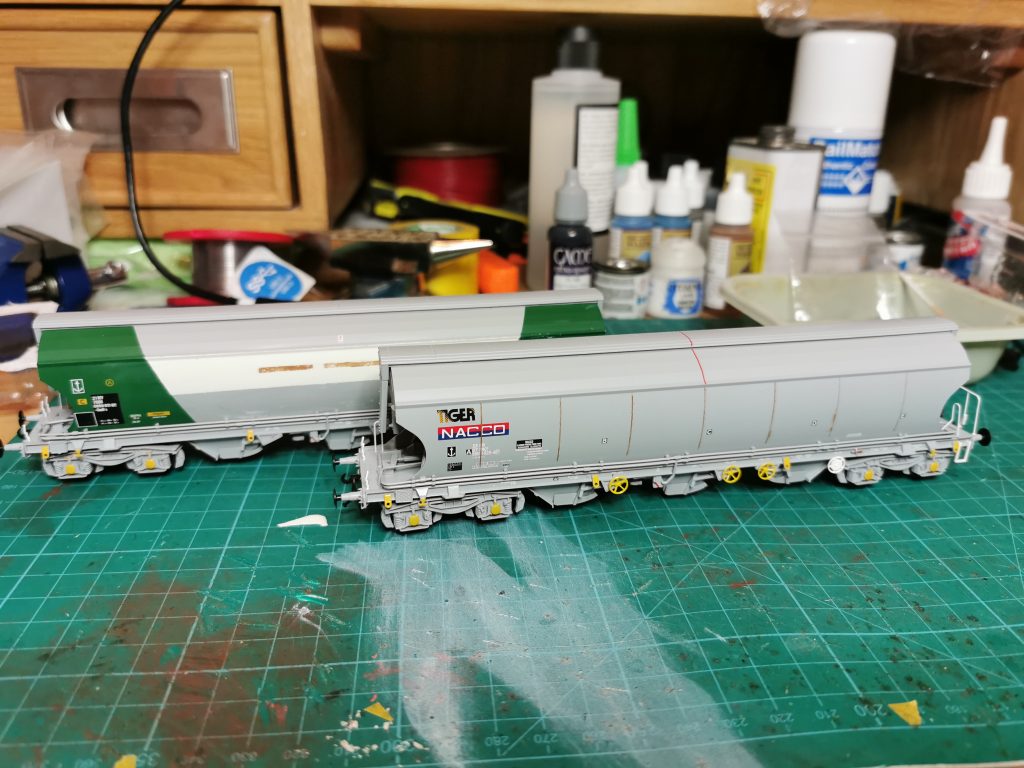
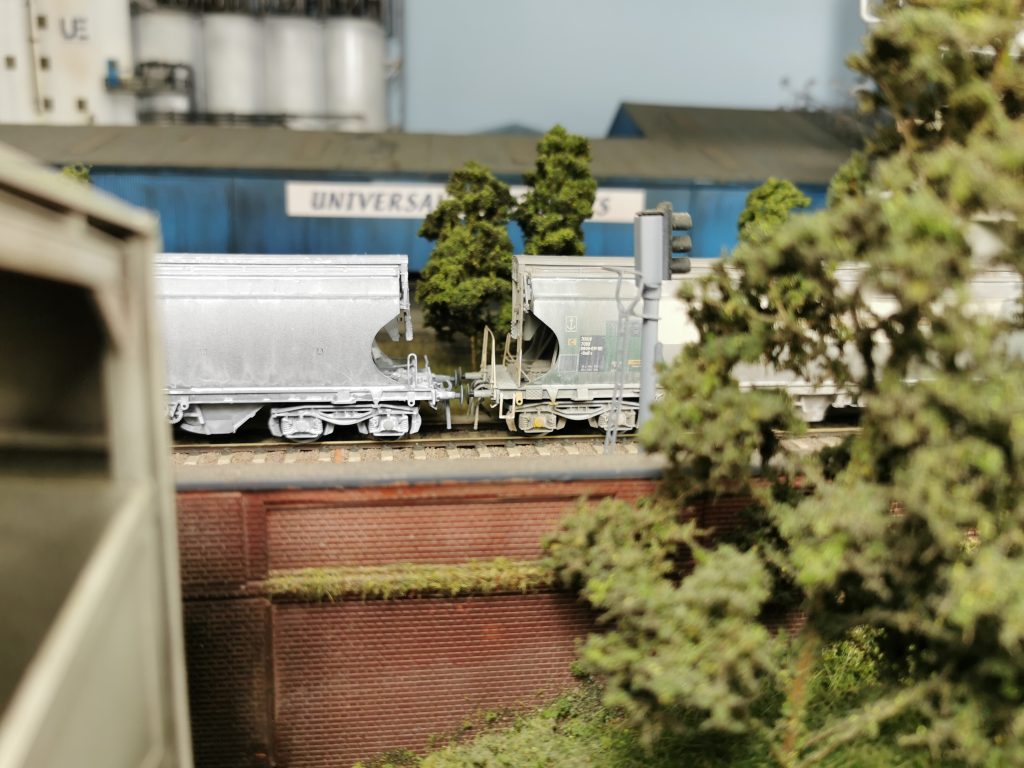
Starting to wipe the wash off, leaving streaksThe finished wagonThe first two finished Polybulks together
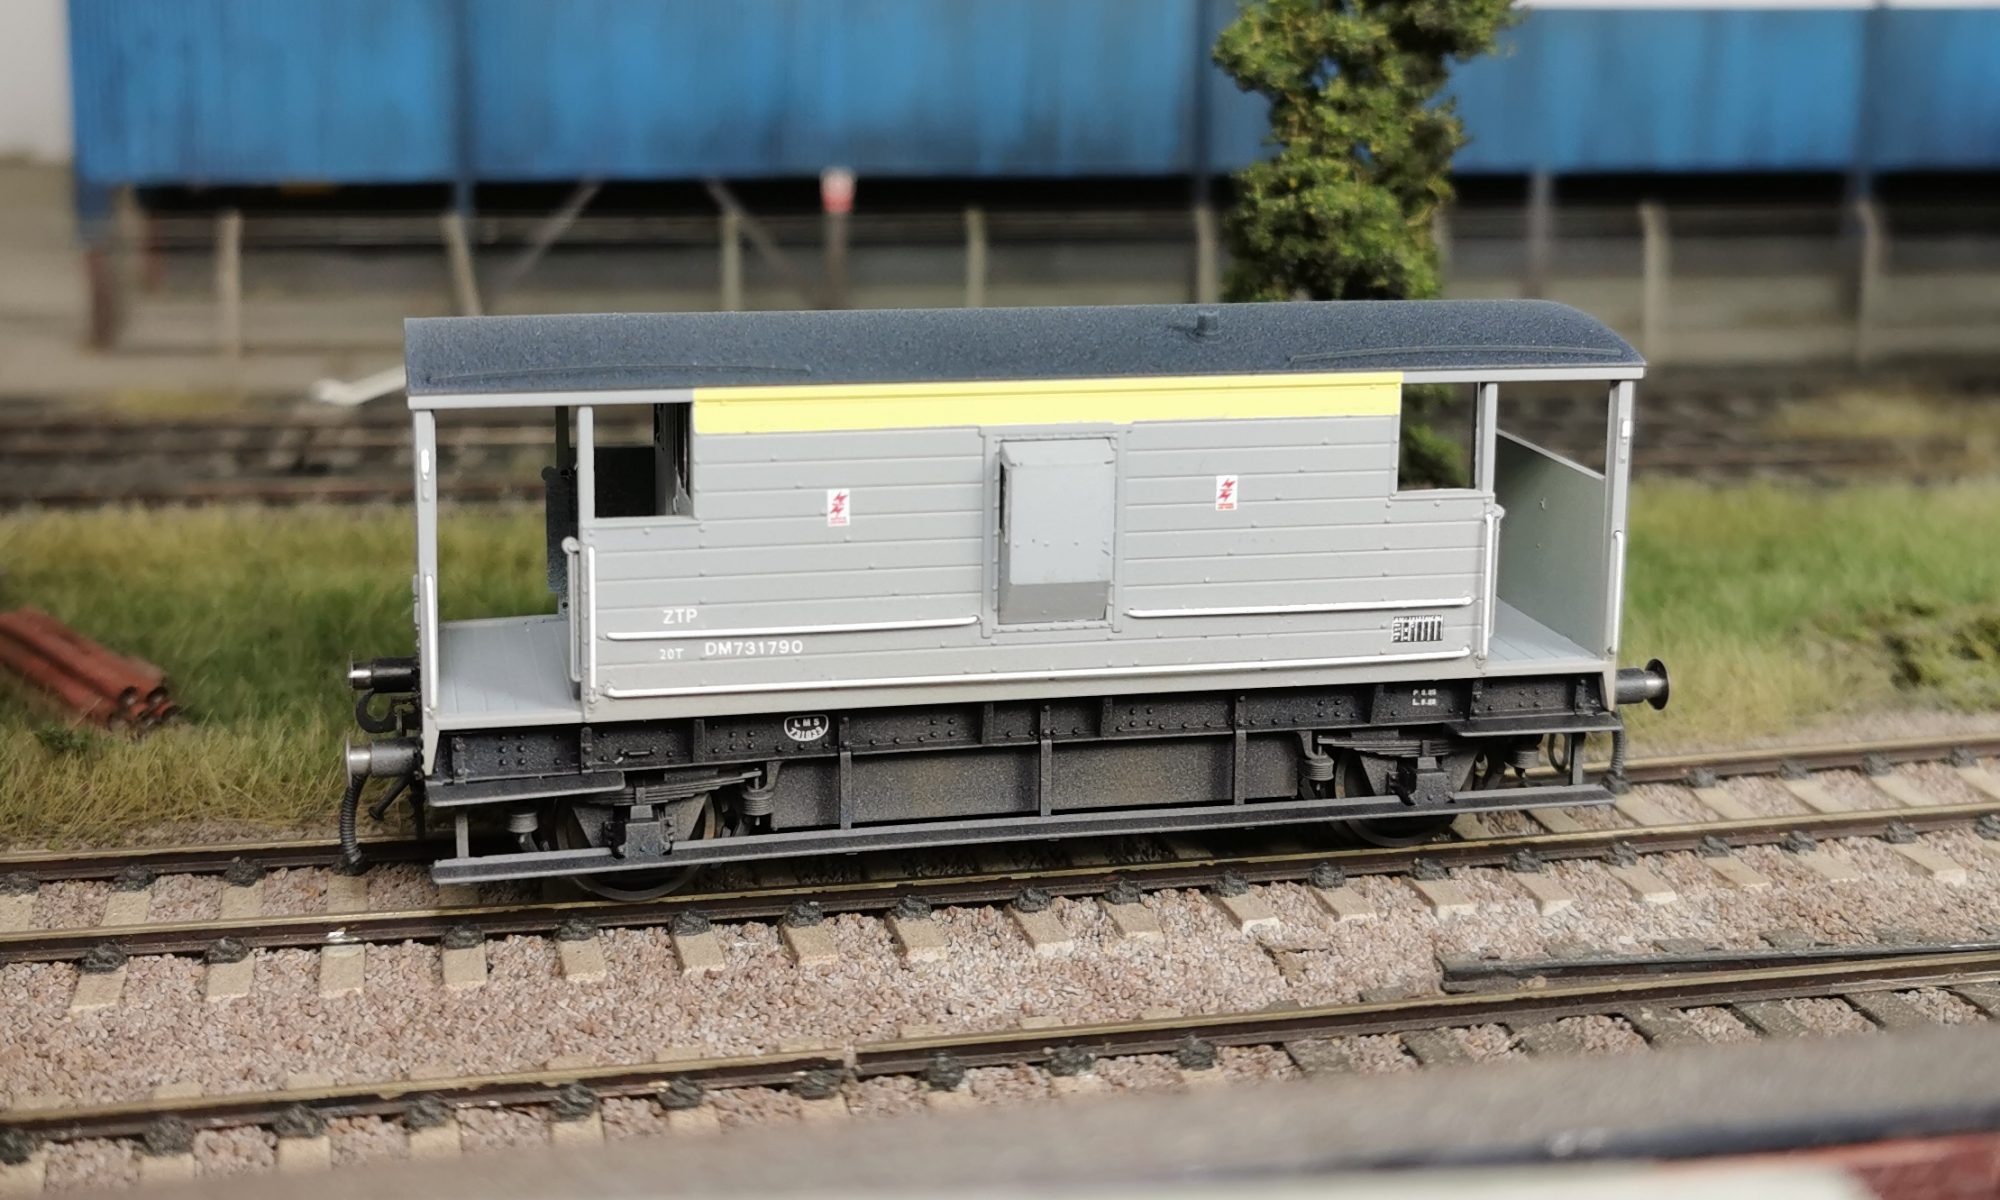
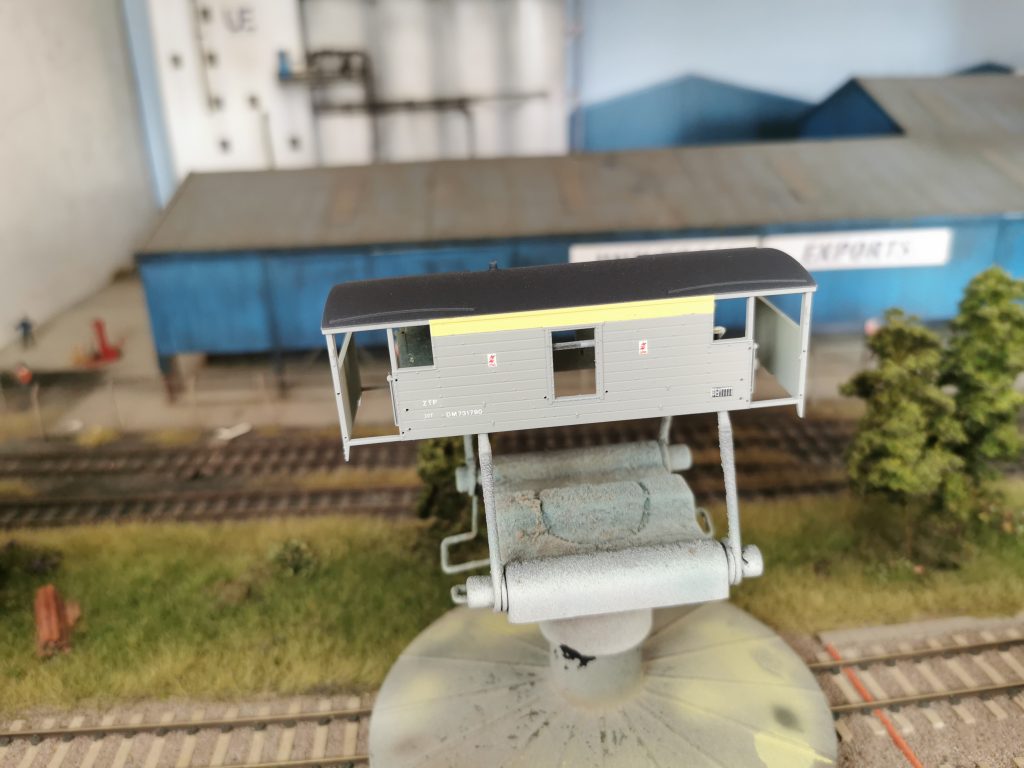
I’ve recently purchased two of these Hornby brake vans at a bargain price of £14.95 each. So, thoughts soon turned to what I would do with them.
For this one, I’ve found a prototype photo on Paul Bartlett’s website which I’m going to use as a guide.
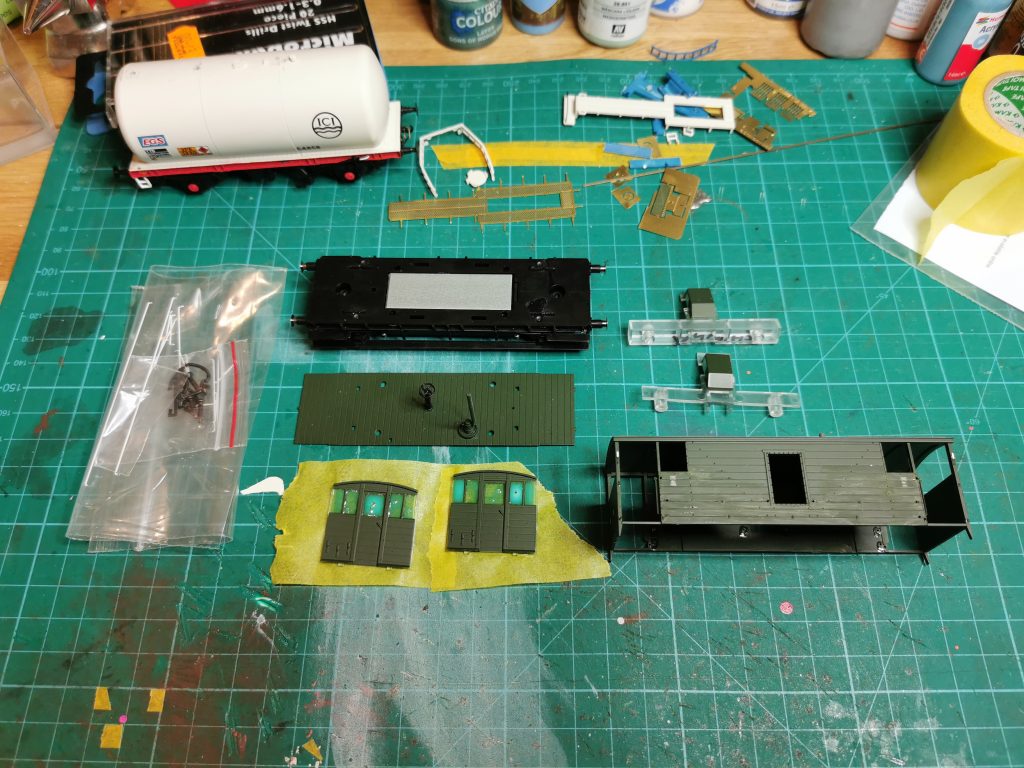
I started by removing the handrails and dismantling the van. I also drilled out the handrail holes making them slightly wider, which aids refitting and prevents them from looking bent. I then removed the numbers and markings with Isopropyl Alcohol, and masked the door and ducket windows with Vallejo masking fluid.
Dismantled and ready for primer
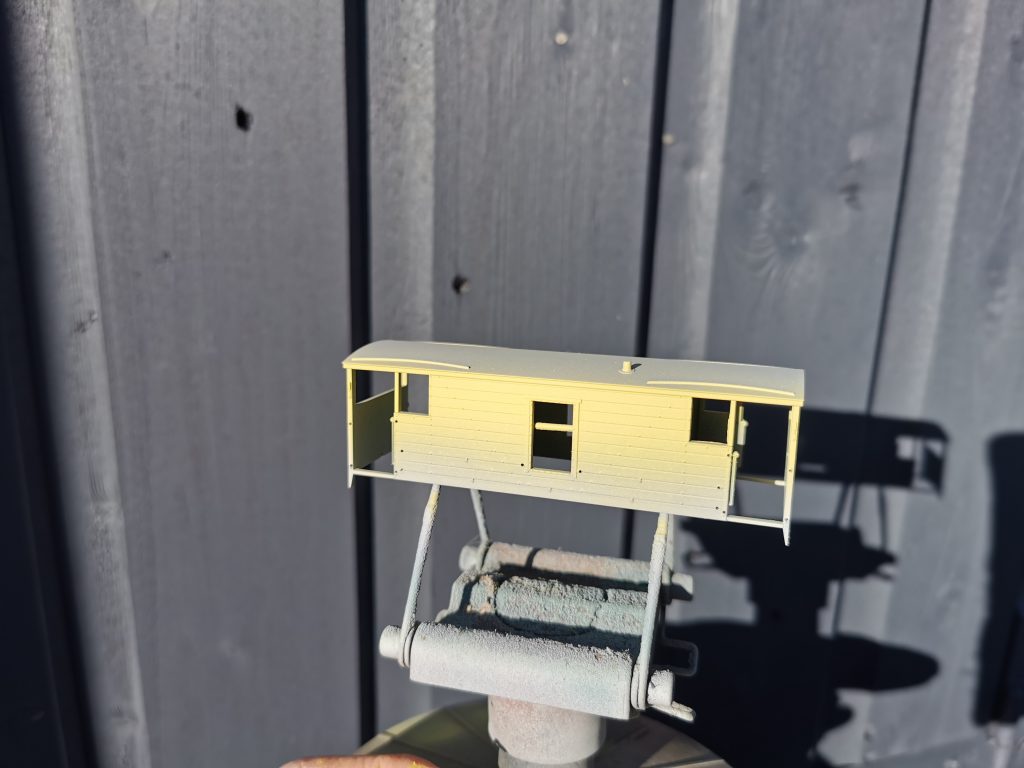
Next, I primed the van with Vallejo grey primer through the airbrush. The following day, once this had dried properly, I sprayed the faded Dutch yellow using a mixture of Games Workshop Phalanx Yellow and Scar White. Once dry the yellow was masked up and Army Painter Ash Grey was sprayed on the remainder of the body.
The faded yellow
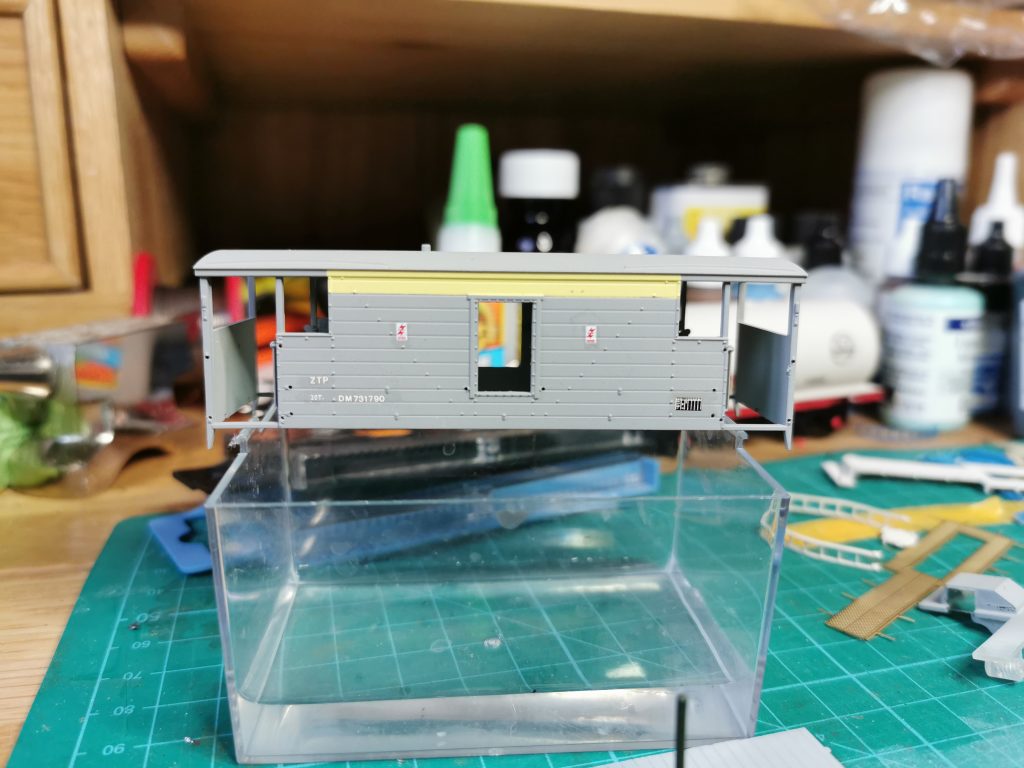
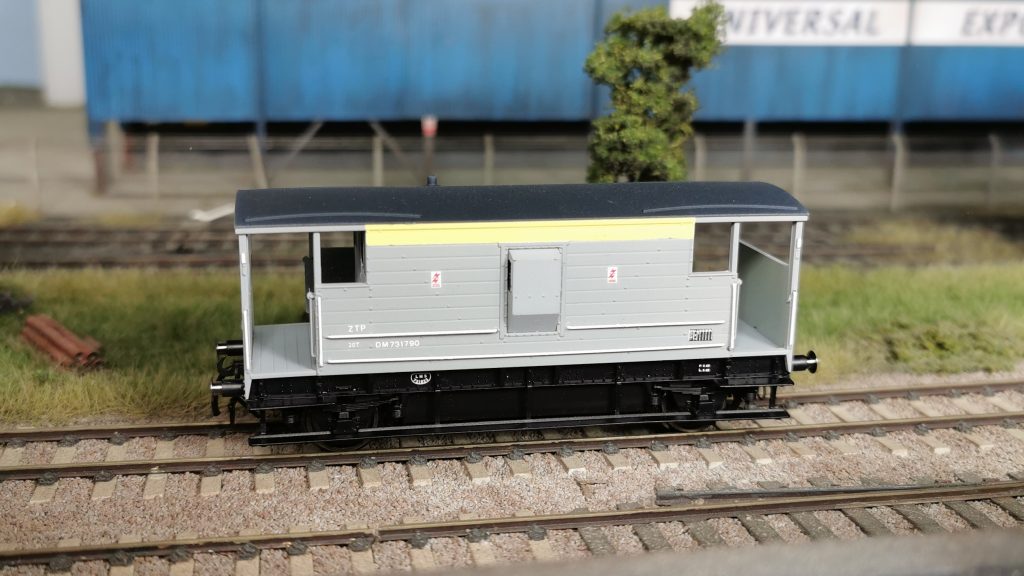
I applied gloss varnish with a brush to areas that required transfers. I find this speeds up the process, rather than airbrushing it. And the end result isn’t compromised. Then the transfers were applied and another coat of gloss varnish added to secure them permanently.
Transfers added
Note the electrification flashes. The one on the right is offset while the other is central.
The roof was next to be painted so Charcoal Grey was sprayed with the airbrush, after some careful masking. More Vallejo masking fluid was used over masking tape seams as a precaution. There is nothing worse than unnecessary overspray from poor masking!
Roof painted dark grey
A coat of matt varnish was sprayed from a rattle can. I’ve used many different brands of rattle can varnish over the years, but one I always recommend is Colour Forge. The finish is second to none.
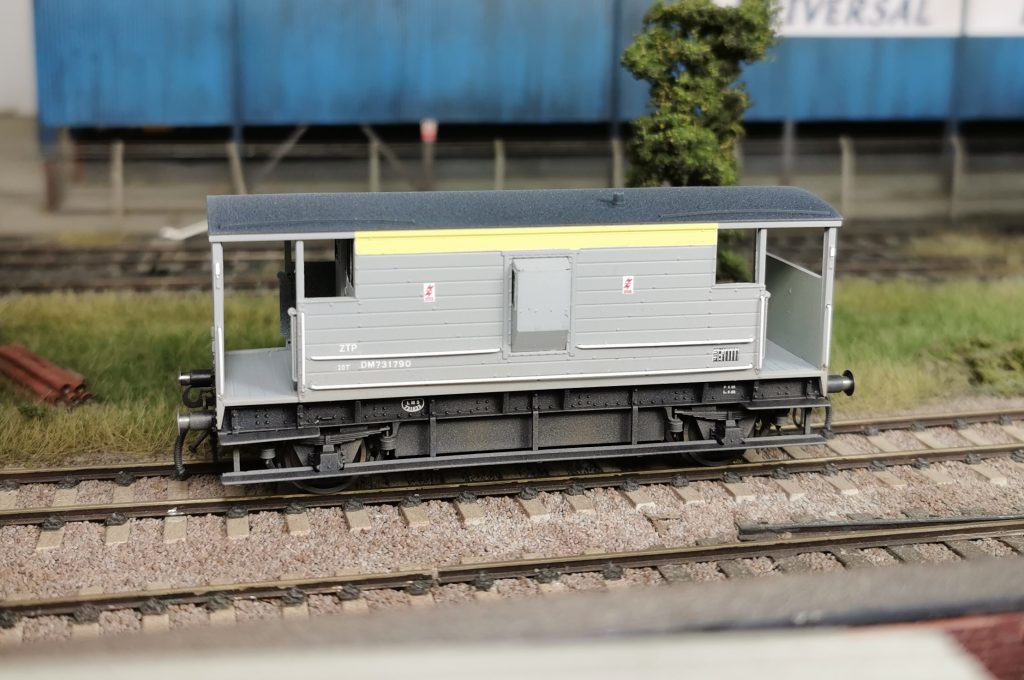
Final tasks before weathering was to paint the lamp irons white and glue the handrails back in place.
Resprayed and ready for weathering
Weathering consisted of 3 colours applied lightly through the airbrush. Ash Grey, Brown Leather and Light Rust. The roof was also given a light blow over with Ash Grey, just to take the newness off the dark grey.
In November 1988, during a regional re-organisation, Birmingham area shunt locos and their duties were re-alloacted to Bescot. One of 10 shunters transfered from Tyseley was 08928.
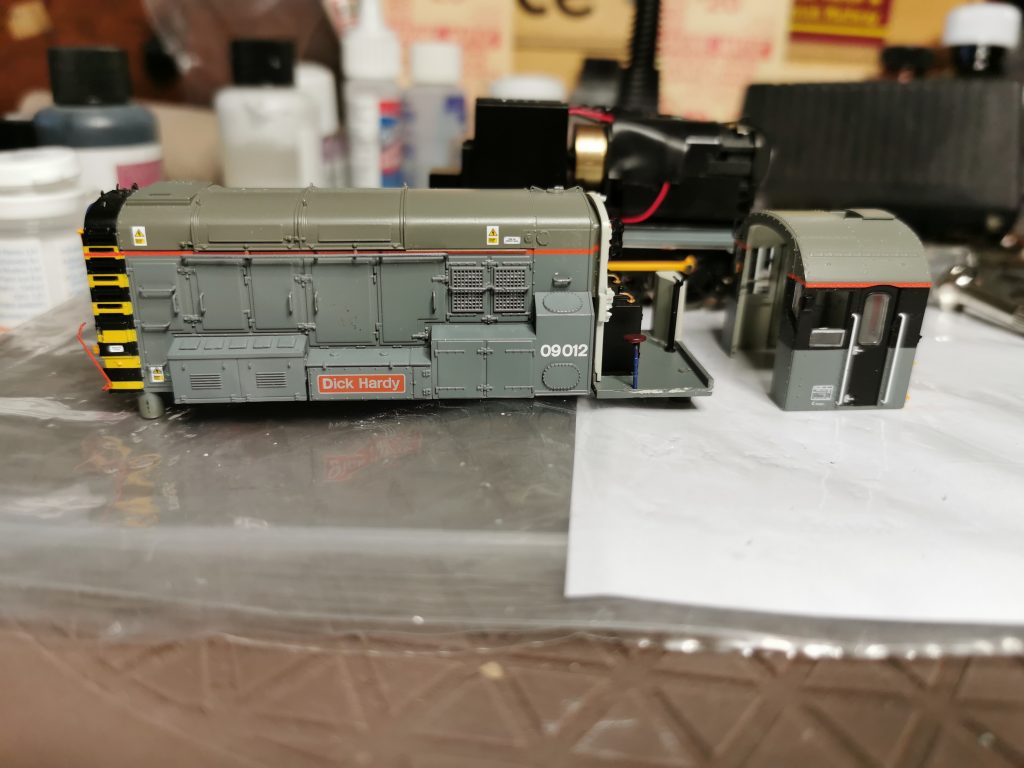
For this project, I’ve started with a Hornby class 09. Removing the unwanted pipework from the front and rear of the loco, I then filled the holes with Deluxe Materials filler before brush painting over it. I then seperated the cab from the main body and removed the windows. Next, I carefully masked up the cab front and the radiator end which will save me painting the wasp stripes later. The body was primed with Railmatch acrylic primer thinned with acrylic thinners and while this was drying I brush painted primer onto the bufferbeams, buffer shanks and along the chassis side.
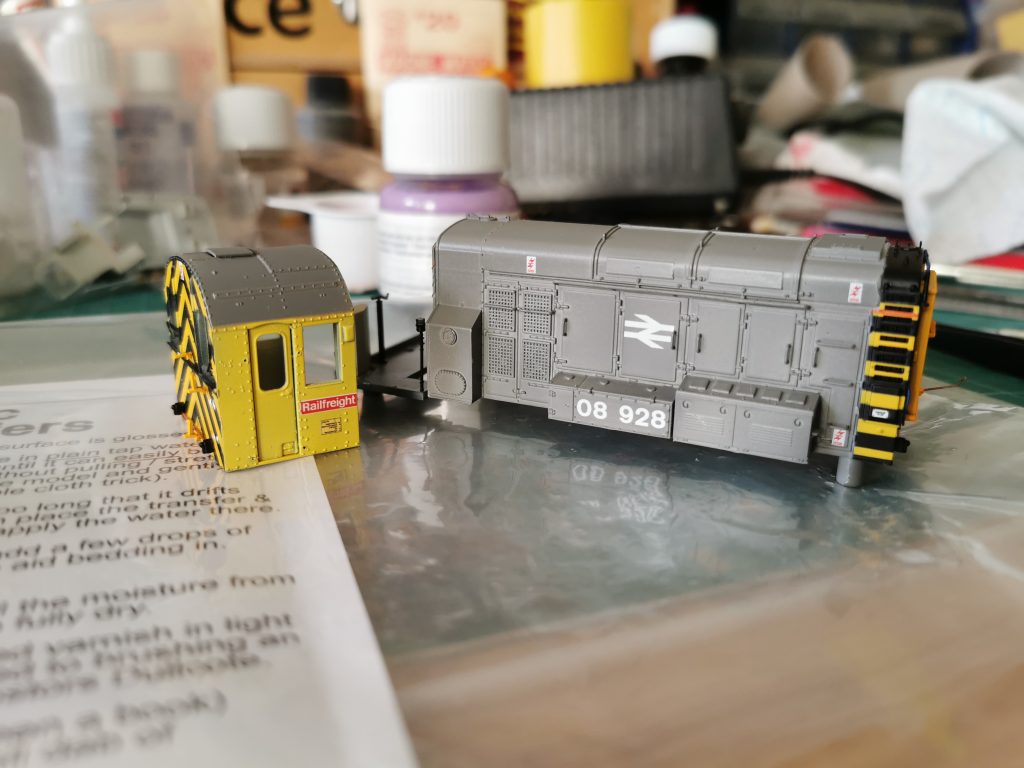
Transfers come from my prefered supplier Railtec, and they do a sheet for this particular loco with everything you need. The transfers were applied and a coat of acrylic matt varnish was sprayed to secure them to the model. The bufferbeams and chassis sides were then brush painted red. After looking at photos of the prototype, I decided on Royal Mail Red because the red is much more vibrant than standard Rail Red. Once dry, the glasing was refitted and secured using Humbrol Clearfix, the cab and main body were reunited, and the body located back on the chassis.
Some finishing touches still required
Fitting screw link couplings to the Hornby Class 08 isn’t straight forward with its solid metal chassis, so I opted to fit the ones supplied in the detail bag. These are only really meant for decorative use, but I figured that if I used the links from the wagons to couple onto the hook on the shunter, this should be ok. A good strong super glue was used to secure the screw links in place, and bufferbeam pipework was then added at both ends.
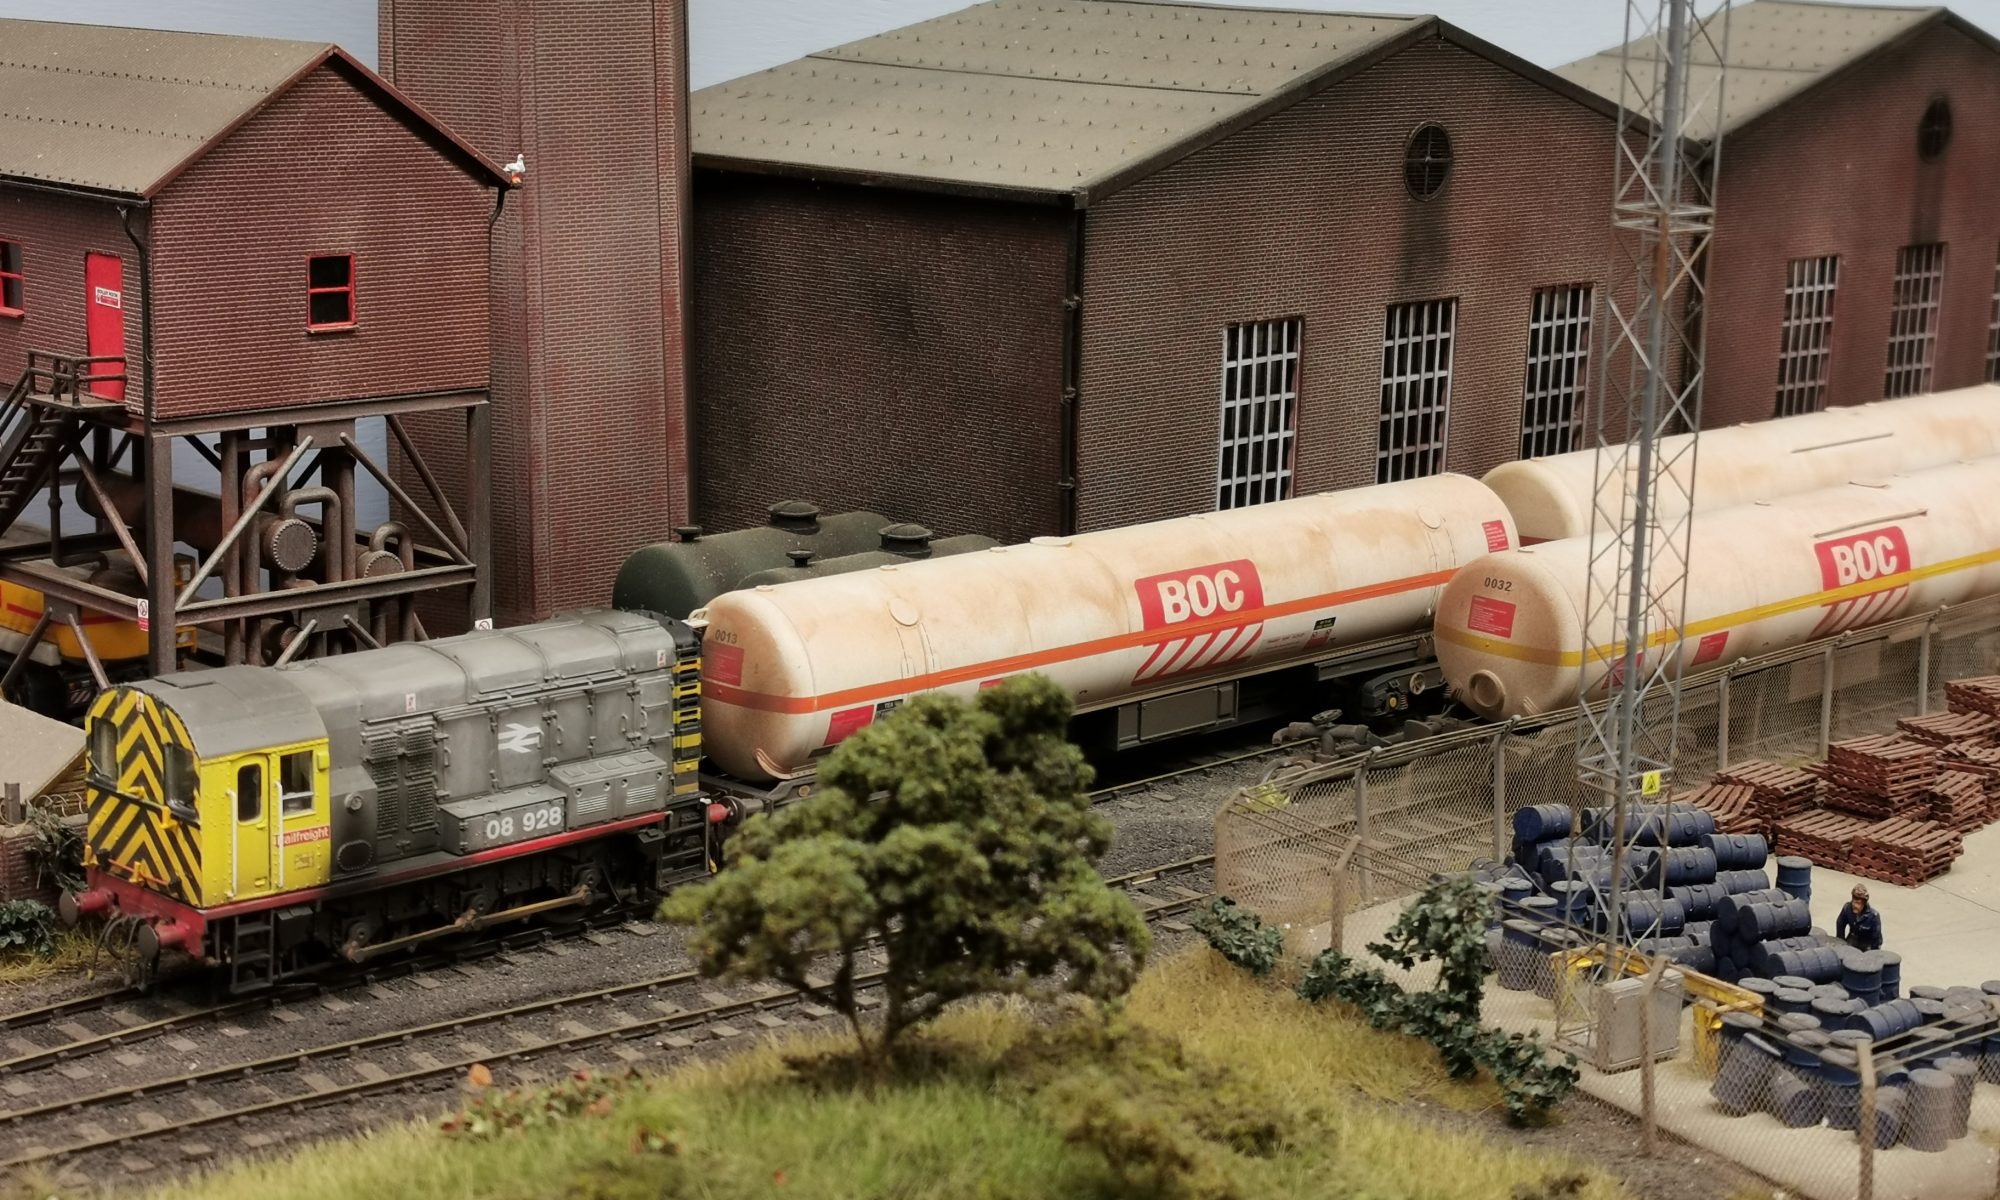
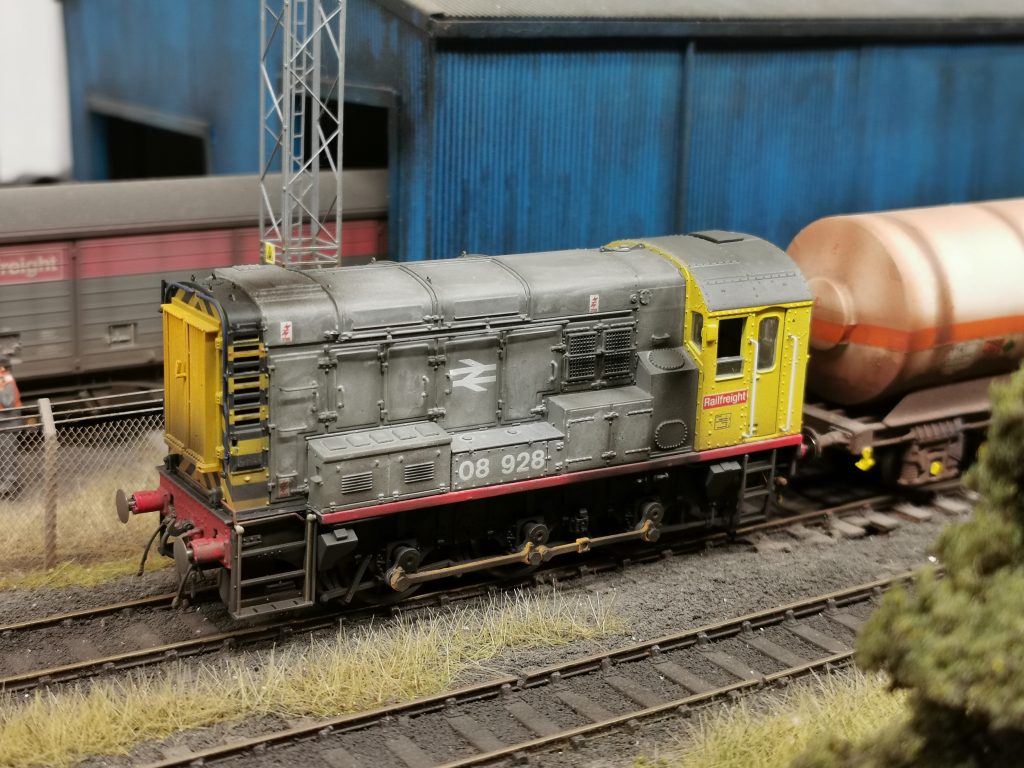
My attention then turned to the weathering, and a suitable prototype photograph from 1990 was sourced online. For copyright reasons I can’t share the photo here, but the loco has a fair amount of oily residue to both sides and on the underframe and connecting rods. I started with a mix of White and Dawnstone Grey and applied the wash all over the grey sides and roof to add to the already faded paintwork. Once dry, I used the Dawnstone Grey without adding the white, as a wash into all the panel lines. I then used the airbrush with Railmatch Frame Dirt for the underframe area and radiator grille, Roof Dirt along the roof panel lines and Soot Black for the exhaust port and filter panels.
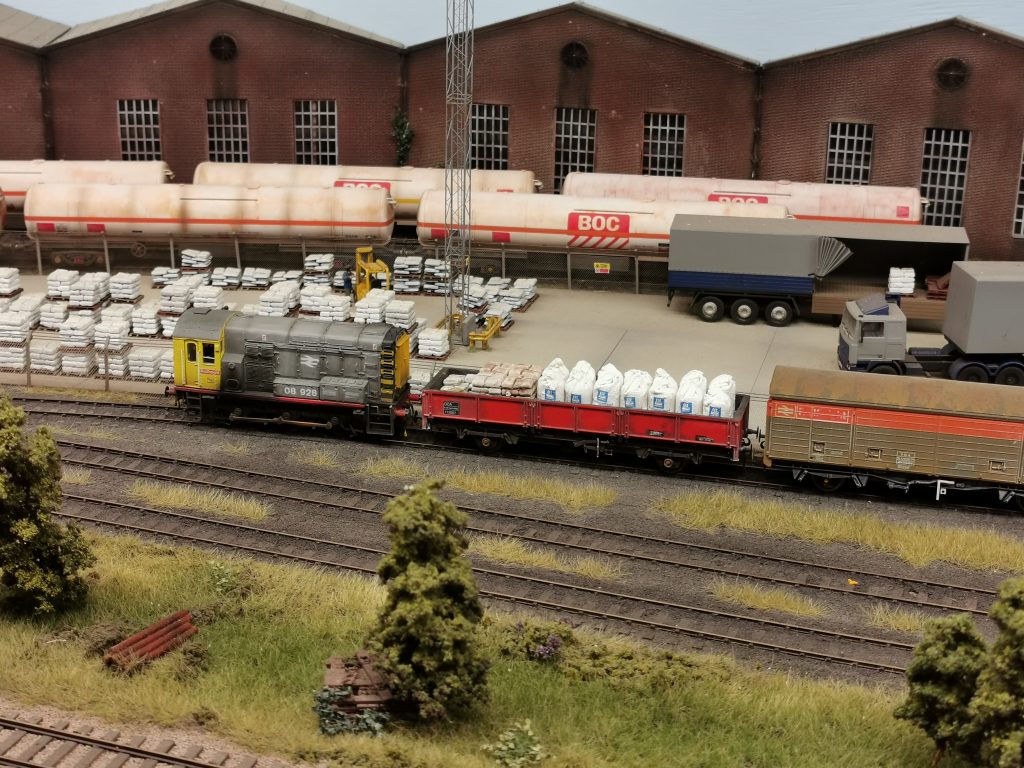
08 928 almost finished
I will add some oily streaks to the filter panel etc, at a later date when my local model shop can reopen. For this I’ll try AK Interactive Grease, as recommended by a friend.