Dutch ZTP Ex LMS Brake Van

Resprayed Hornby ZTP Dutch ex-LMS Brake Van

I’ve recently purchased two of these Hornby brake vans at a bargain price of £14.95 each. So, thoughts soon turned to what I would do with them.

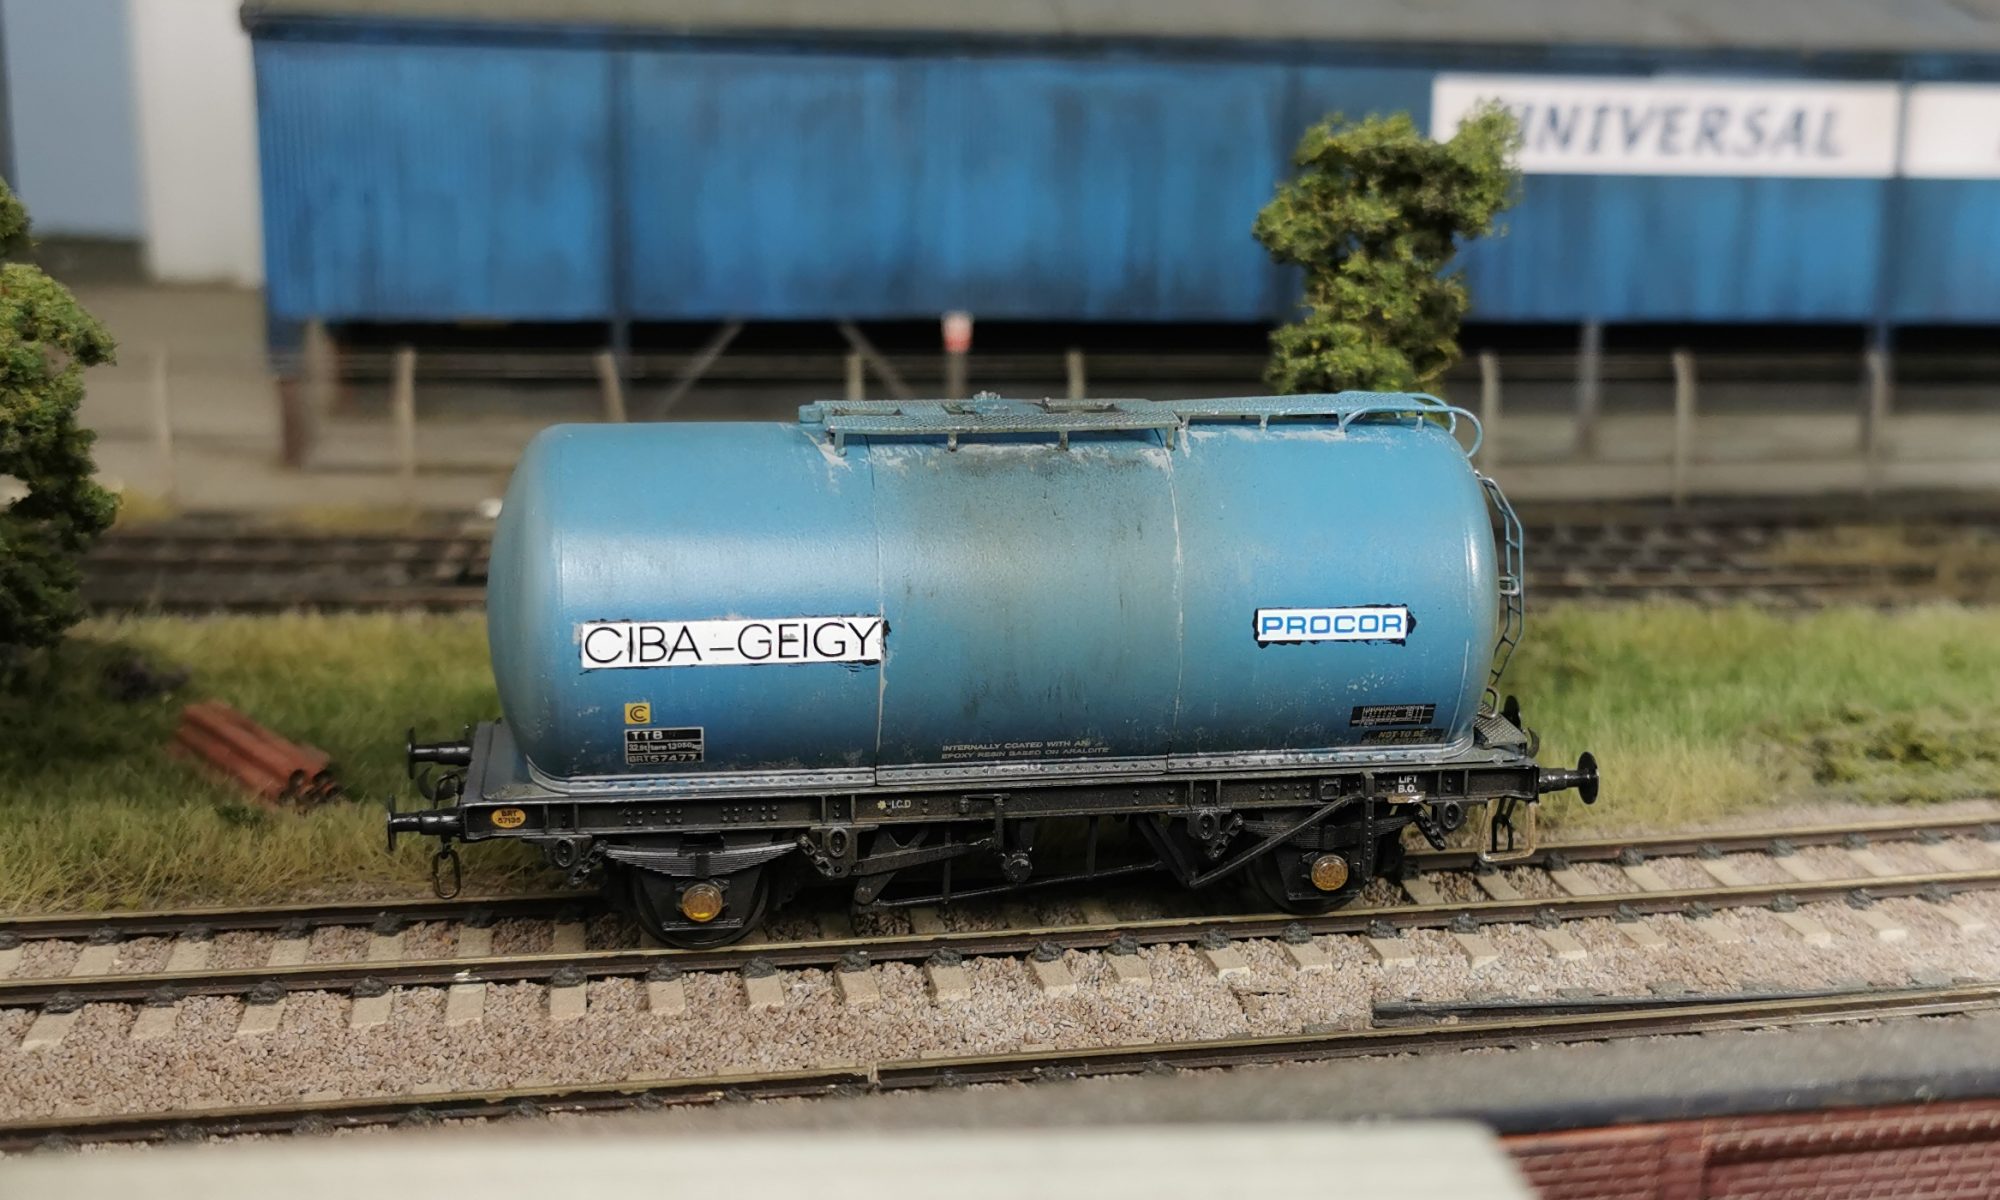
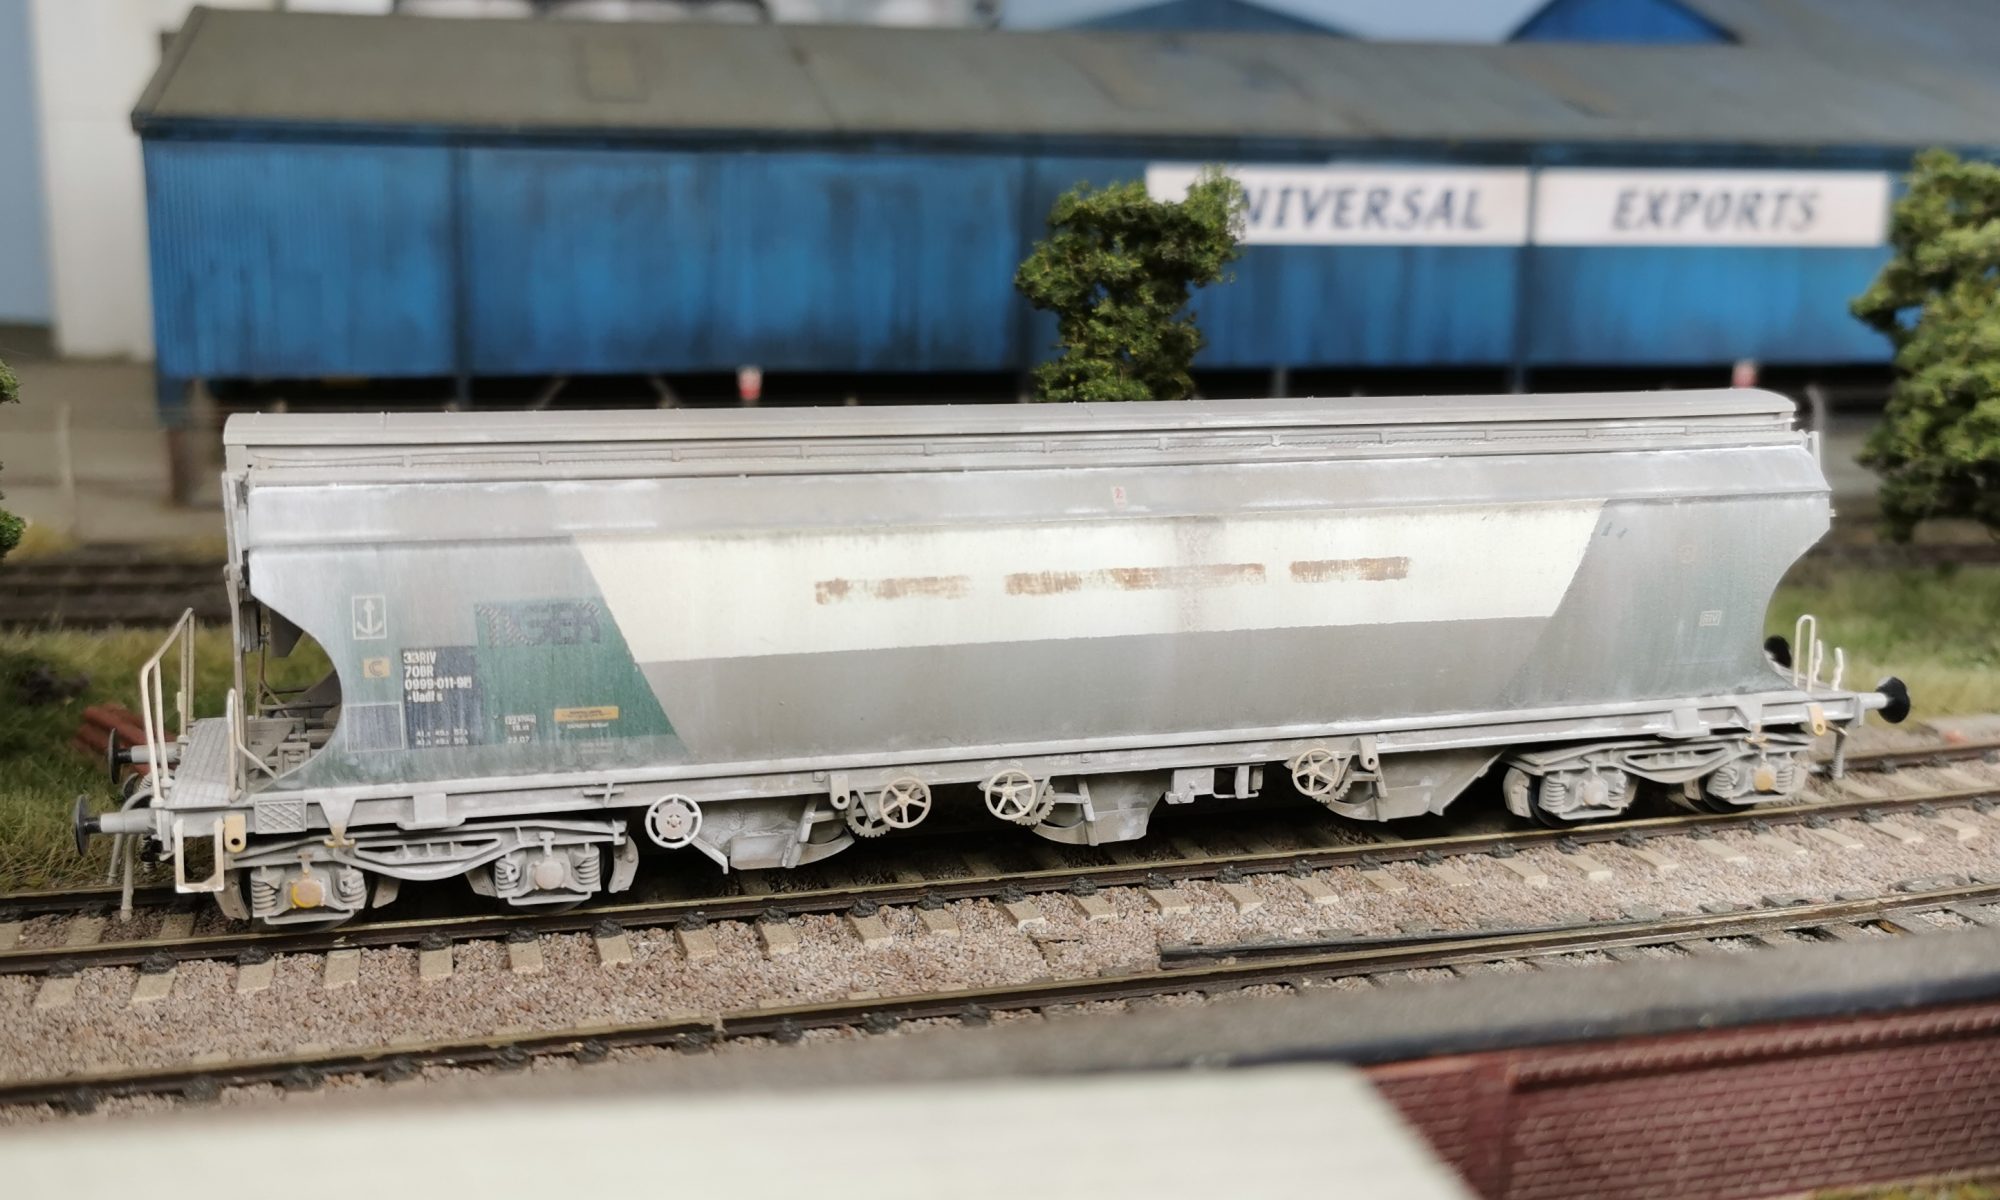
For this one, I’ve found a prototype photo on Paul Bartlett’s website which I’m going to use as a guide.

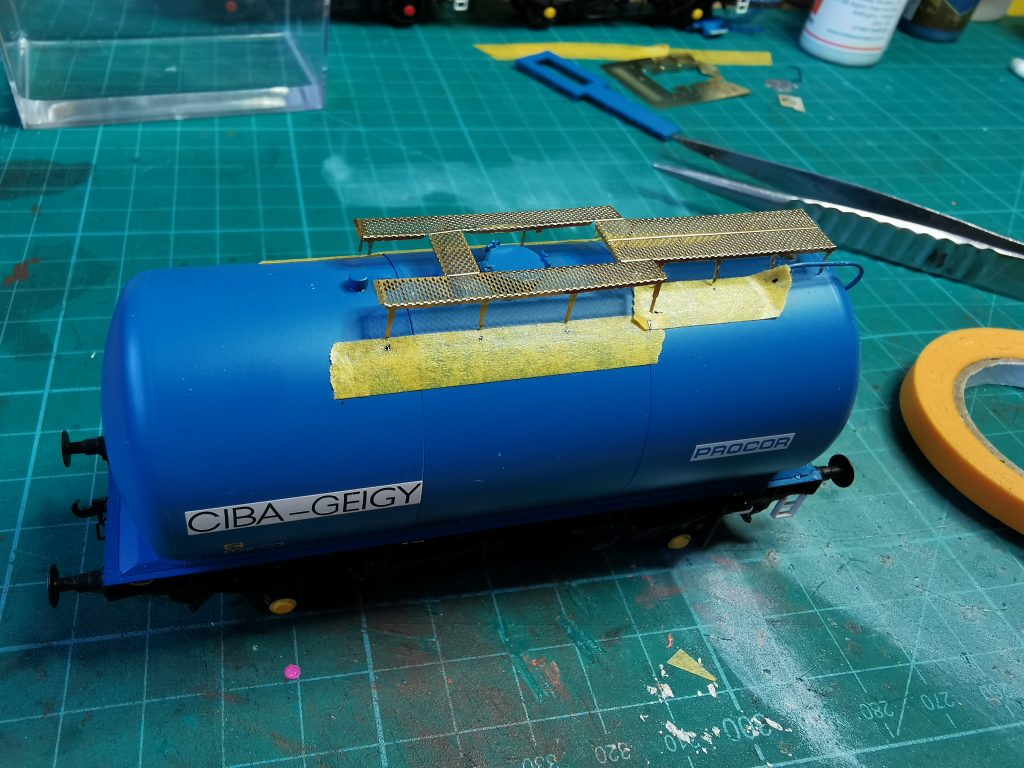
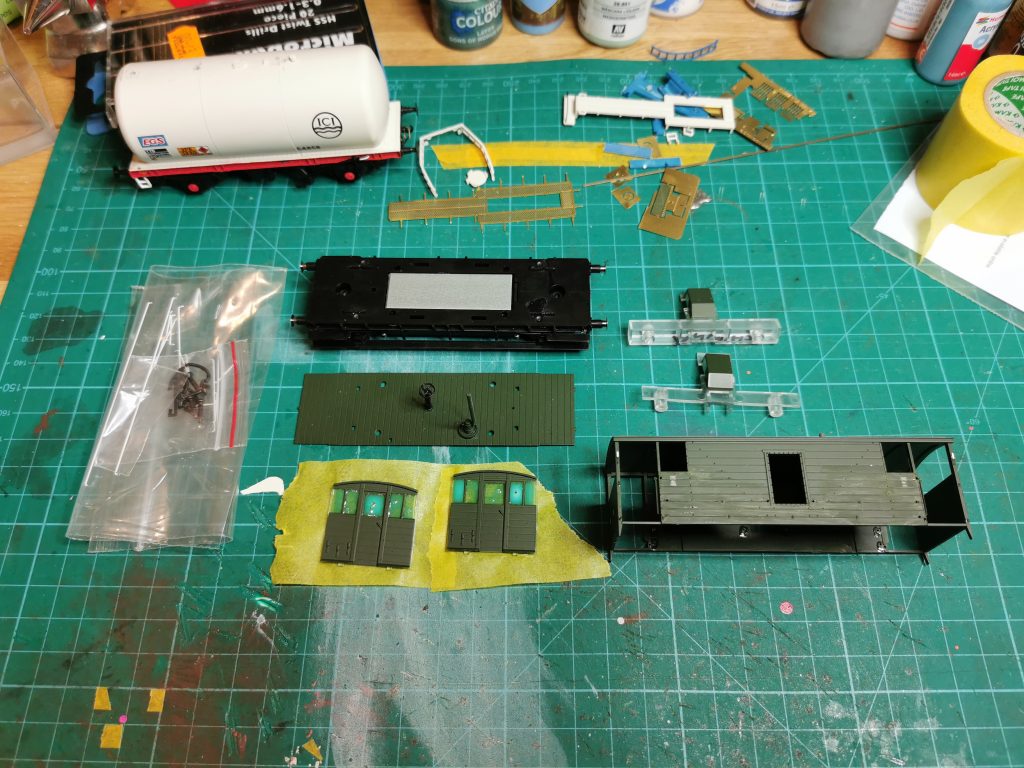
I started by removing the handrails and dismantling the van. I also drilled out the handrail holes making them slightly wider, which aids refitting and prevents them from looking bent. I then removed the numbers and markings with Isopropyl Alcohol, and masked the door and ducket windows with Vallejo masking fluid.

Dismantled and ready for primer

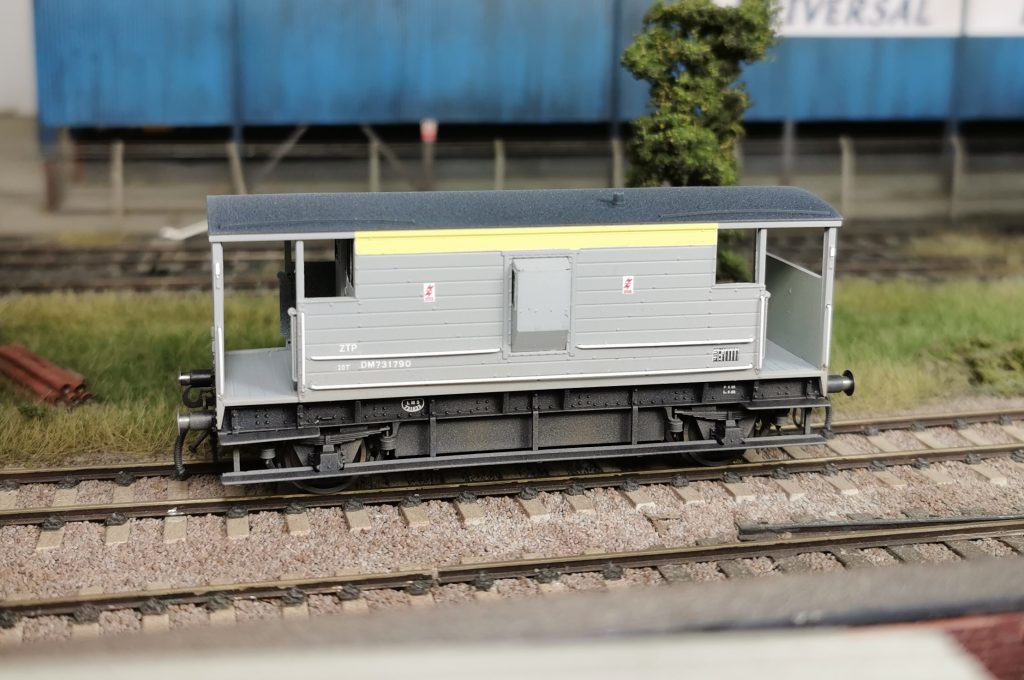
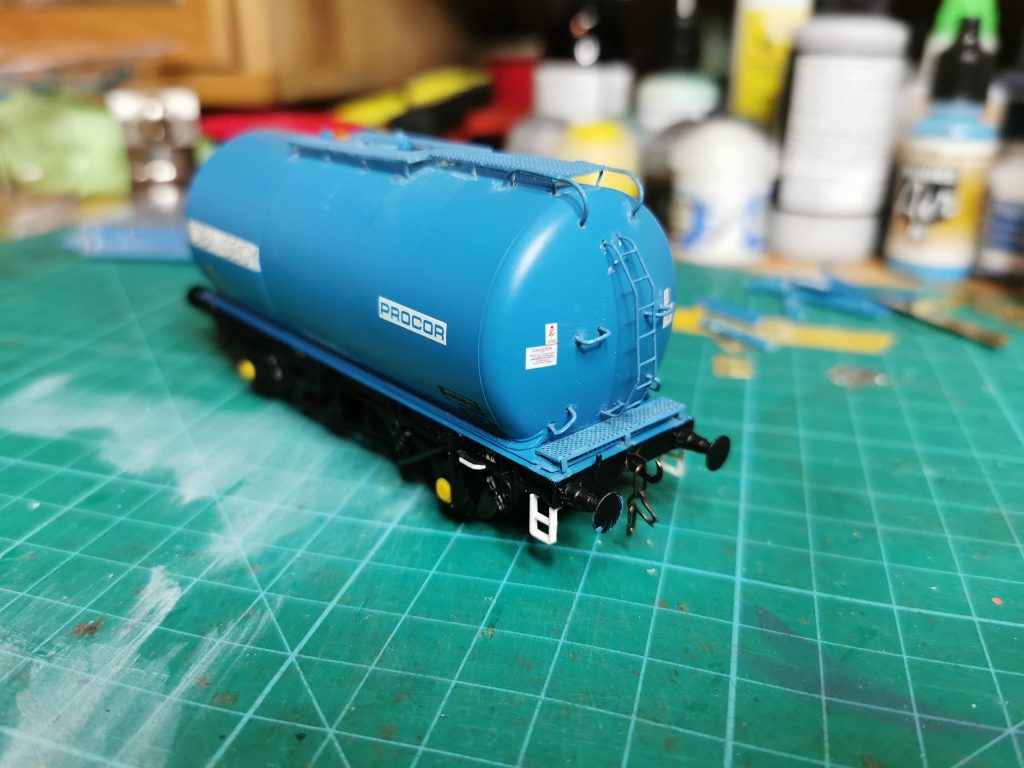
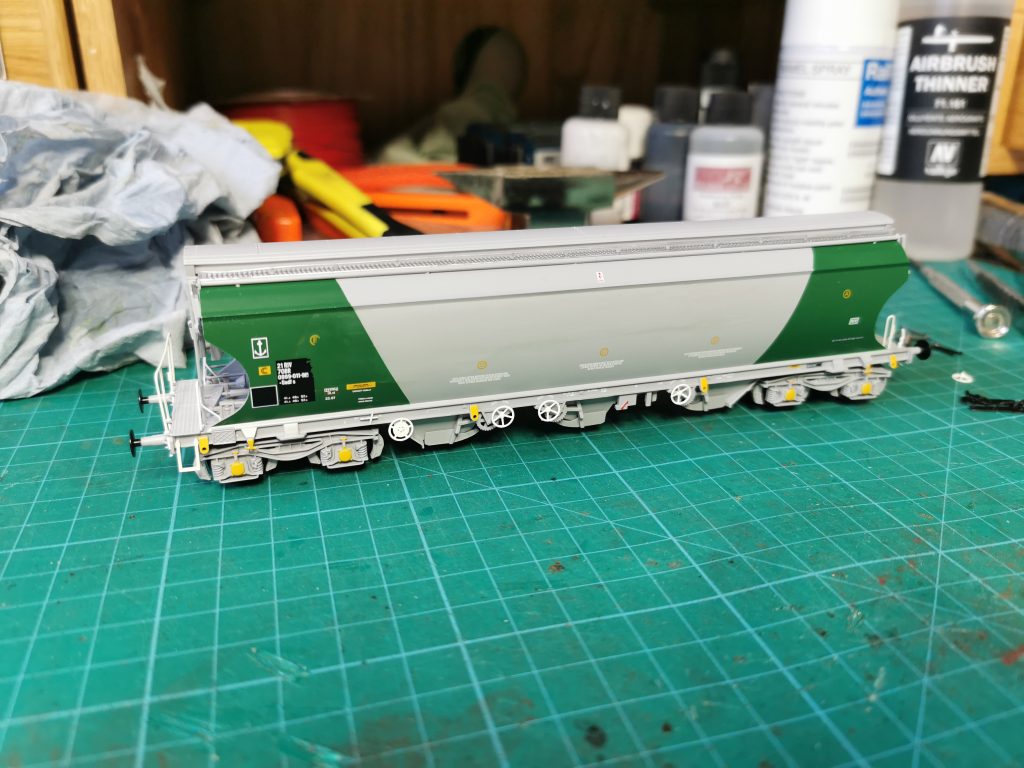
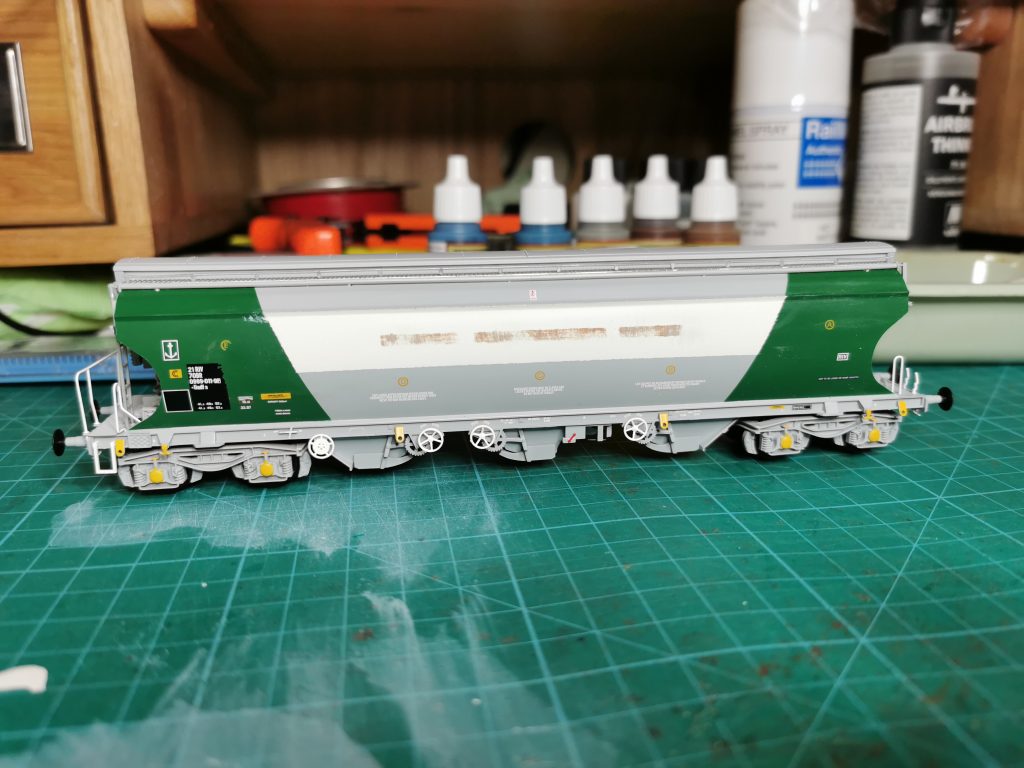
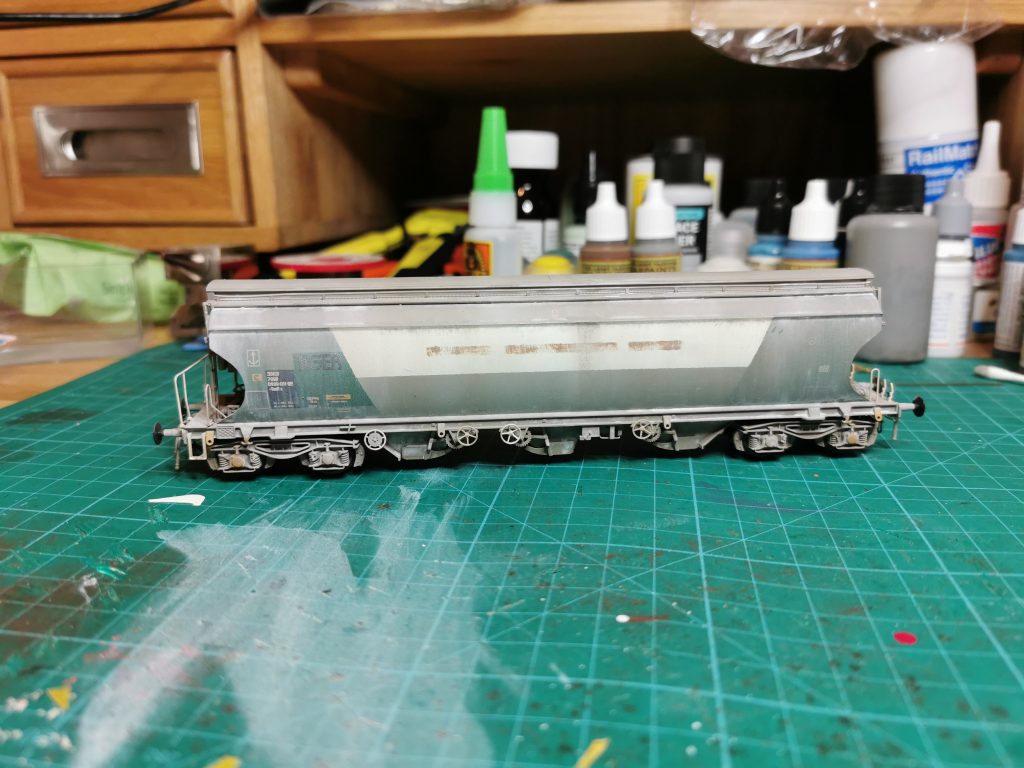
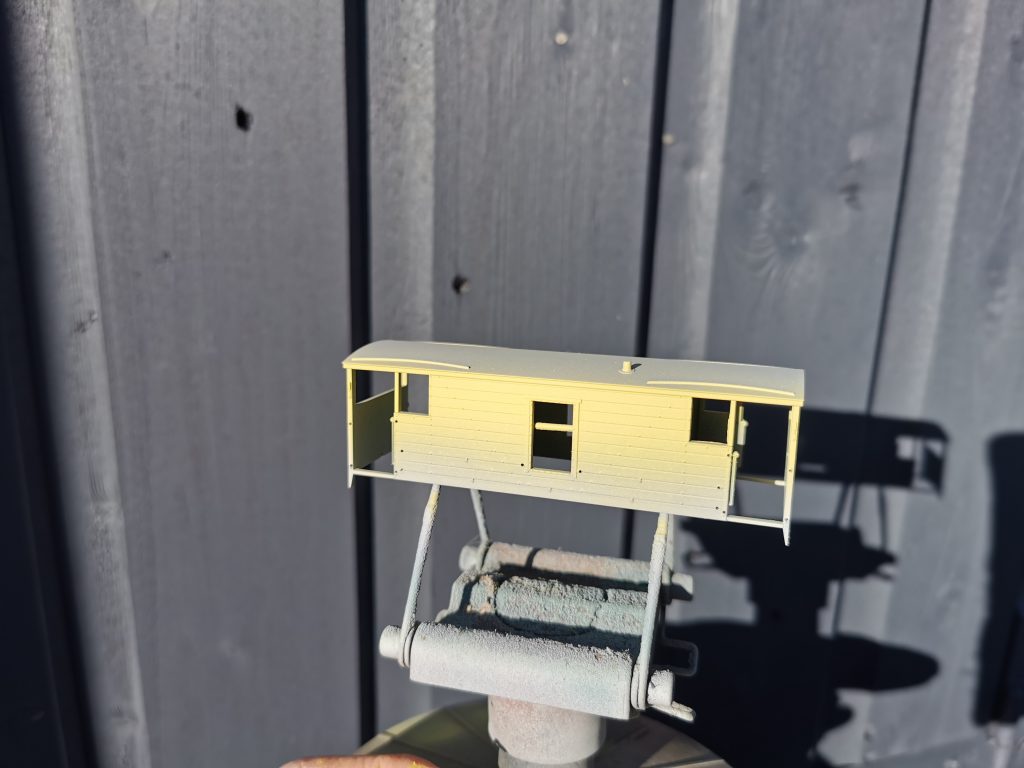
Next, I primed the van with Vallejo grey primer through the airbrush. The following day, once this had dried properly, I sprayed the faded Dutch yellow using a mixture of Games Workshop Phalanx Yellow and Scar White. Once dry the yellow was masked up and Army Painter Ash Grey was sprayed on the remainder of the body.

The faded yellow

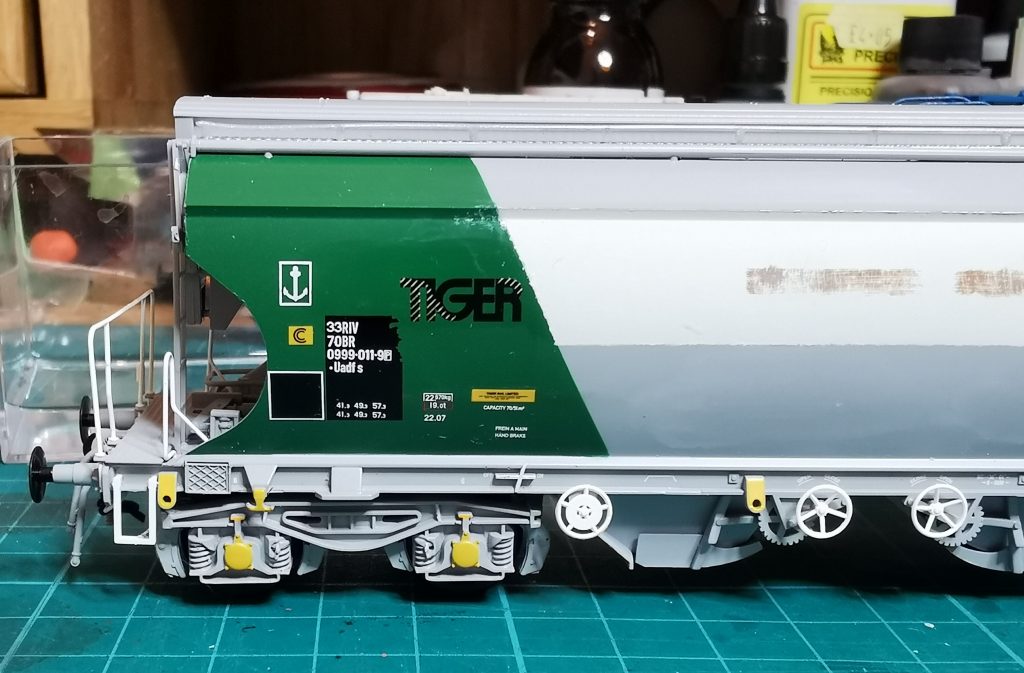
I applied gloss varnish with a brush to areas that required transfers. I find this speeds up the process, rather than airbrushing it. And the end result isn’t compromised. Then the transfers were applied and another coat of gloss varnish added to secure them permanently.

Transfers added

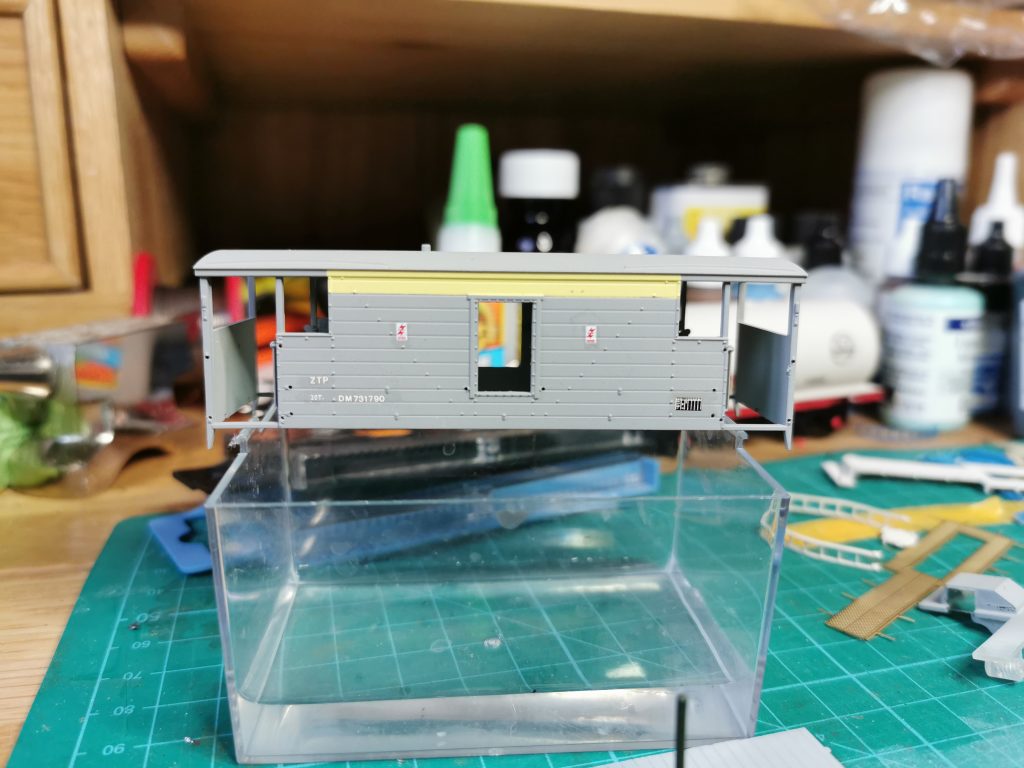
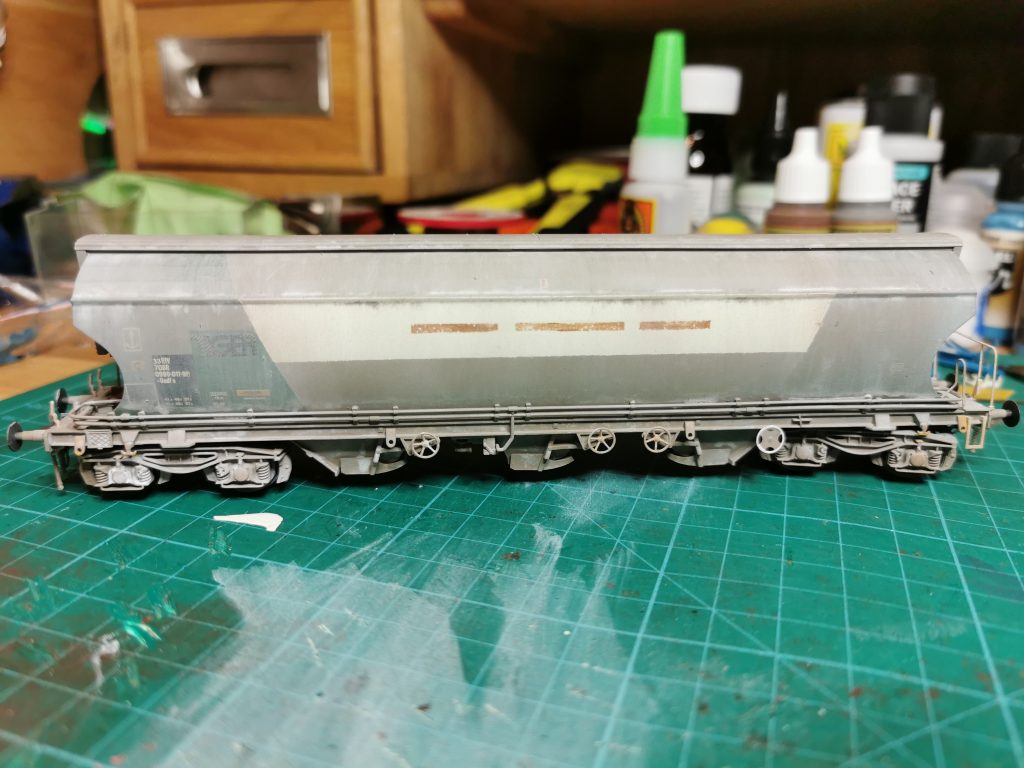
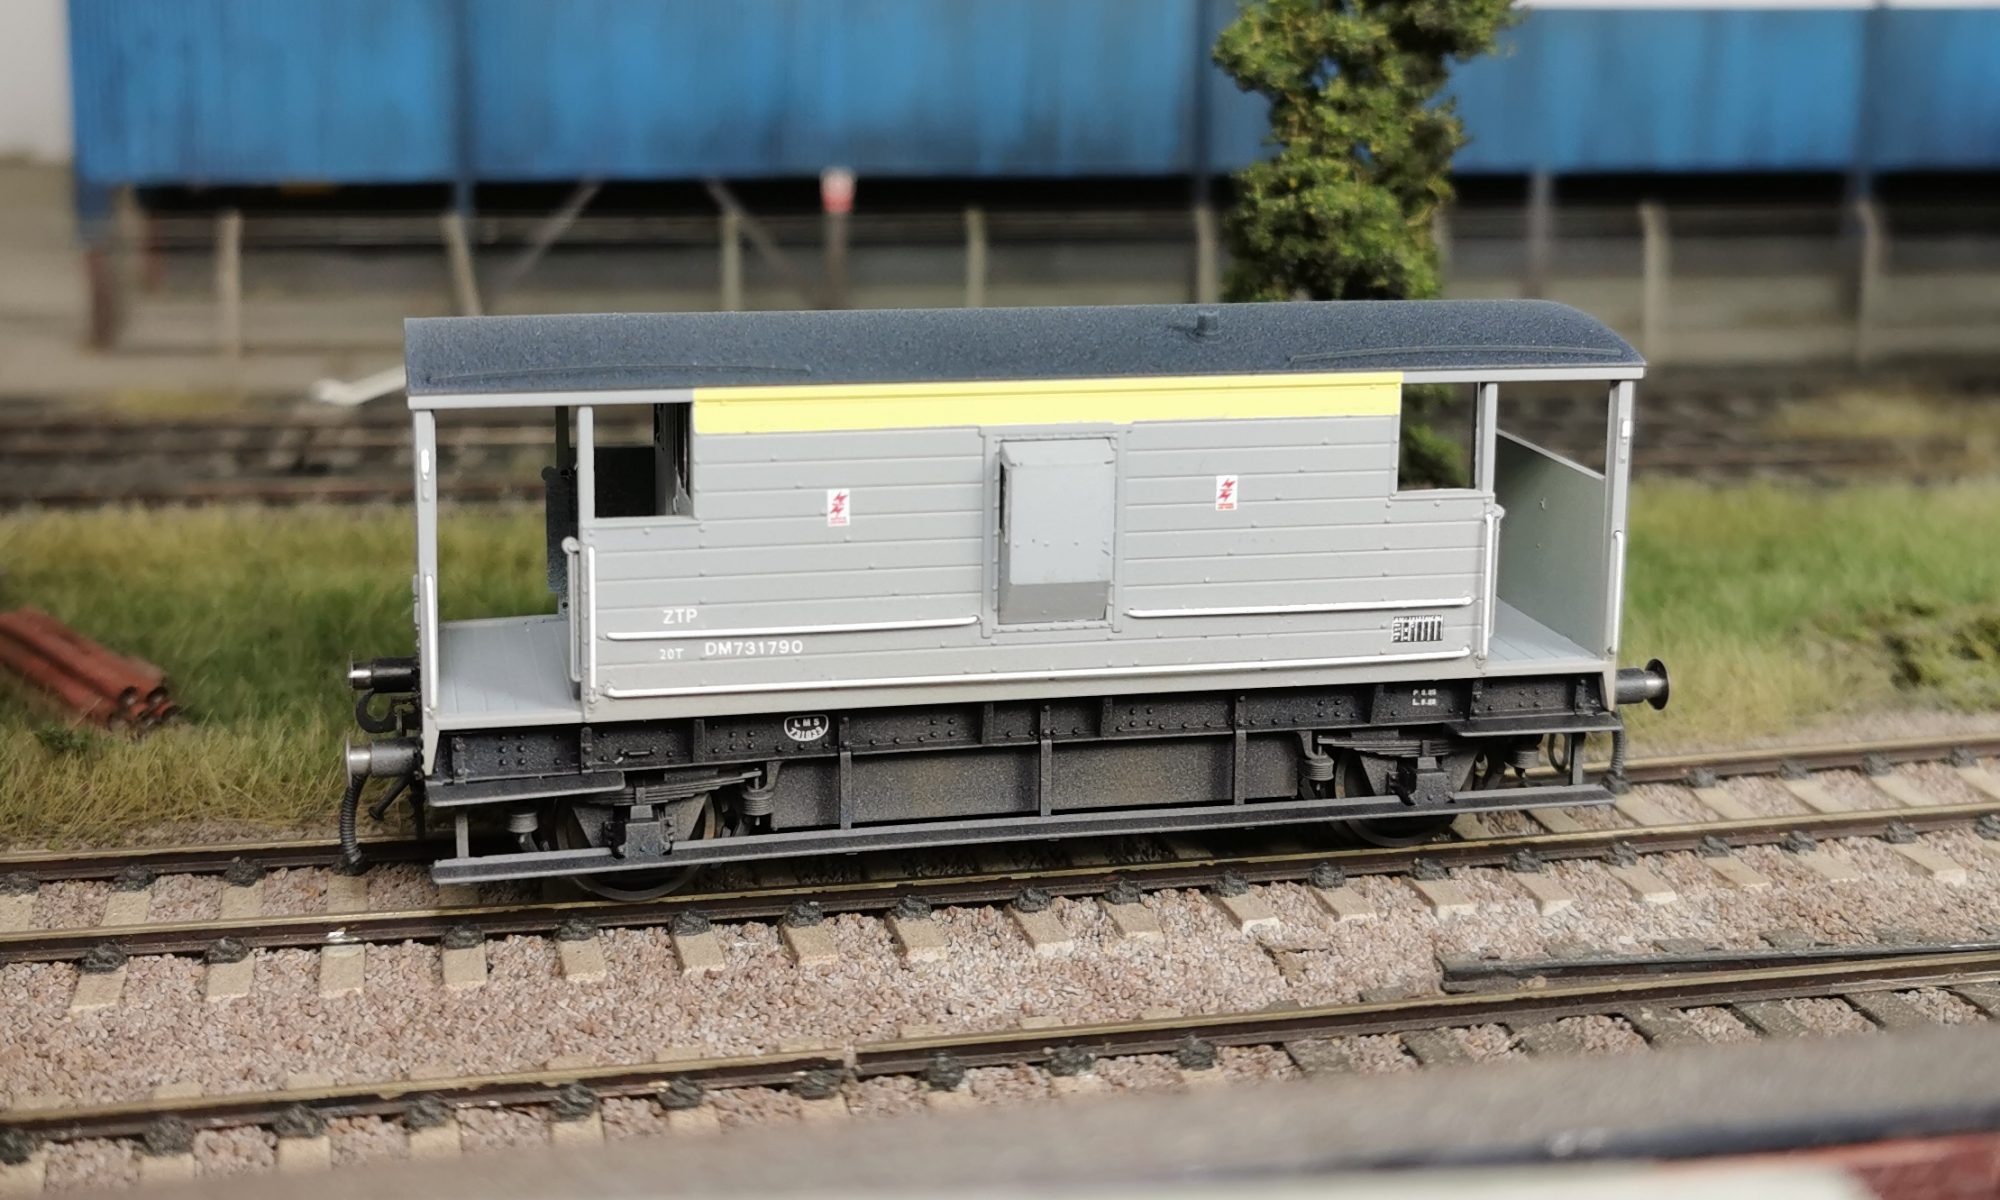
Note the electrification flashes. The one on the right is offset while the other is central.

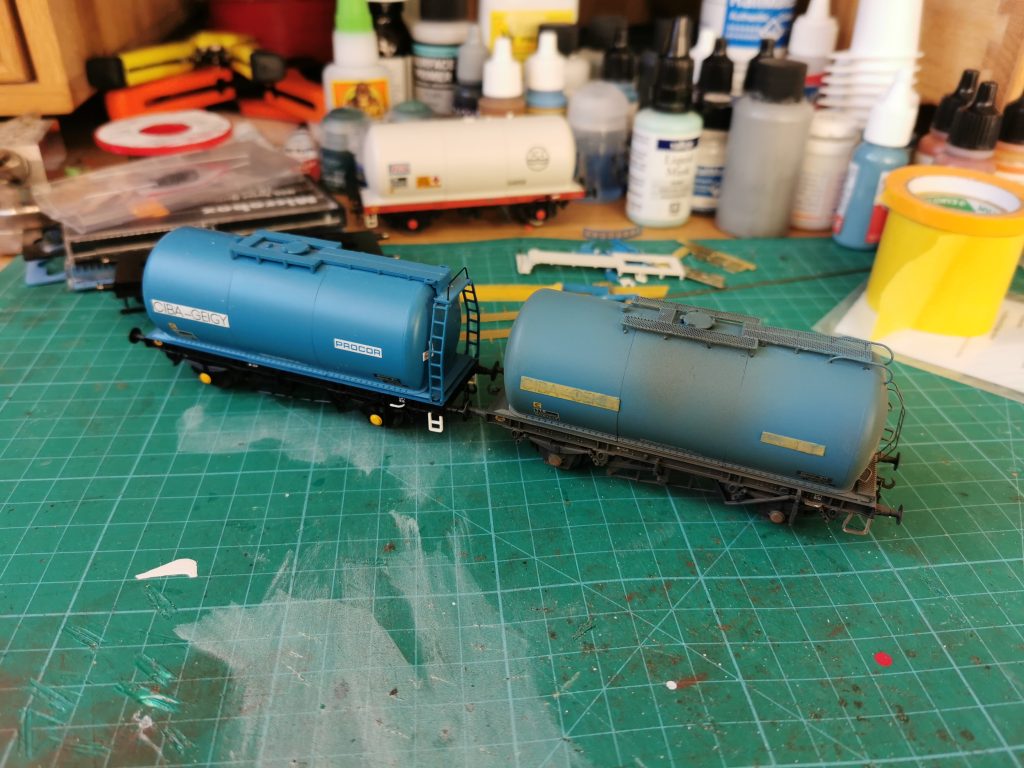
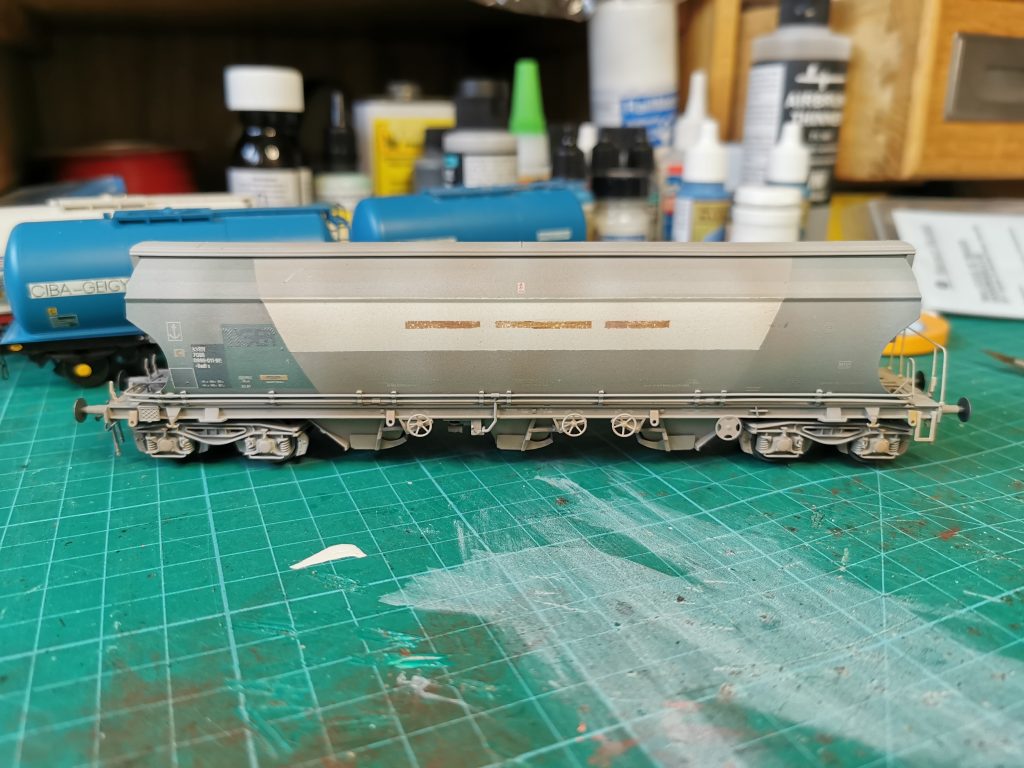
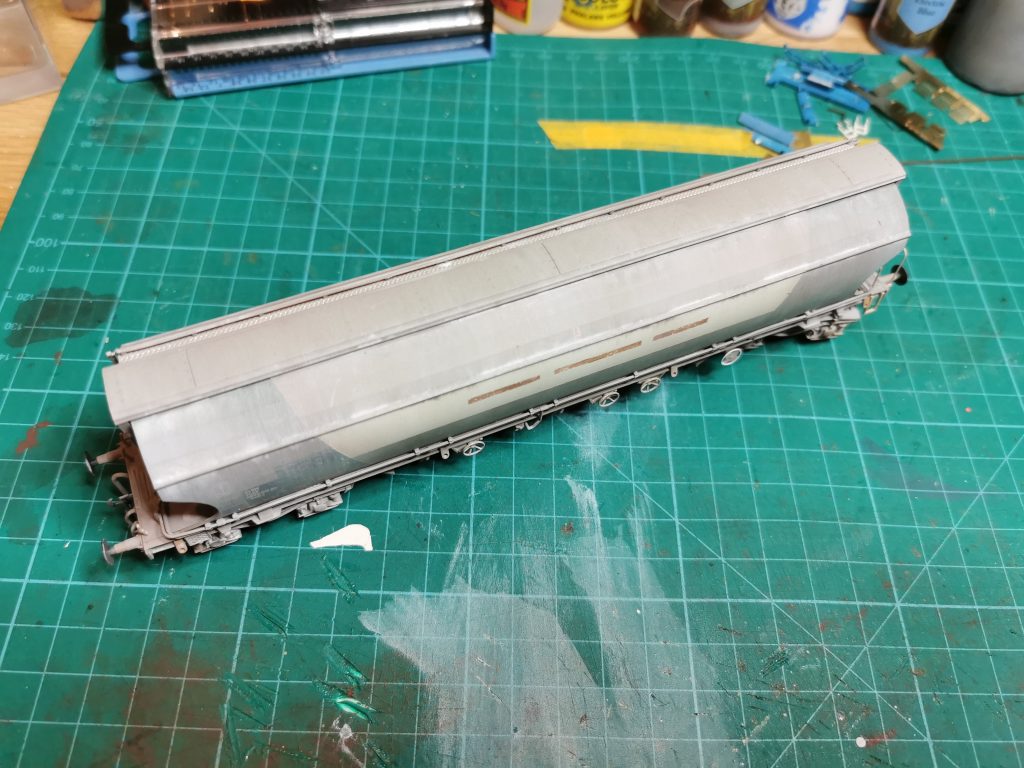
The roof was next to be painted so Charcoal Grey was sprayed with the airbrush, after some careful masking. More Vallejo masking fluid was used over masking tape seams as a precaution. There is nothing worse than unnecessary overspray from poor masking!

Roof painted dark grey

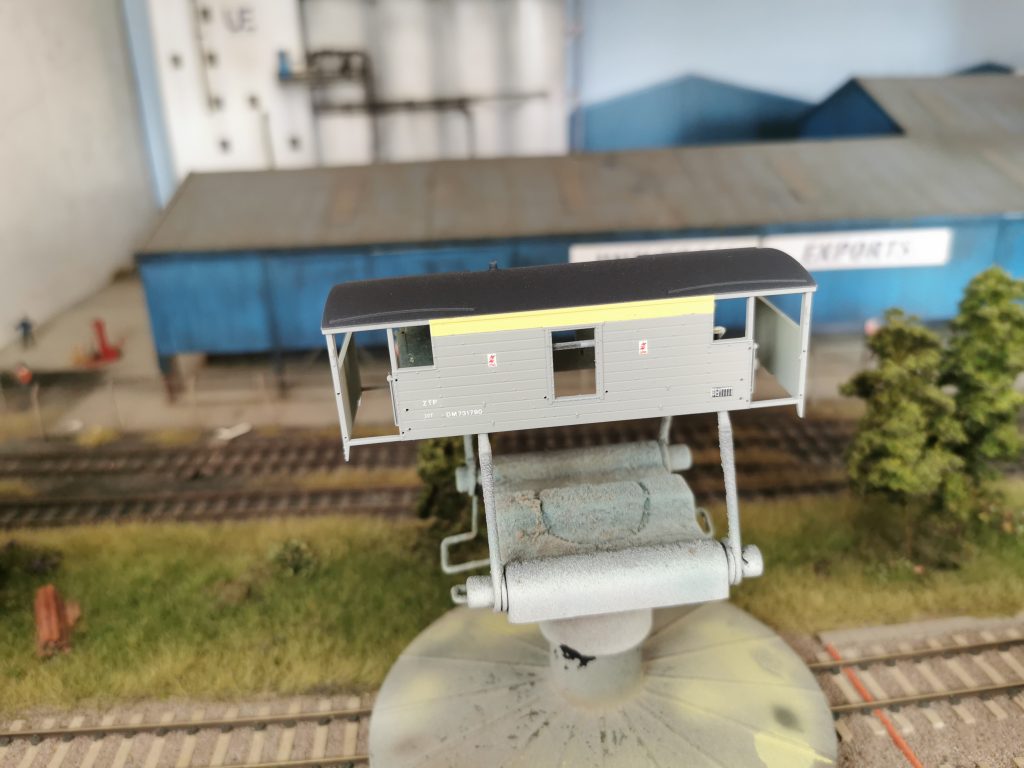
A coat of matt varnish was sprayed from a rattle can. I’ve used many different brands of rattle can varnish over the years, but one I always recommend is Colour Forge. The finish is second to none.

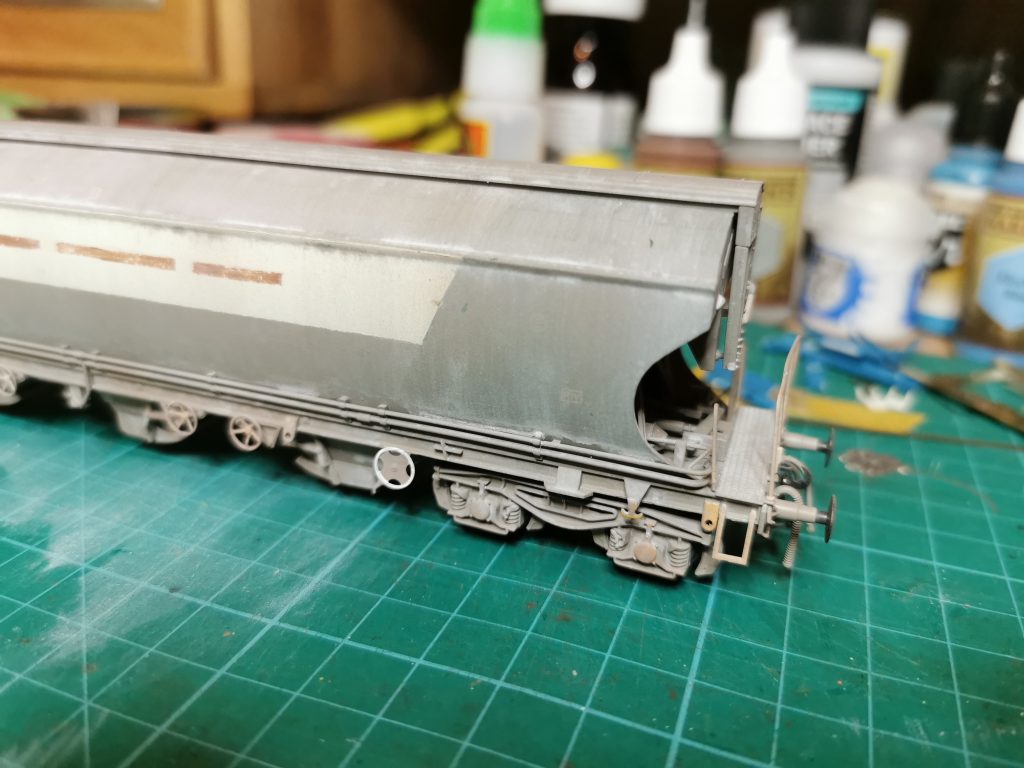
Final tasks before weathering was to paint the lamp irons white and glue the handrails back in place.

Resprayed and ready for weathering

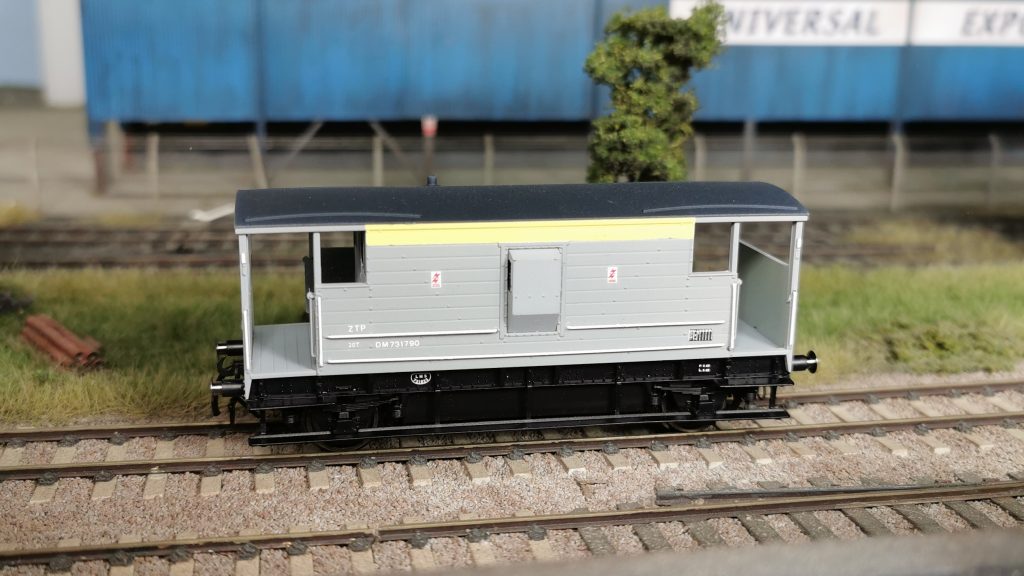
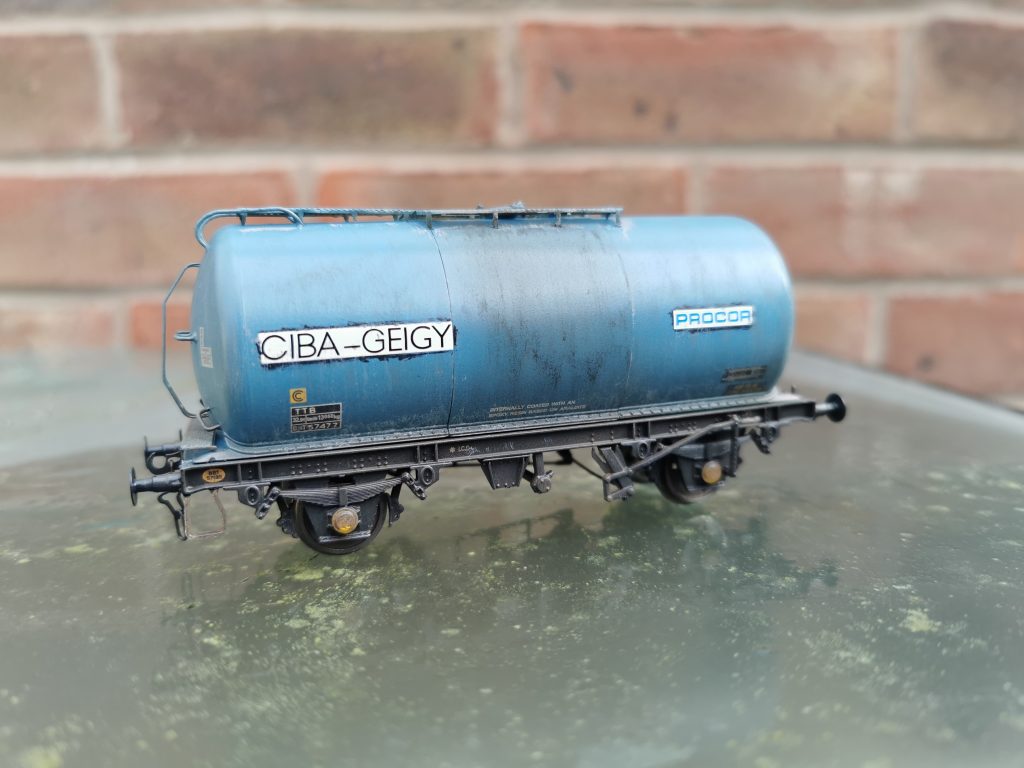
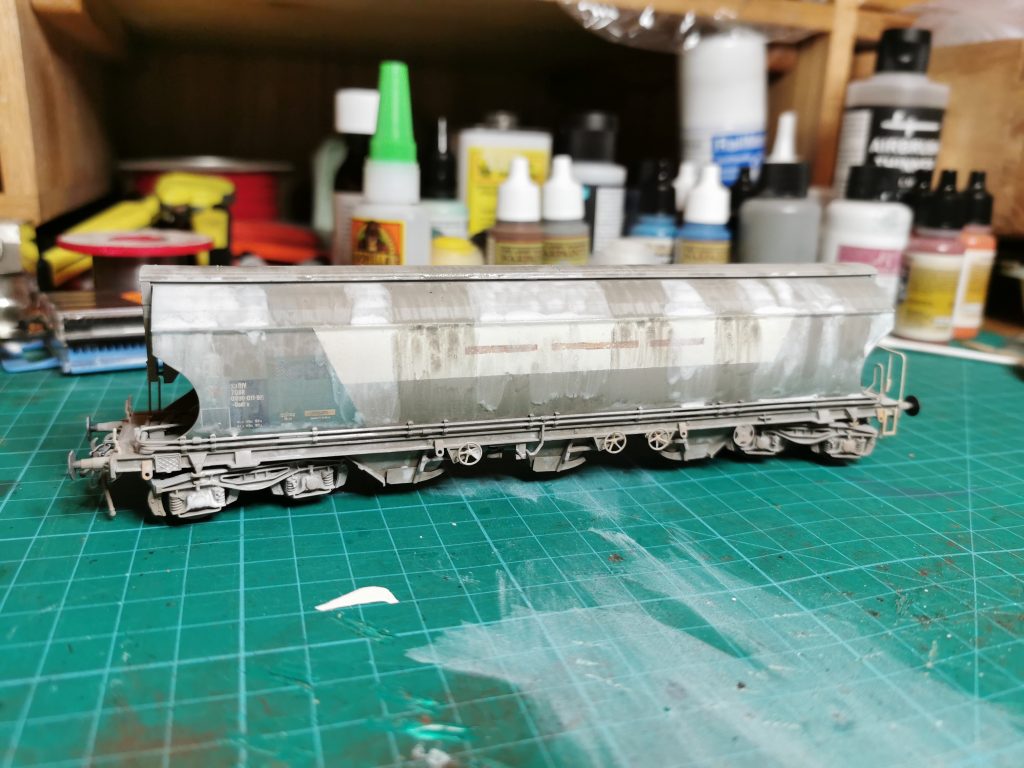
Weathering consisted of 3 colours applied lightly through the airbrush. Ash Grey, Brown Leather and Light Rust. The roof was also given a light blow over with Ash Grey, just to take the newness off the dark grey.

Just a light amount of weathering

The Glue Train: A Ciba-Geigy TTB Tank

Ciba Geigy TTB tank wagon

Recently, I’ve been doing some research on 6N84, Duxford to Tyne Yard speedlink service, nicknamed ‘The Glue Train’.

The service carried chemicals between the Ciba-Geigy plant at Duxford, as well as Urea for Haverton Hill for use in chipboard manufacturing. The train was made up of ICI TTA tanks, Ciba-Geigy TTA/TTB tanks and ICI PAA hoppers. This was the mainstay but occasionally Grainflow and Scottish Malt Distillers Polybulks would be included too.

I had a couple of the Bachmann Ciba-Geigy TTA wagons that I’d put aside since they were released, so this seemed like a logical starting point.

The Bachmann Ciba-Geigy TTA

I renumbered the wagon and changed the tops code to TTB by painting out the printed numbers, brush painting gloss varnish, and adding individual numbers. Gloss varnish was applied to seal the transfers.

The new tops code and number transfers applied

The walkway is incorrect for the Ciba-Geigy TTA and TTB, but Bachmann were never going to retool it as it wouldn’t be economical. So this was removed and a Stenson Models walkway replaced the plastic item. I placed masking tape on the tank and marked the required drill holes, and drilled them using an Archimedes drill and a 0.5mm bit.

Stenson Models walkway

The new walkway was located with a gell superglue, primed with vellejo grey primer, and once dry painted with Griffon Blue. Next, I added handrails, bufferbeam walkway, a central end ladder and painted them in the same way.

New handrails and end ladder

It was now ready for weathering. I masked up the Ciba-Geigy and PROCOR logos as these appear less dirty on the real item. Looking at prototype photos on Paul Bartlett’s website, I mixed some Sons of Honus Green and Electric Blue. A nice weathered base colour, which I applied to the tank with the airbrush. The chassis and tank centre were then blown over with Brown Leather and Charcoal Grey.

Before and after for comparison

Finally, I used Charcoal Grey and dry brushed around the masked logos. I then removed the masking tape and applied Flory Models Grey and Grime washes to provide some streaks to the sides. I’m quite pleased with the finished wagon.

The finished TTB

A polybulk project

Resprayed Bachmann Polybulk

With a surprise release of two new Bachmann Polybulk wagons from Rails of Sheffield, I decided to add both into the Farkham roster. These two wagons are ideal for Speedlink era modellers.

Here I’ll document the first of the two, the Tiger-Nacco branded version. With a little research, I could only find photos of this livery in the early 80’s. So it was time to think about post-dating the wagon to circa 1990. The prototype photo I’m using can be found on Paul Bartlett’s website here: https://paulbartlett.zenfolio.com/polybulk/h2af298ed

Bachmann Tiger-Nacco Polybulk

I removed the Tiger-Nacco branding and TRL logos with Isopropyl Alcohol and gently rubbing with a cotton bud. It came off very easily without affecting the models paint.

Branding removed

I then masked the upper half of the central grey bodyside, and painted it white. Once dry, I then masked up the brown blanking panels and brush painted these with Army Painter Brown Leather. I used a fine sanding stick to remove some of this paint to give a worn effect.

Rebrand Polybulk

Next, I removed the 21 wagon number prefix, as some time in the mid 80s the Polybulk number prefix was changed to 33. Gloss varnish was then applied to the data panel end, and once dry the 33 prefix was added, along with Railtec Transfers Tiger logos.

33 prefix and Tiger logos added

The wagon was now ready for the first stage of the weathering process. I masked up the painted white area, tiger logos and parts of the data panels, as these appear much less weathered on the prototype.

I used three colours in the airbrush, starting with Army Painter Brown Leather. After this base layer, I removed the masking tape before a second pass with the airbrush. I then changed to Army Painter Ash Grey before finishing with Games Workshop Scar White. At this point, I was really happy with the outcome, and I could have easily considered it finished.

The airbrush weathering is complete

I was now ready to introduce some weathered streaking effects caused by rainwater mixing with China clay dust. To do this I used Flory Models Grey and White clay based washes, applying a good amount with a 10mm flat brush and leaving it to dry.

Flory Models washes applied and left to dry

After half an hour it was dry and ready to be manipulated with a damp sponge. Always using a downward motion, I wiped the excess wash off, which leaves a nice dusty but streaky finish.

This one is now finished, and ready to be put to work on Farkham. It could be used as a single wagon in a Speedlink train or mixed in with other china clay wagons.