Traffic Services Polybulks

Recently, I’ve enjoyed doing the two Rails of Sheffield exclusive Polybulk wagons, so I decided to pull out the four original Bachmann released wagons I’ve had in storage since they first became available.

A little research on Paul Bartlett’s website soon helped me decide on the prototypes:

33 70 938 2014-6 This one is fairly dirty with more brown at the outer ends.
33 70 938 2017-9 This photo was taken in 1987, so some imagination was required to add 3 years worth of weathering.
33 70 938 2041-9 This wagon was repainted in 1989 so will remain fairly clean. This wagon wasn’t renumbered and is the standard Bachmann release.
33 70 938 2052-6 This photo is later (1993) and has CAIB branding so this was ignored.

To give four different running numbers, three were chosen to have parts of their numbers removed. This was done by simply brush painting over the tiny numbers with matt black. Once dry, gloss varnish was then applied as a base for the transfers.
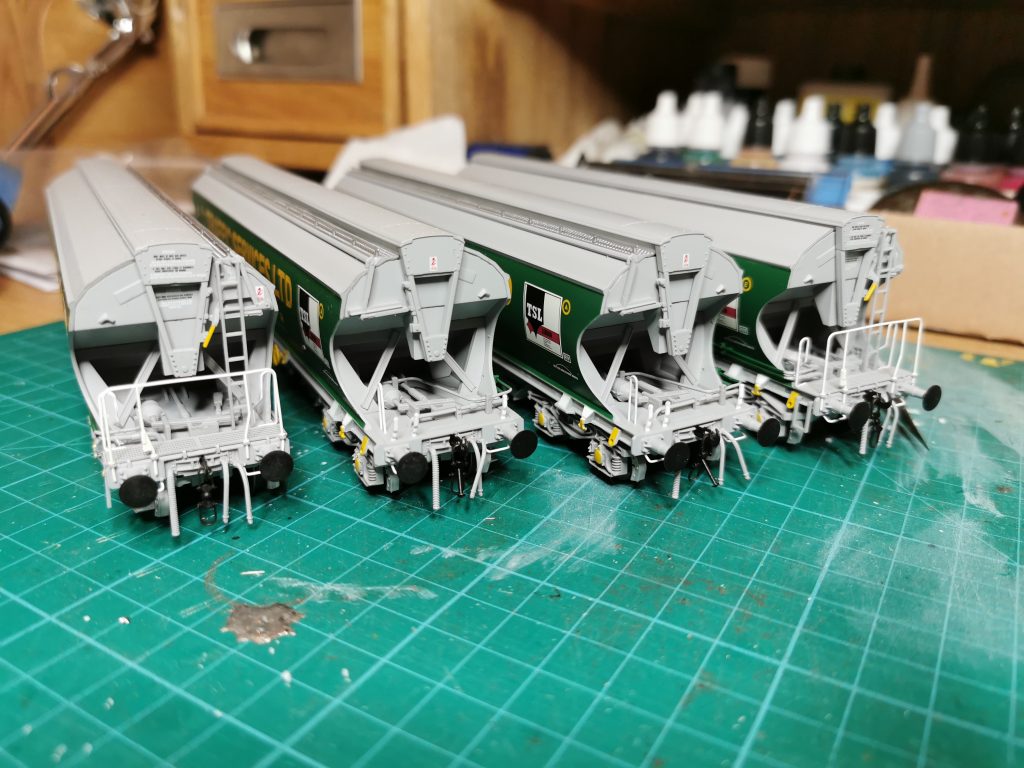
Bachmann Polybulk pipework

I ordered the Grainflow sheet from Railtec Transfers, and cut out individual numbers from the sheet. The numbers were then applied and sealed the following day with gloss varnish, and once that had dried the whole wagon was given a coat of matt varnish.
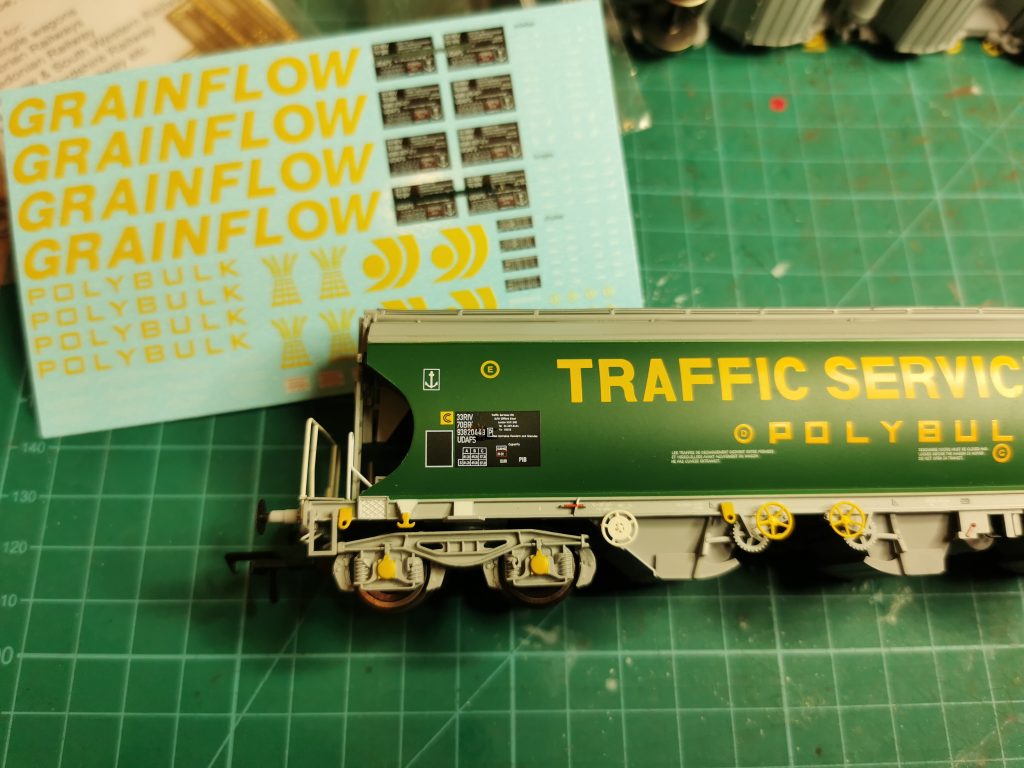
Numbers changed using the Grainflow sheet

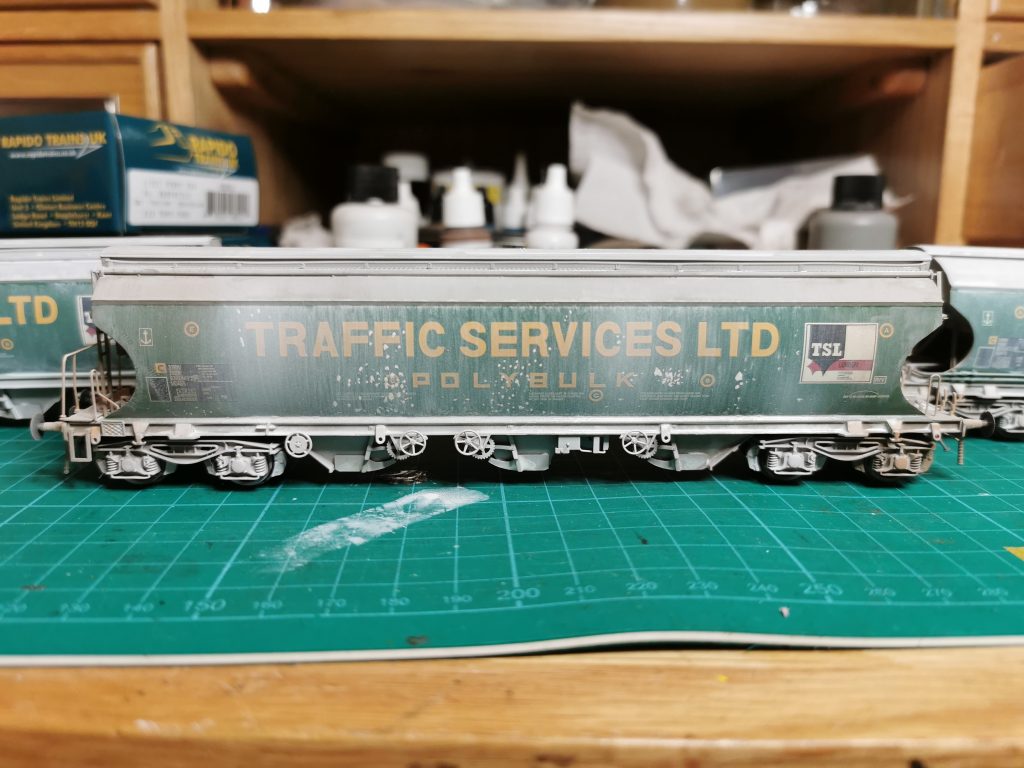
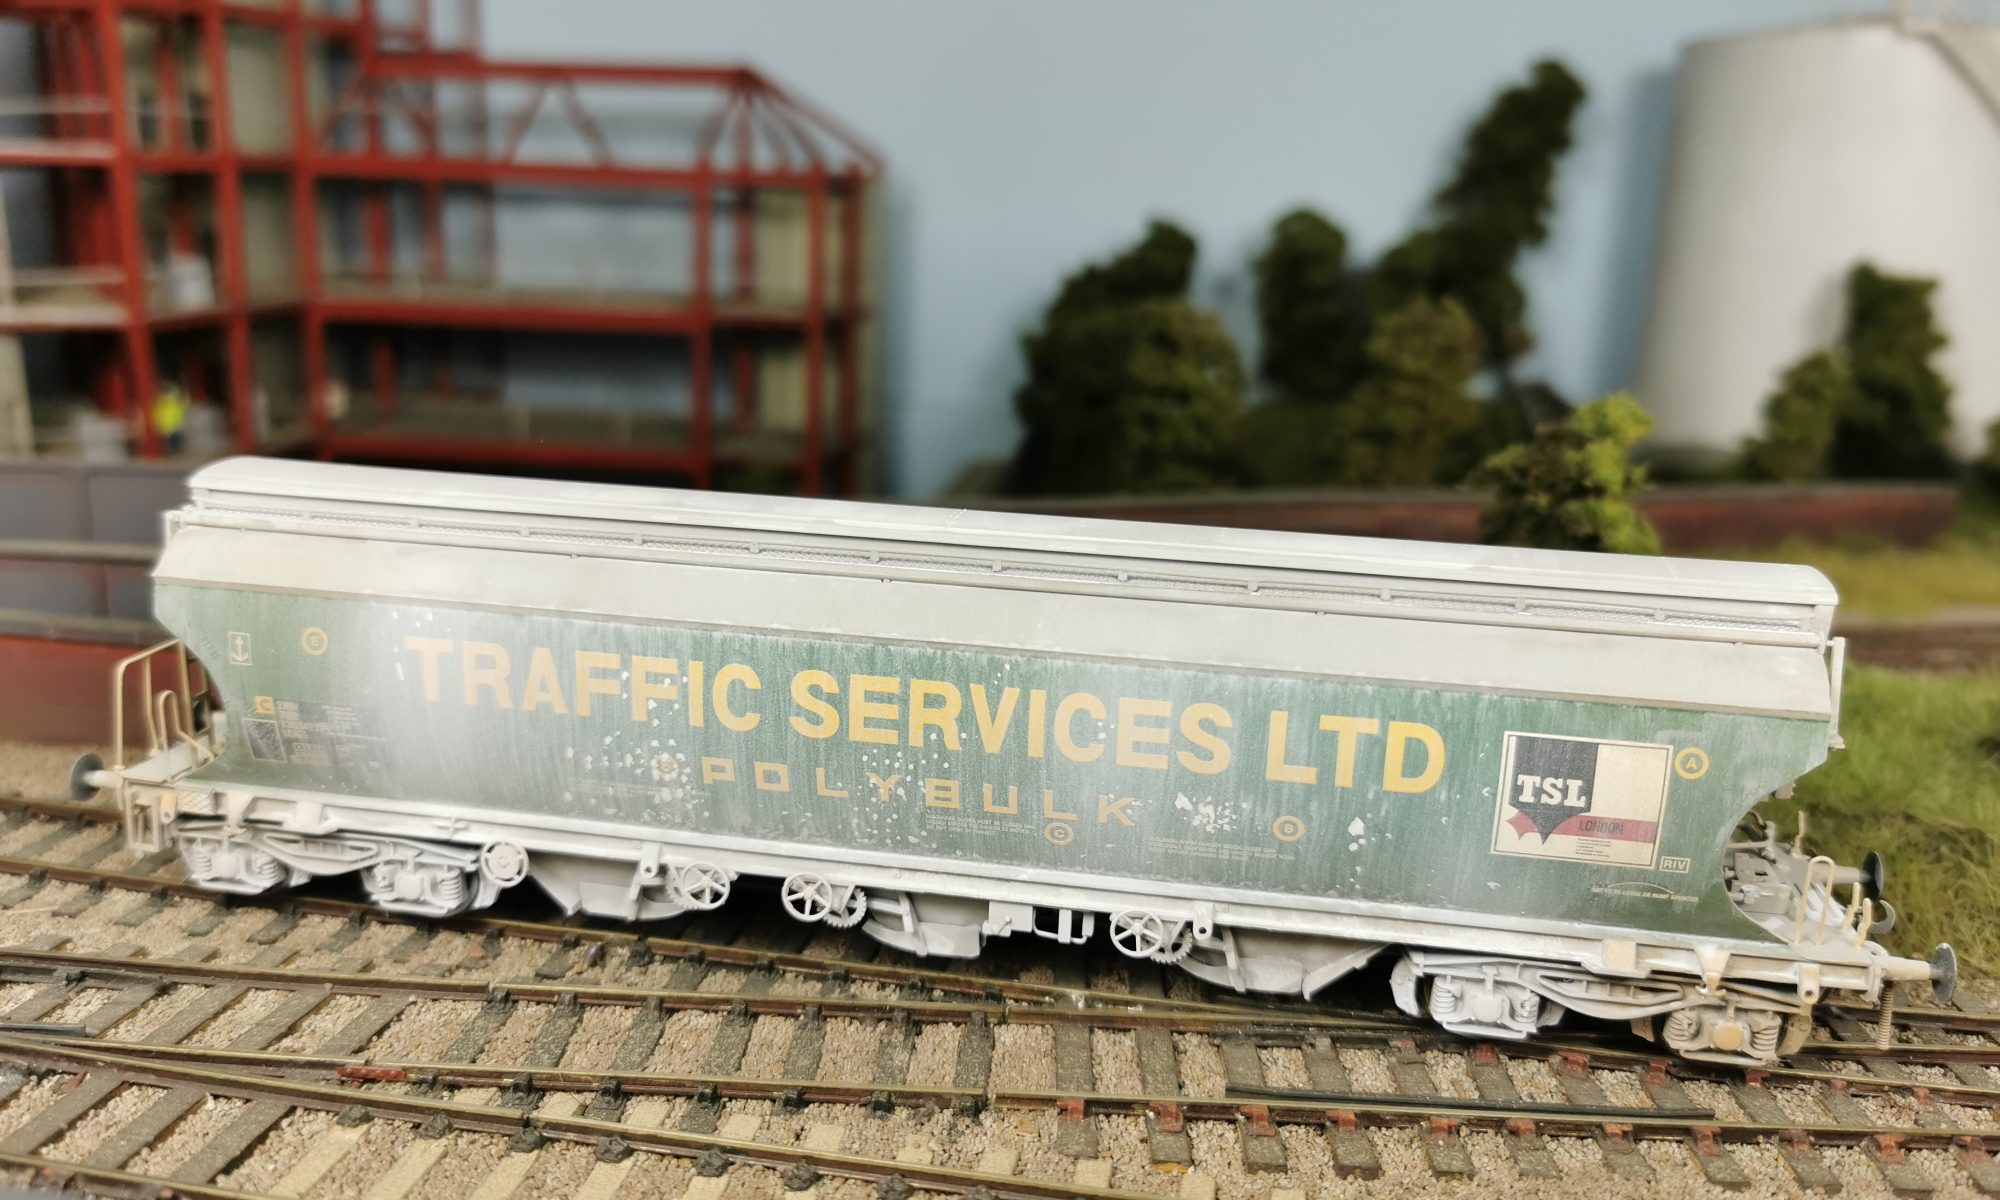
All four wagons were then weathered with the airbrush, paying attention to the prototype photos for each wagon. One wagon had some ‘white spotting’ to the body sides, so this was added with a small brush and a mix of an off-white colour. Finally, a Flory Models wash was applied, left to dry, and then wiped in a downward motion with a sponge.
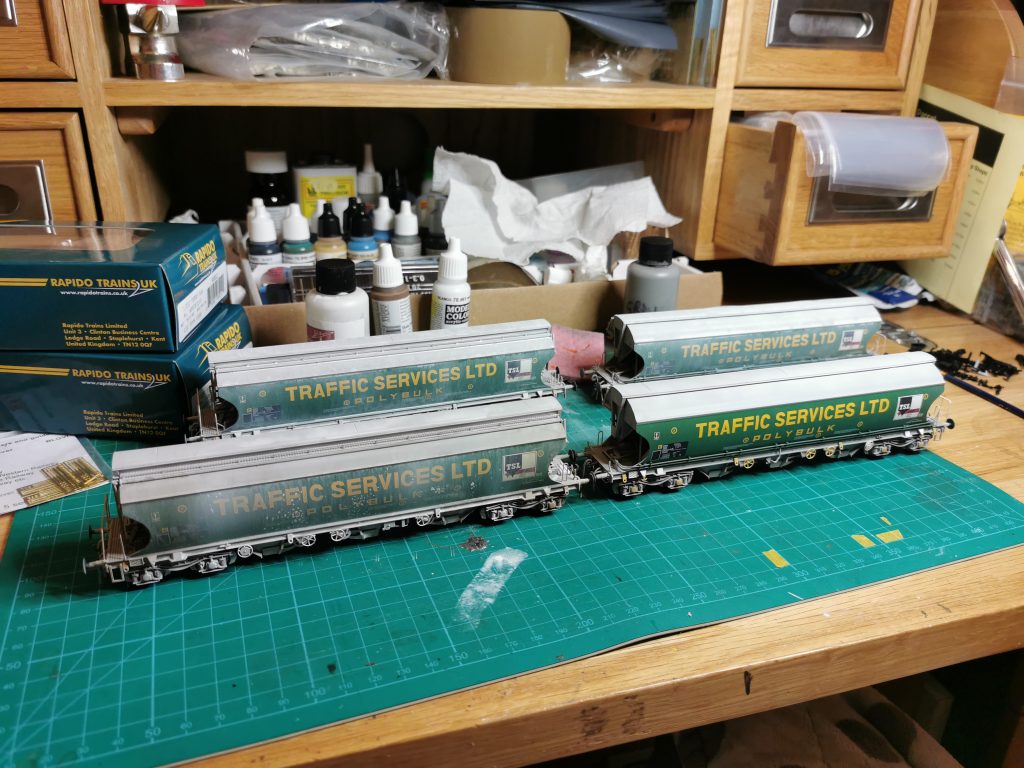
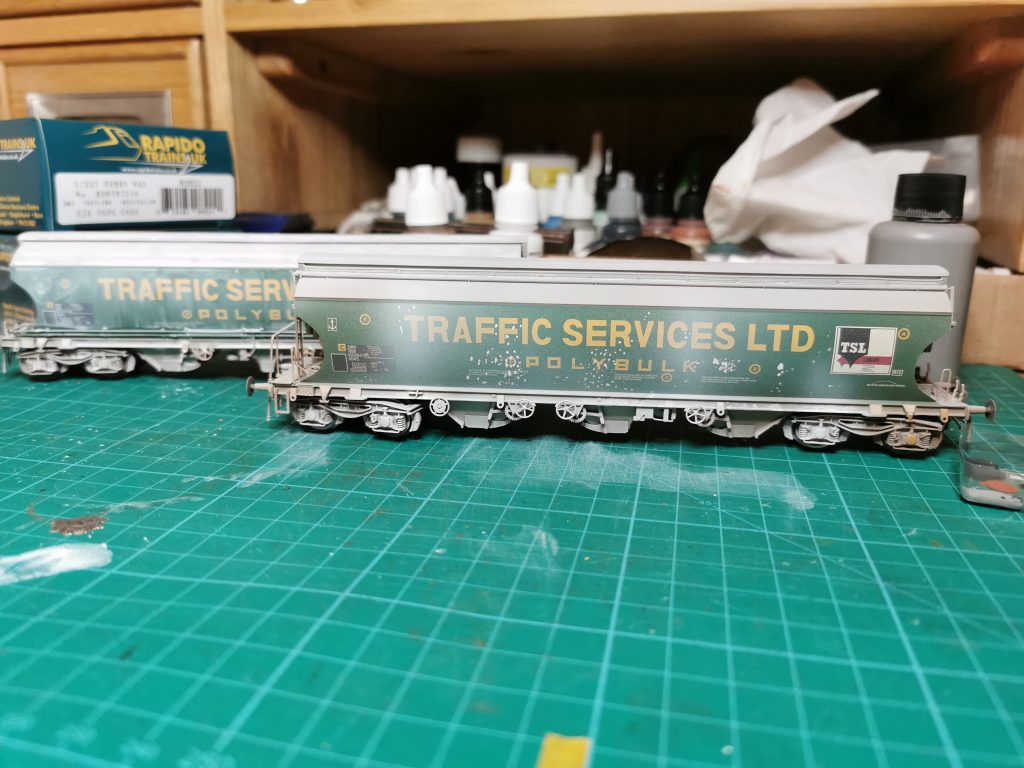
I’m really pleased with how these have turned out, they’ll look perfect once I’ve done the Clay Tigers to go with them. Now, onto the next project!
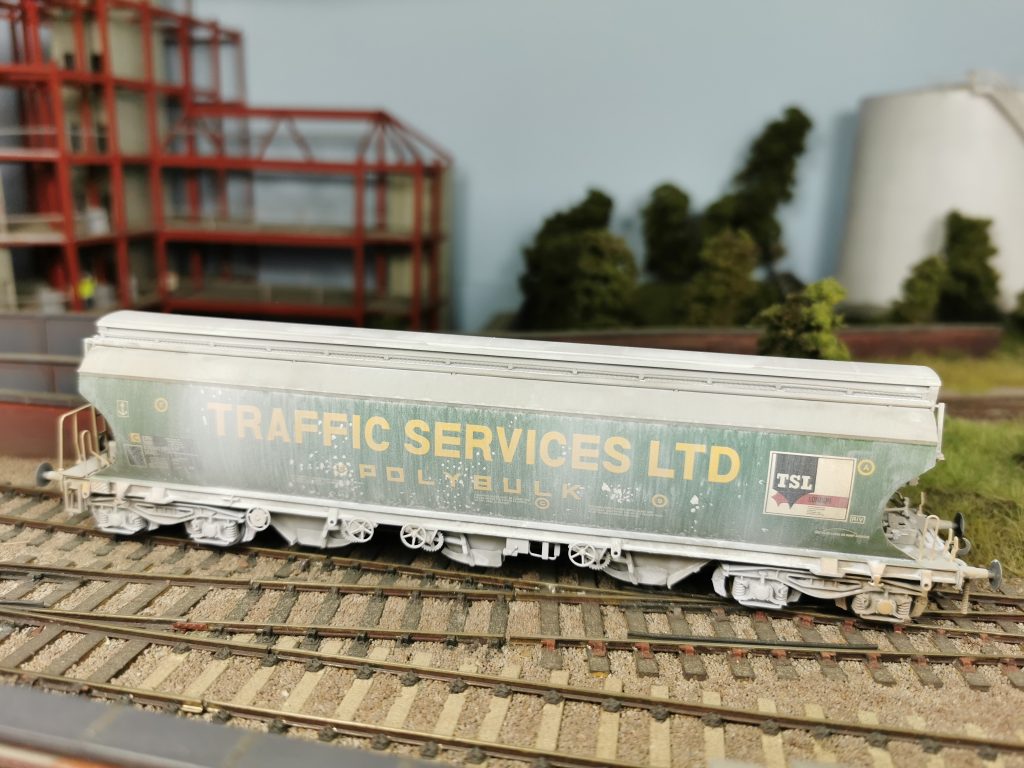
One of the finished Polybulk wagons

Railfreight Metals BMA Wagon

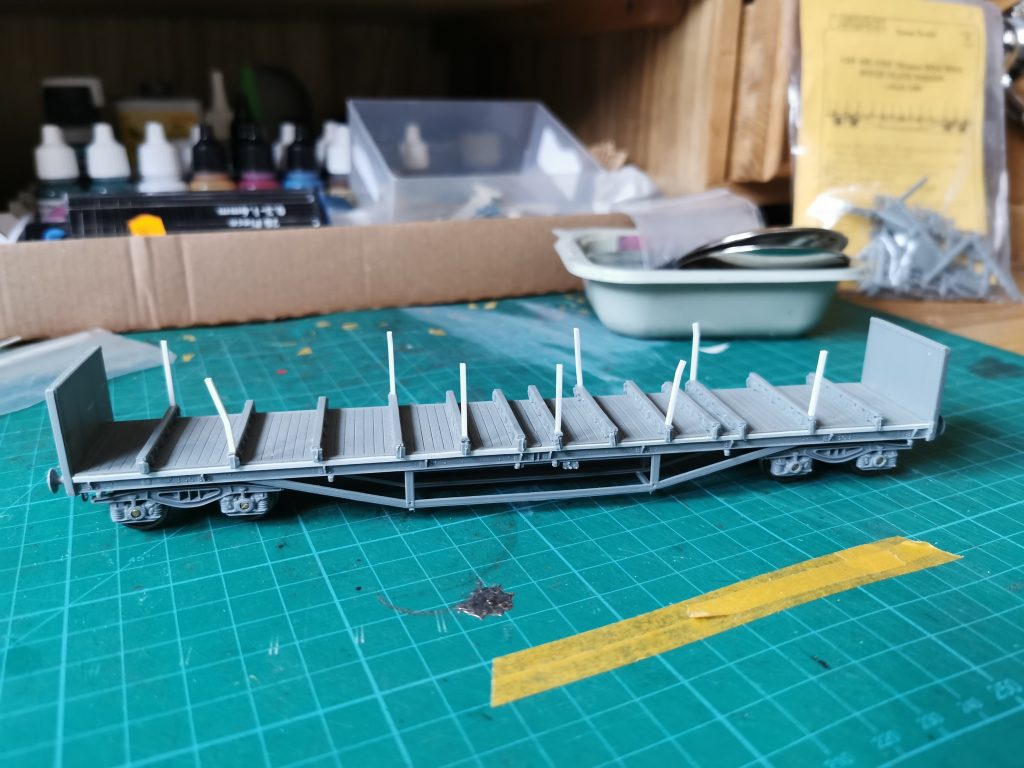
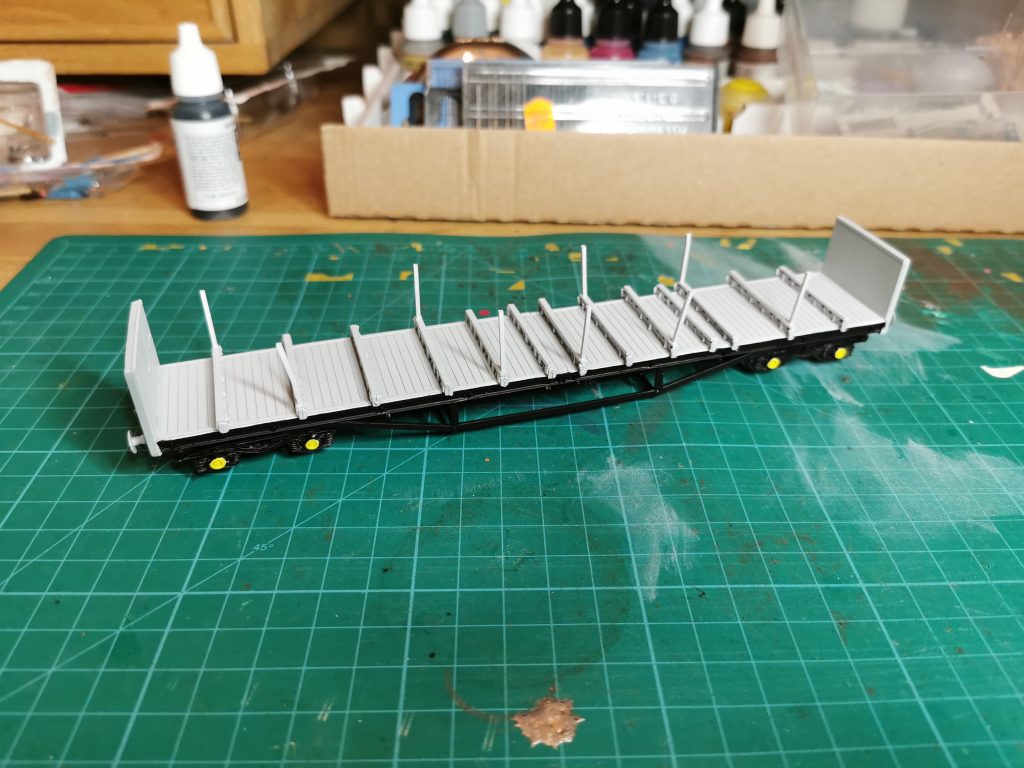
With a couple of hours of free time, I managed to build a Cambrian BMA wagon. In 1980, eighty Boplates were rebuilt with air brakes and new bogies. After deciding on a prototype photo I built this kit as the instructions intended, with the addition of a 1mm x 0.5mm styrene stip to the sides. I’ve also added and bent some stanchions using 1mm x 1mm styrene square rod.

BMA ready for painting

I thought about how I would paint this wagon, and concluded the easiest way would be to brush paint it. First though, I sprayed the whole wagon with Vellajo Grey Primer. The chassis was then painted black, and the axle boxes yellow.

Chassis and axle boxes painted

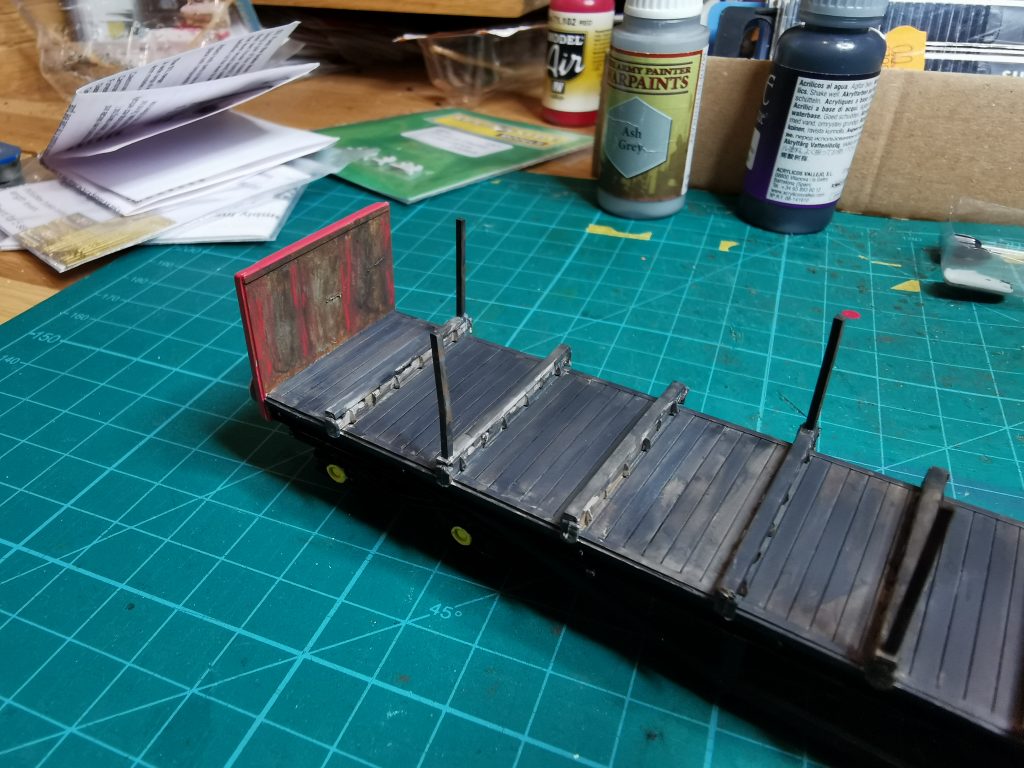
I then mixed some red, yellow and white until I had a railfreight Red that I was happy with. The outer ends were then painted, followed by the internal ends with a mix of brown leather and Charcoal grey.

The prototype photos show the BMA with dark wooden decks, so this and the bolsters where painted with a thinned wash of Charcoal Grey and Ash Grey to give a weathered wood effect. There’s a good photo here showing the wooden deck of a Boplate. The inner ends were also given a hint of railfreight Red, as this was something I spotted on one of Paul Bartlett’s photos from 1989.

Inner ends and wooden deck

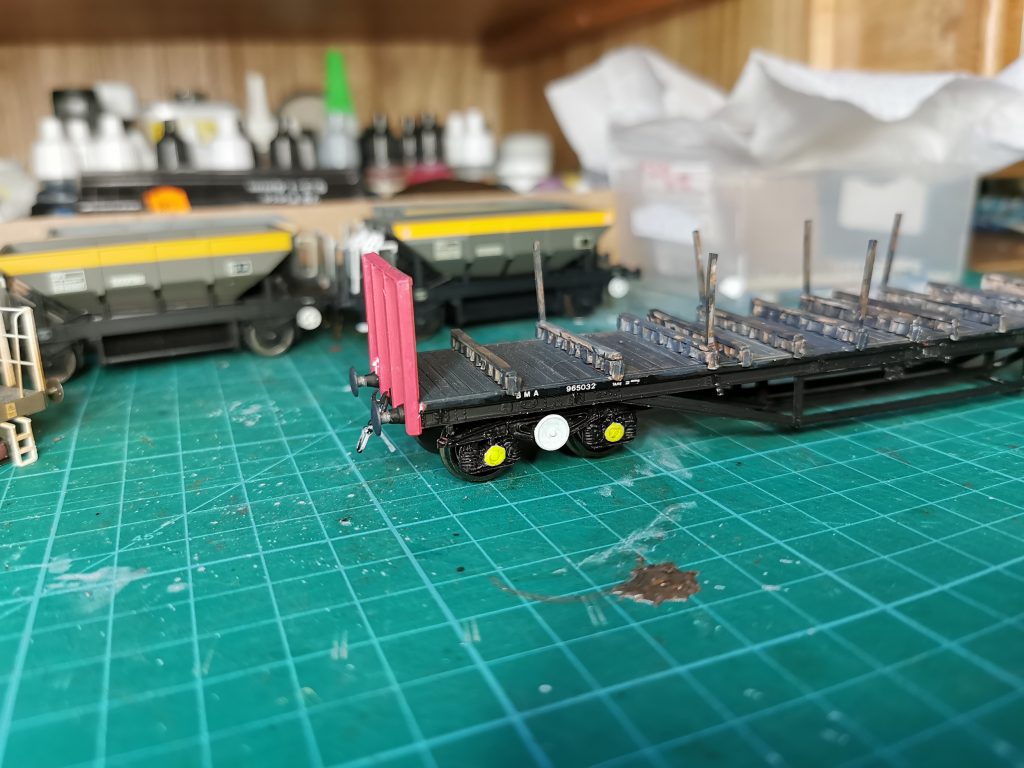
The wagon was numbered using a mix of individual numbers and letters, and the brake handwheels where added and painted white.

965032 numbers added

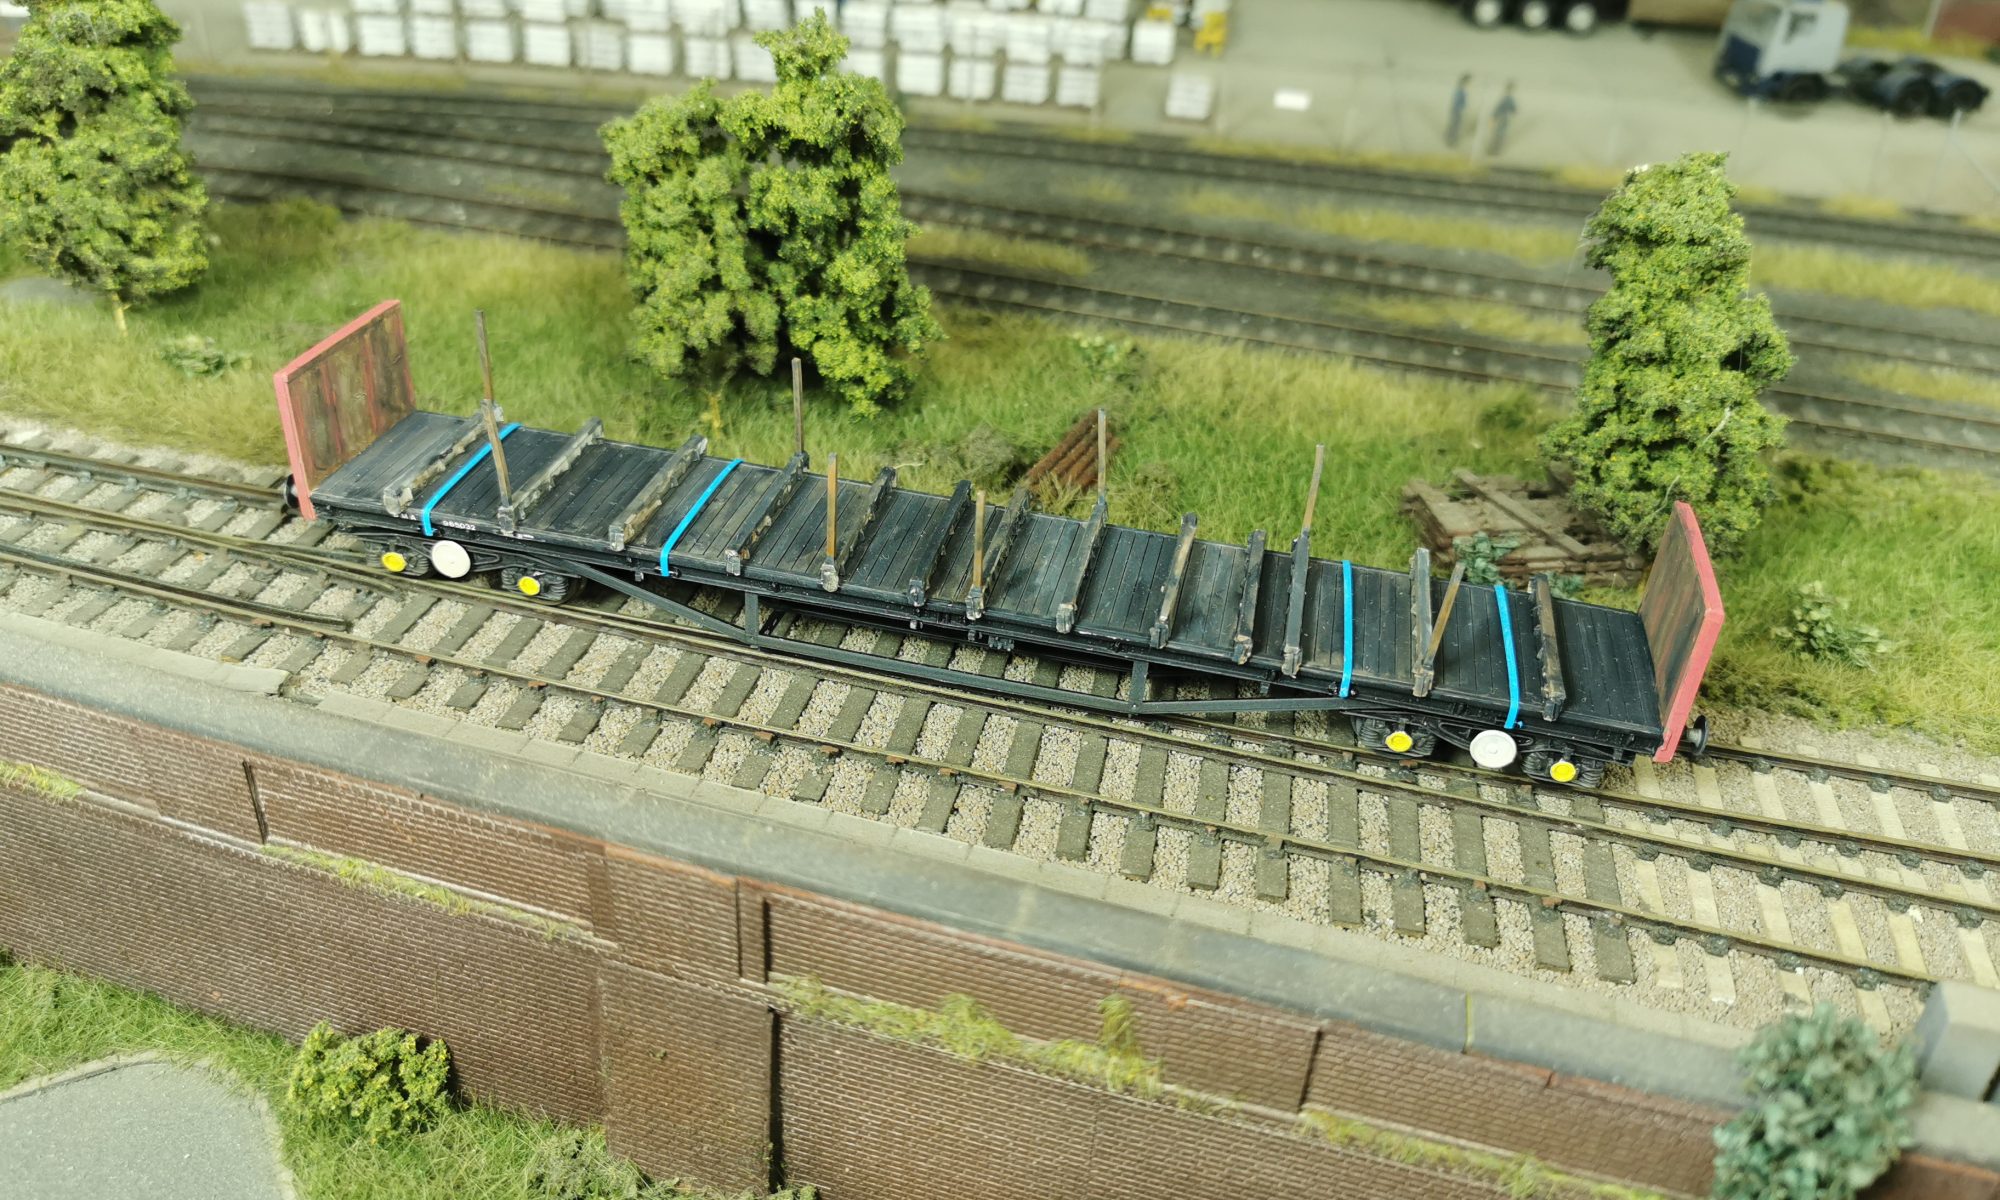
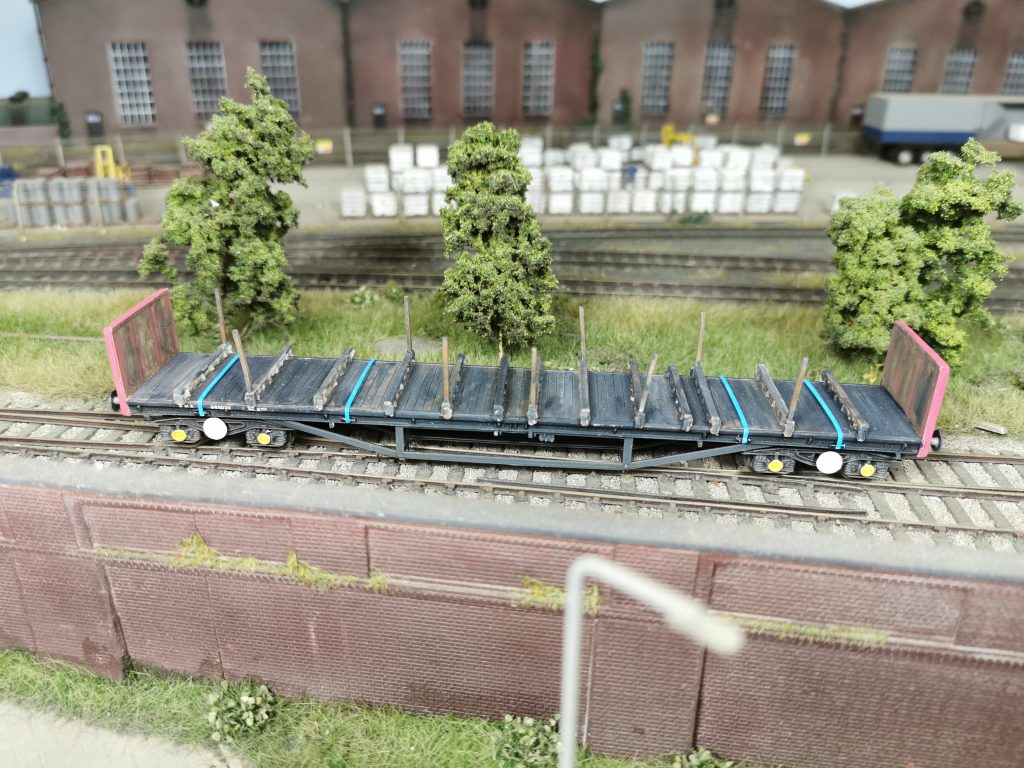
Finally, the wagon was weathered with the airbrush using the same colours and a wash applied to the outer ends for added work stains. Four blue ratchet straps were added to finish the model.

The finished BMA with straps added

Another 90s Polybulk

Polybulk Grain Wagon on Farkham

The second of the Rails of Sheffield exclusive Polybulks, fits perfectly into 1990 straight from the box so a minimum amount of work was required. Looking at the prototype, the plain grey Polybulks appear to have visible seam welds to the body side. Or at least, these seam welds weather heavier than the rest of the steel work.

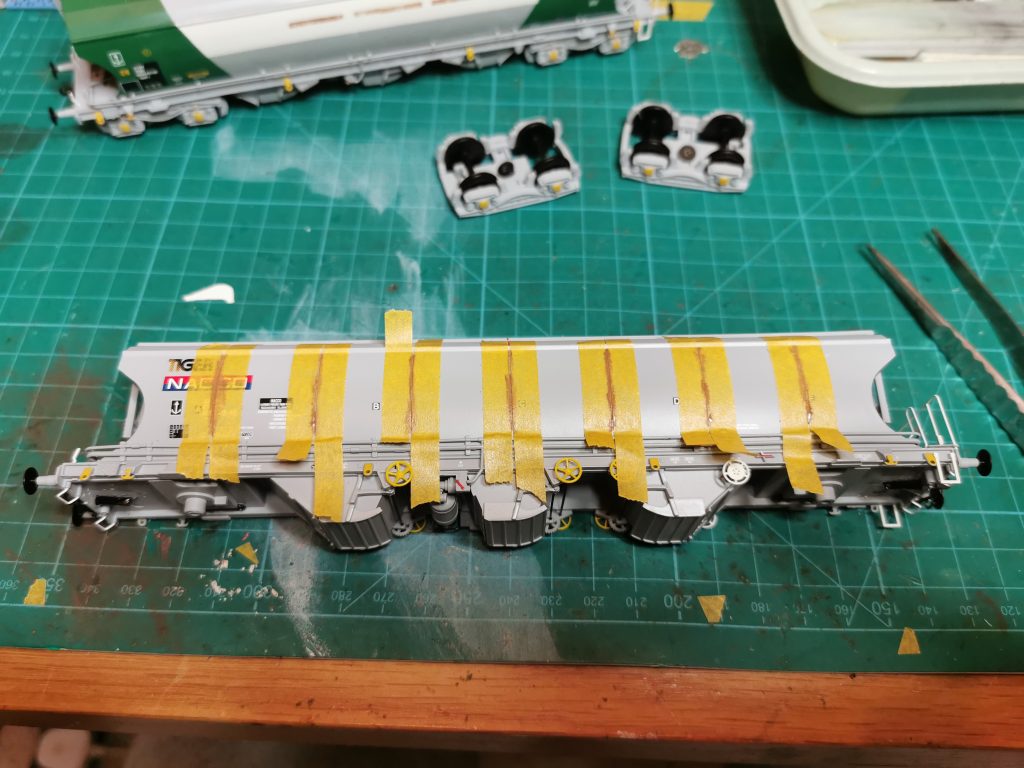
The first job then, was to mask up the seam weld lines and paint them with a brush using Brown Leather from the Army Painter range.

Masking up the internal welded seams
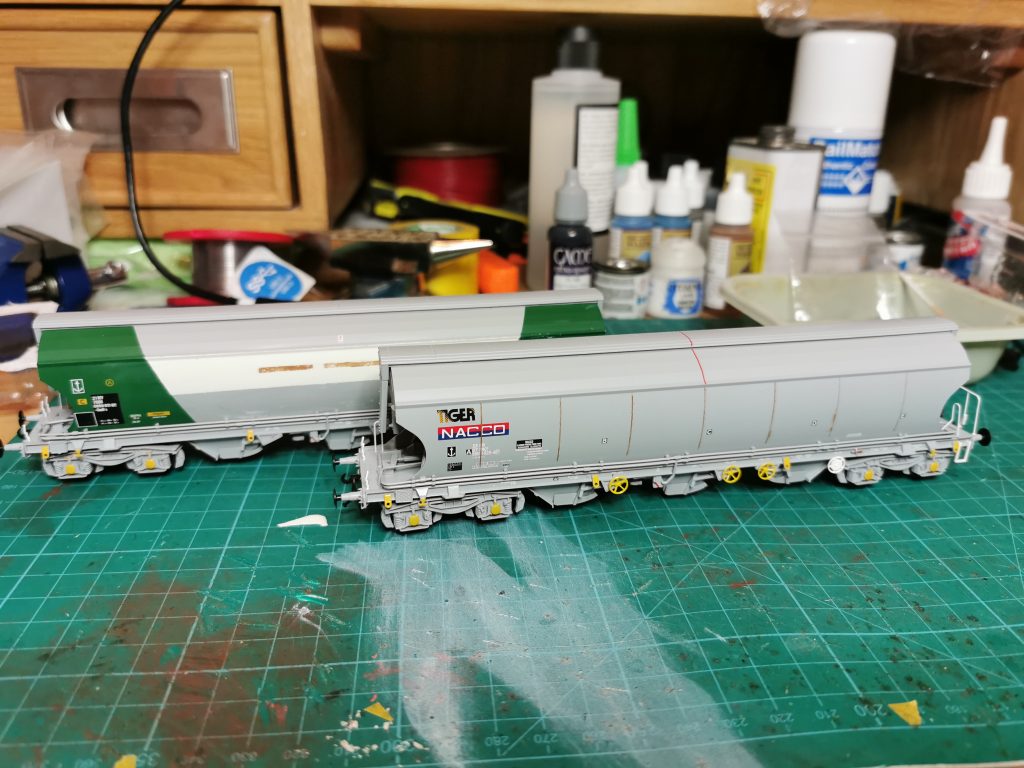
Seam weld lines brush painted

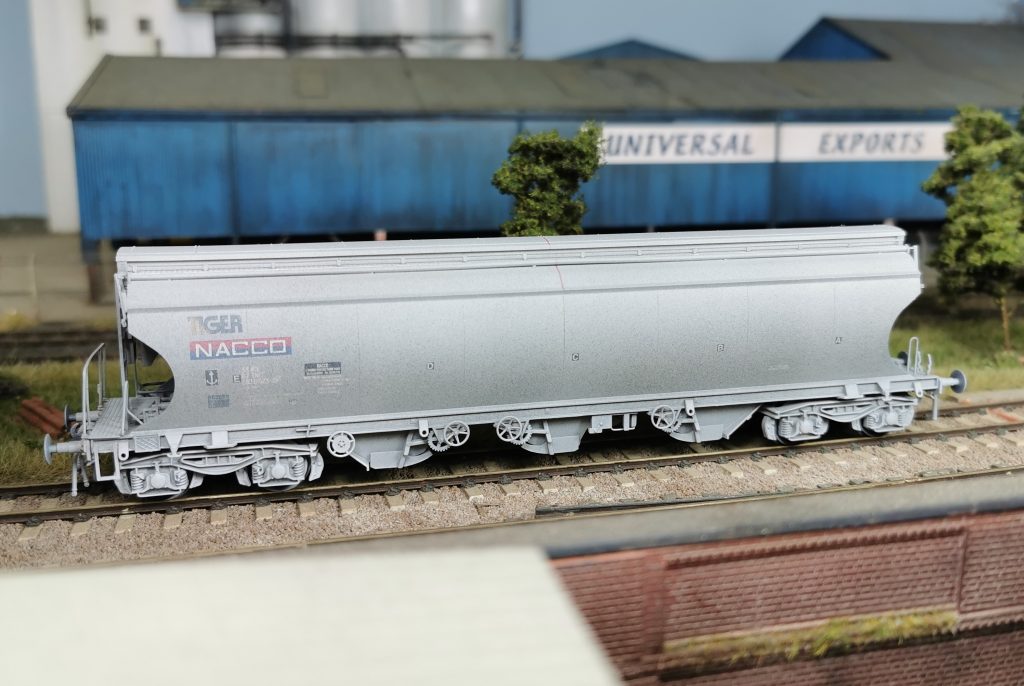
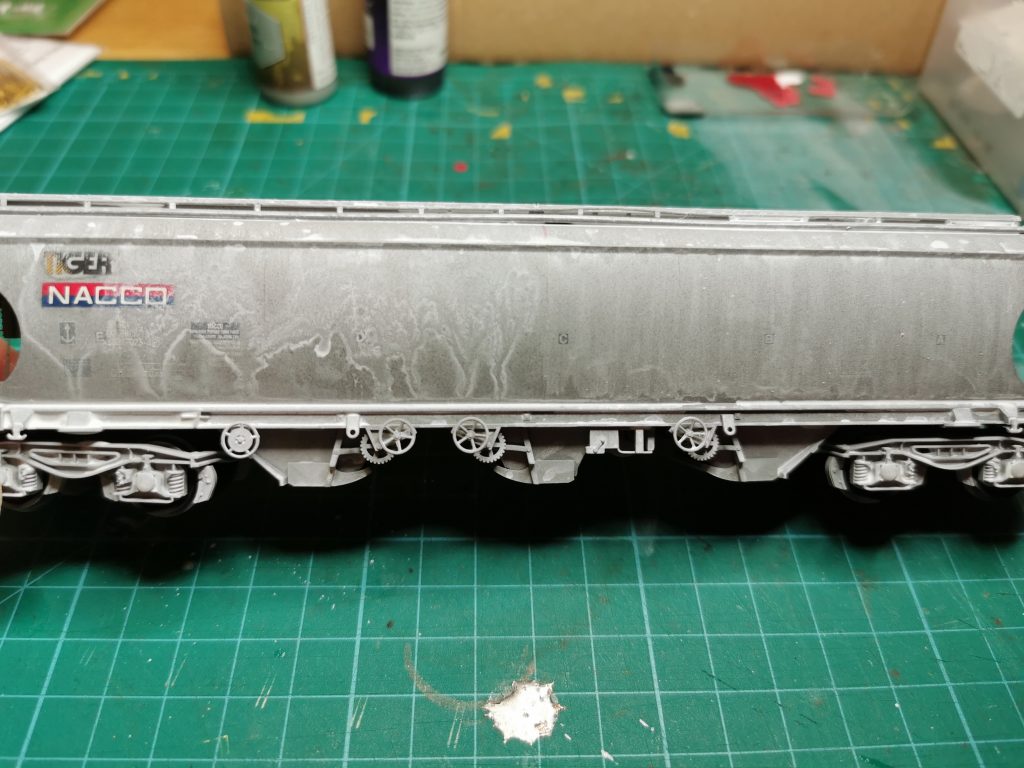
The next stage was to airbrush weather the wagon, using Charcoal Grey and White. The charcoal grey was used to darken the body slightly, while the white highlights areas of clay dust.

Weathered with the airbrush

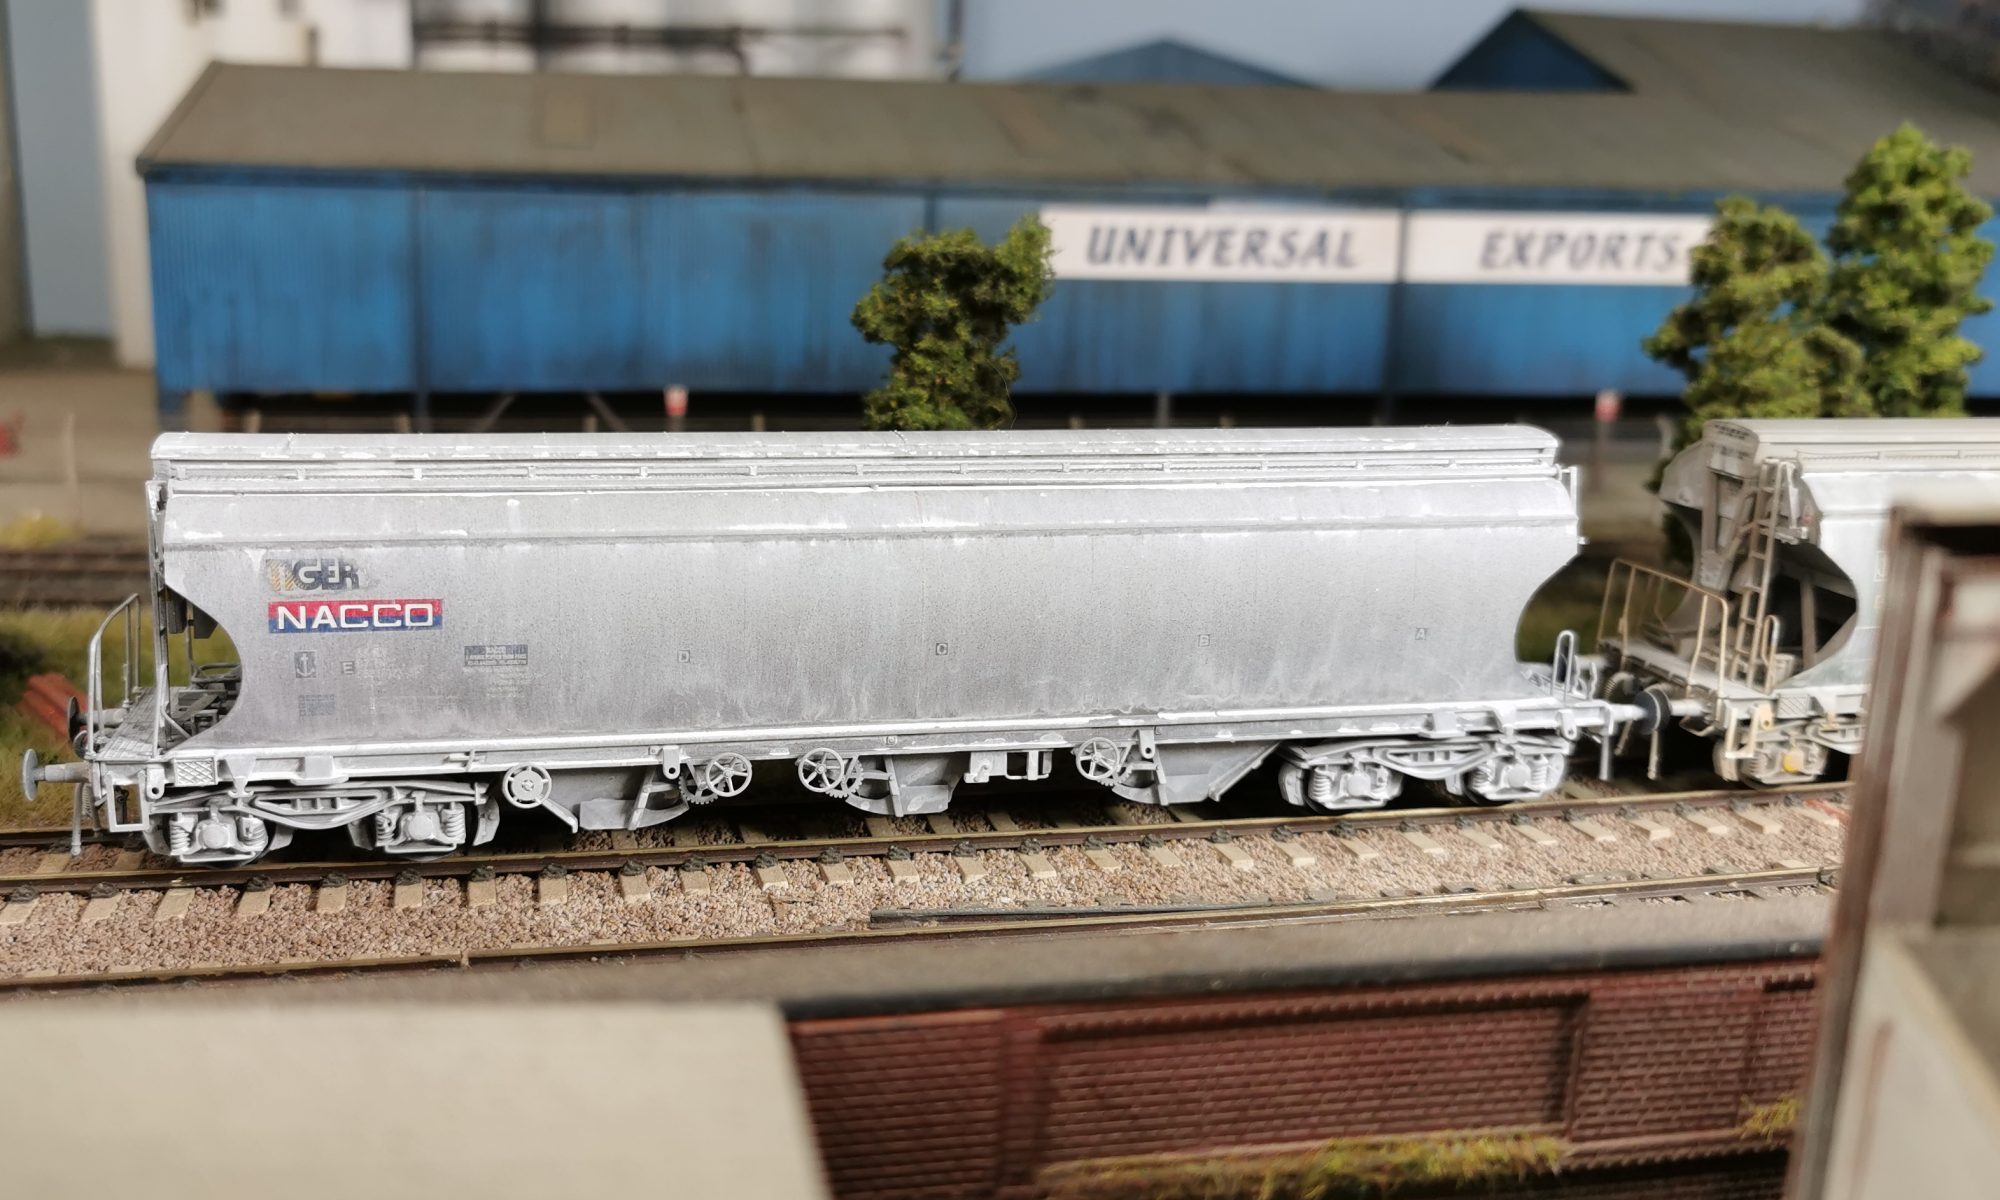
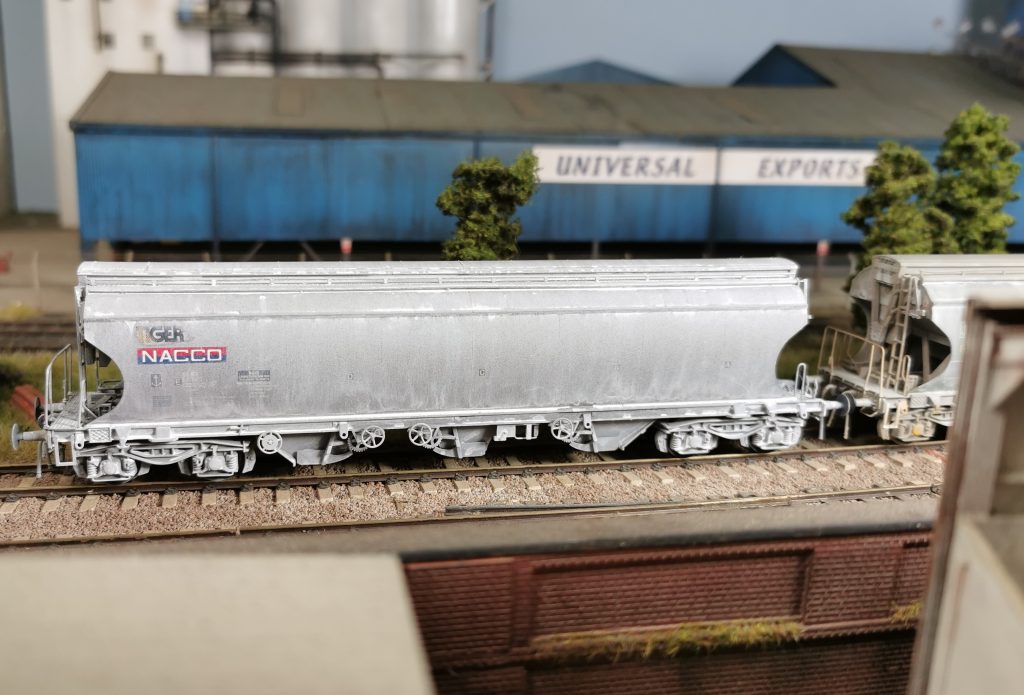
The Tiger and Nacco logos were then cleaned of airbrushed paint with Isopropyl Alcohol and a cotton bud. These appear cleaner on the prototype. Finally, the wagon was given a wash of Florey Models White, and left to dry. Once dry, this was wiped off with a damp sponge leaving streaks to the body sides.

Starting to wipe the wash off, leaving streaks
The finished wagon
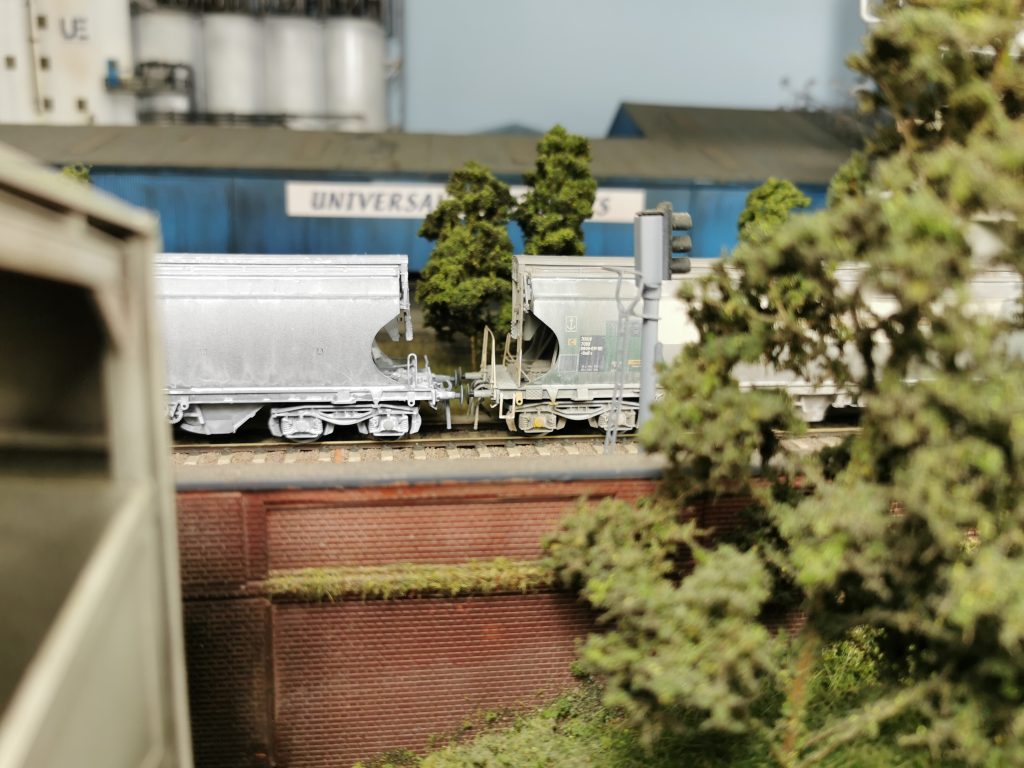
The first two finished Polybulks together