The second of the Rails of Sheffield exclusive Polybulks, fits perfectly into 1990 straight from the box so a minimum amount of work was required. Looking at the prototype, the plain grey Polybulks appear to have visible seam welds to the body side. Or at least, these seam welds weather heavier than the rest of the steel work.
The first job then, was to mask up the seam weld lines and paint them with a brush using Brown Leather from the Army Painter range.
Masking up the internal welded seamsSeam weld lines brush painted
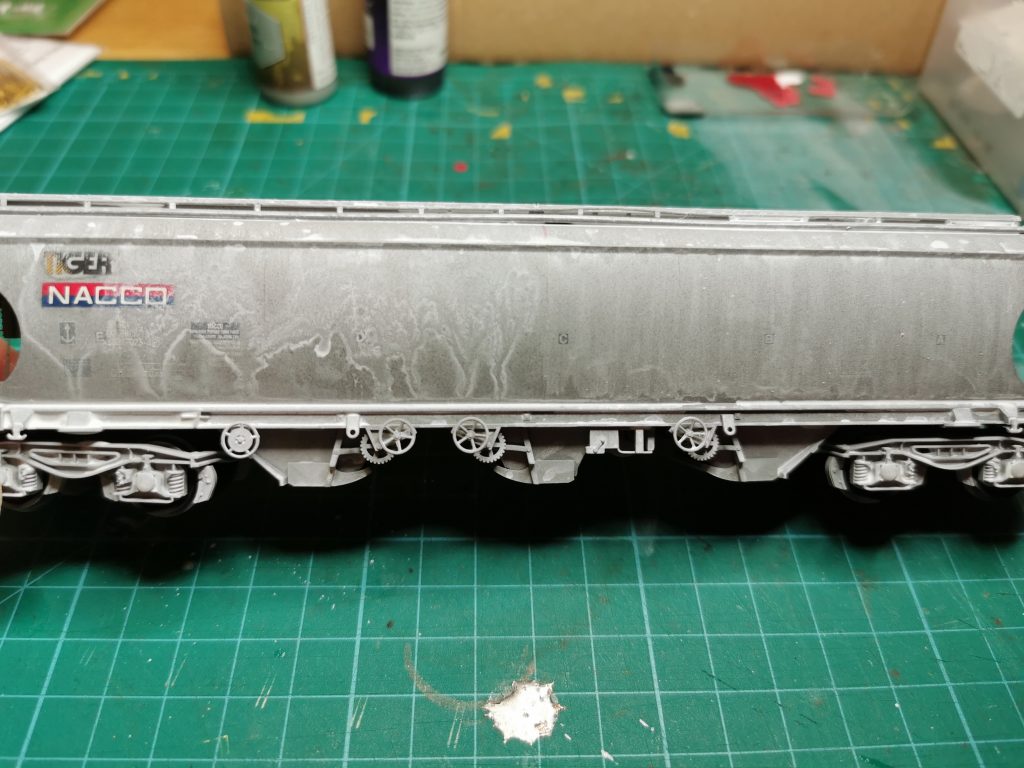
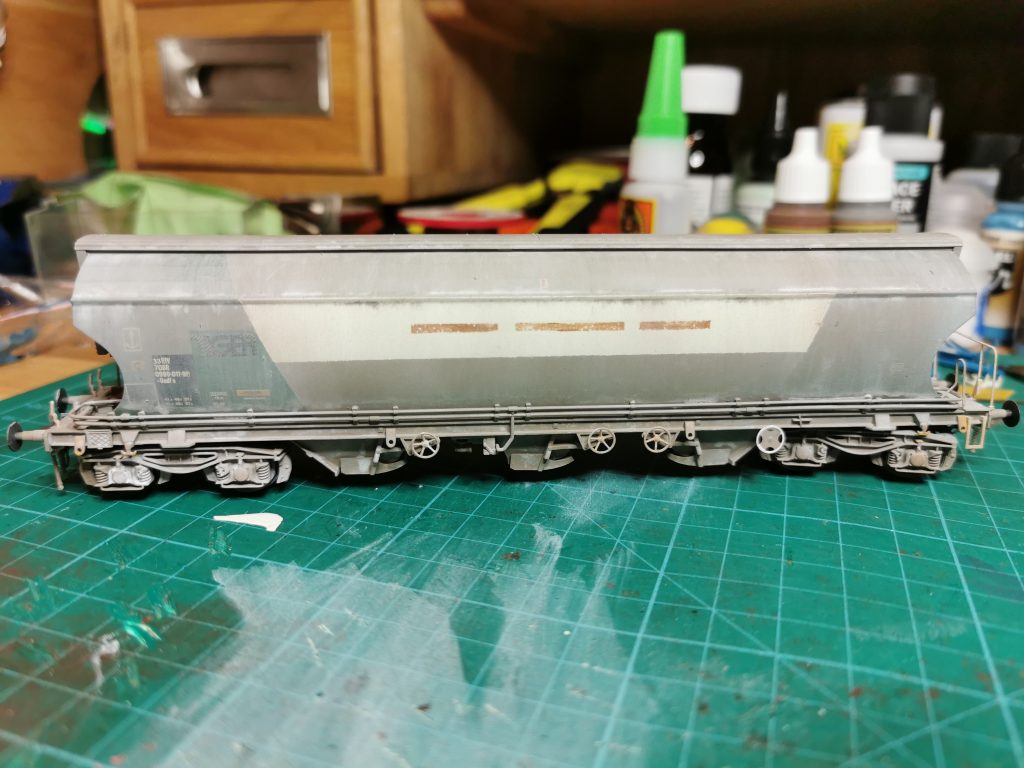
The next stage was to airbrush weather the wagon, using Charcoal Grey and White. The charcoal grey was used to darken the body slightly, while the white highlights areas of clay dust.
Weathered with the airbrush
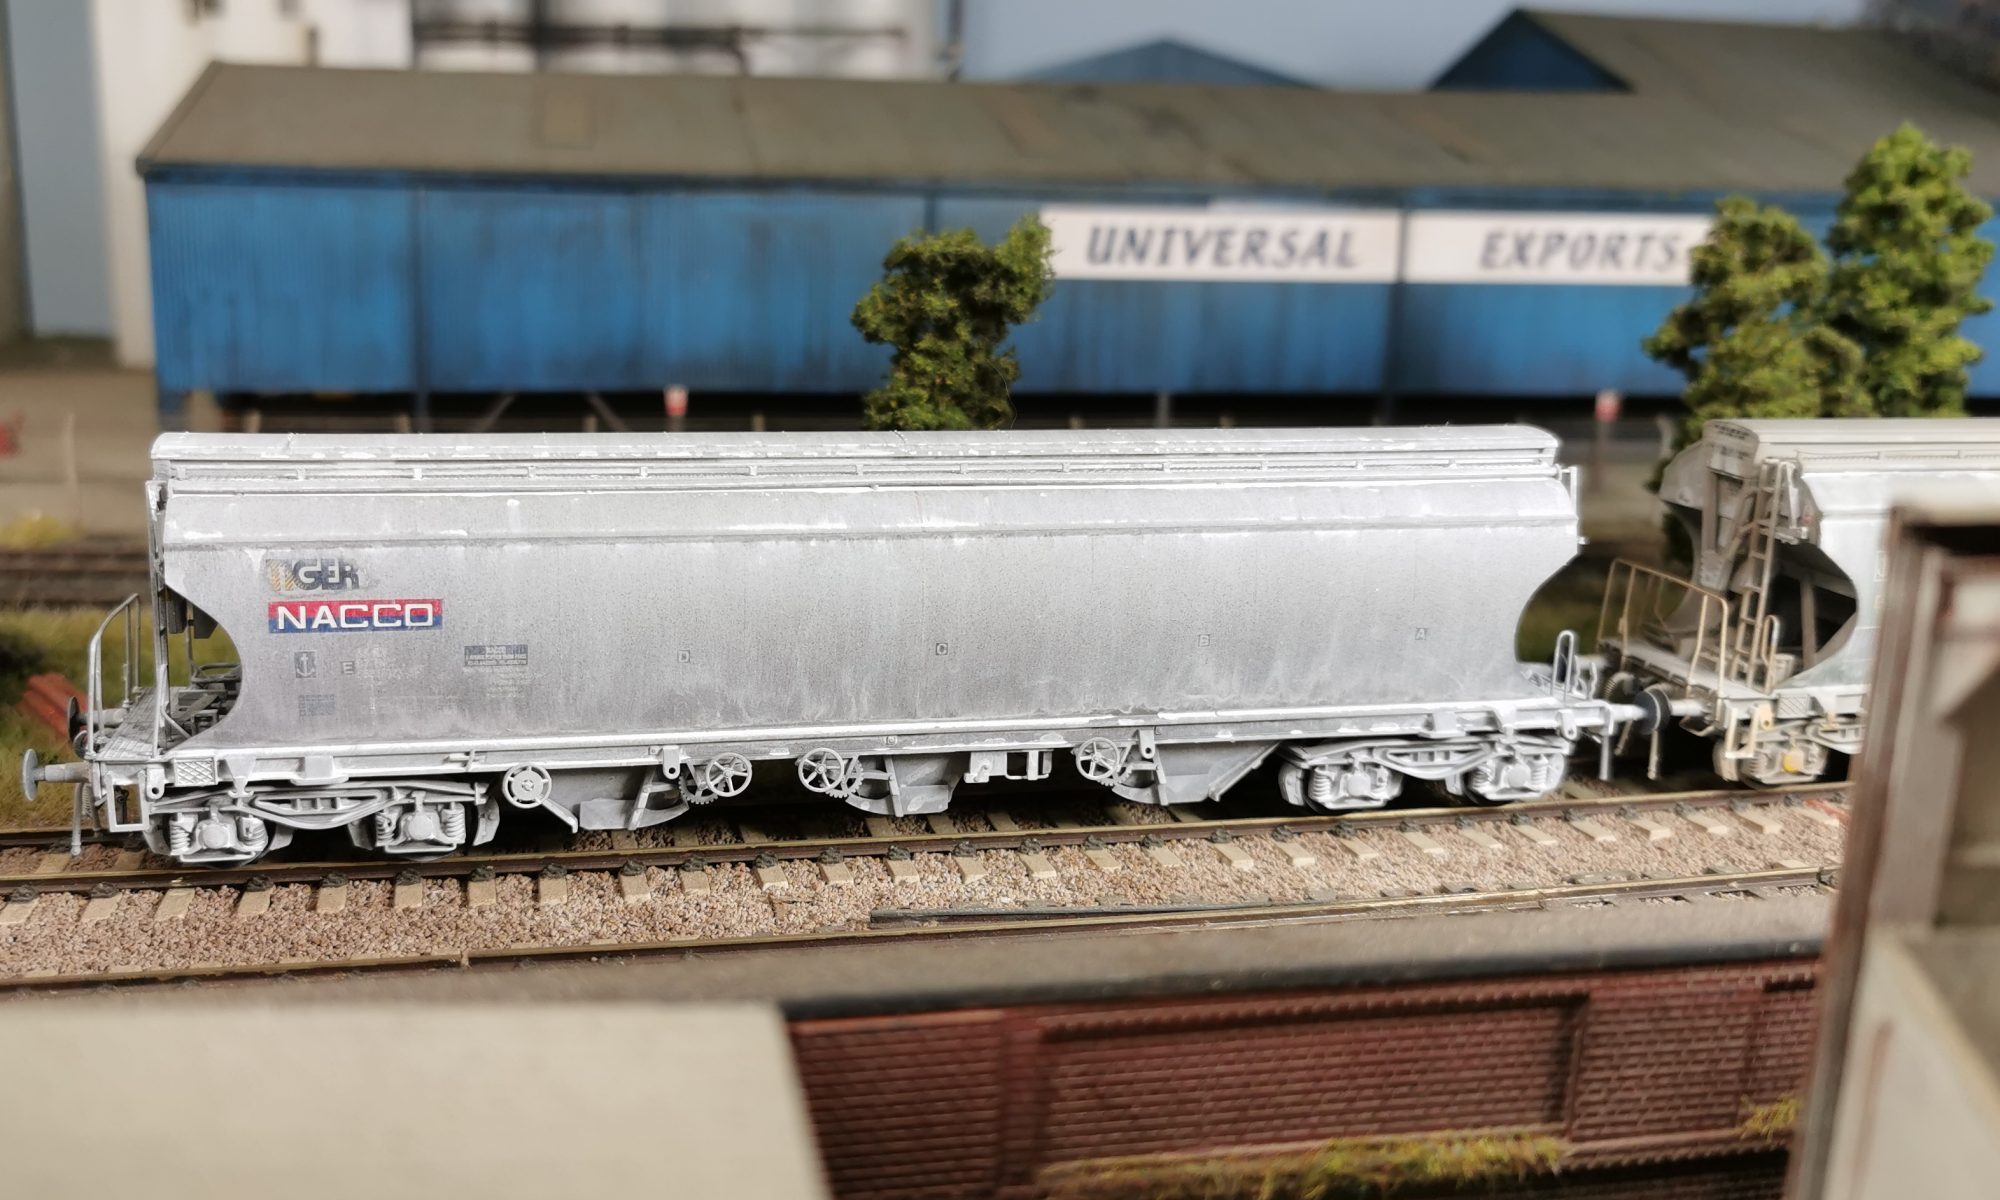
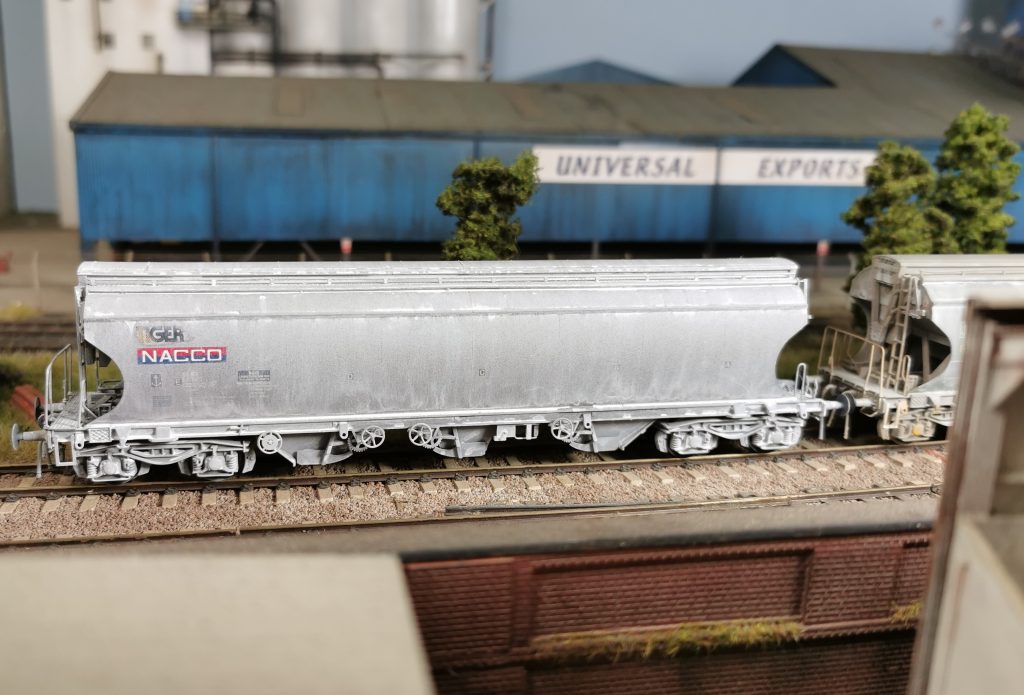
The Tiger and Nacco logos were then cleaned of airbrushed paint with Isopropyl Alcohol and a cotton bud. These appear cleaner on the prototype. Finally, the wagon was given a wash of Florey Models White, and left to dry. Once dry, this was wiped off with a damp sponge leaving streaks to the body sides.
Starting to wipe the wash off, leaving streaksThe finished wagonThe first two finished Polybulks together
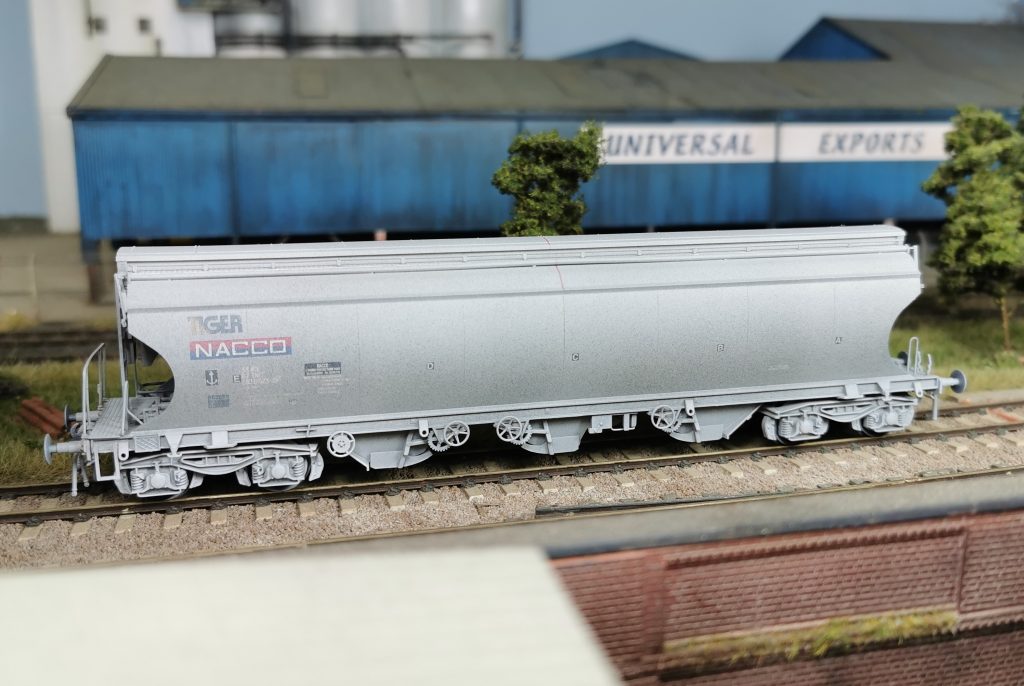
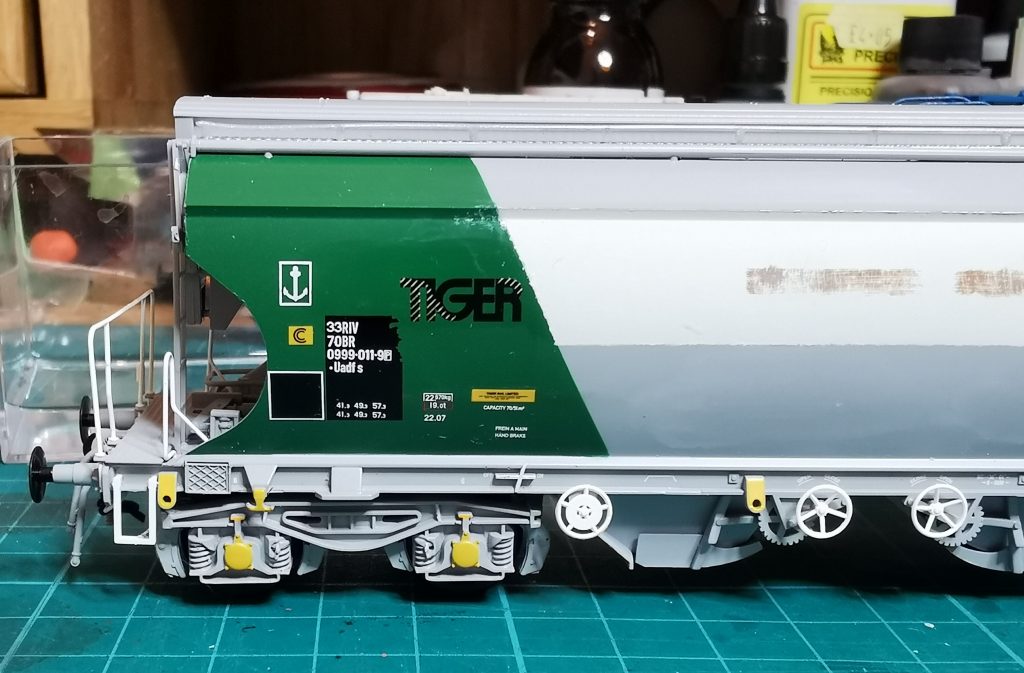
With a surprise release of two new Bachmann Polybulk wagons from Rails of Sheffield, I decided to add both into the Farkham roster. These two wagons are ideal for Speedlink era modellers.
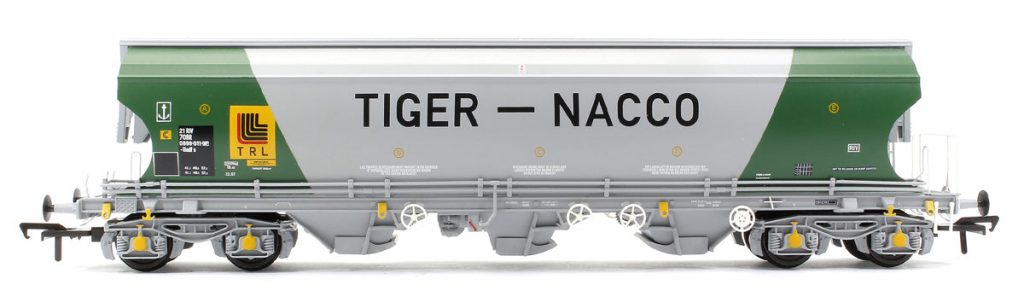
Here I’ll document the first of the two, the Tiger-Nacco branded version. With a little research, I could only find photos of this livery in the early 80’s. So it was time to think about post-dating the wagon to circa 1990. The prototype photo I’m using can be found on Paul Bartlett’s website here: https://paulbartlett.zenfolio.com/polybulk/h2af298ed
Bachmann Tiger-Nacco Polybulk
I removed the Tiger-Nacco branding and TRL logos with Isopropyl Alcohol and gently rubbing with a cotton bud. It came off very easily without affecting the models paint.
Branding removed
I then masked the upper half of the central grey bodyside, and painted it white. Once dry, I then masked up the brown blanking panels and brush painted these with Army Painter Brown Leather. I used a fine sanding stick to remove some of this paint to give a worn effect.
Rebrand Polybulk
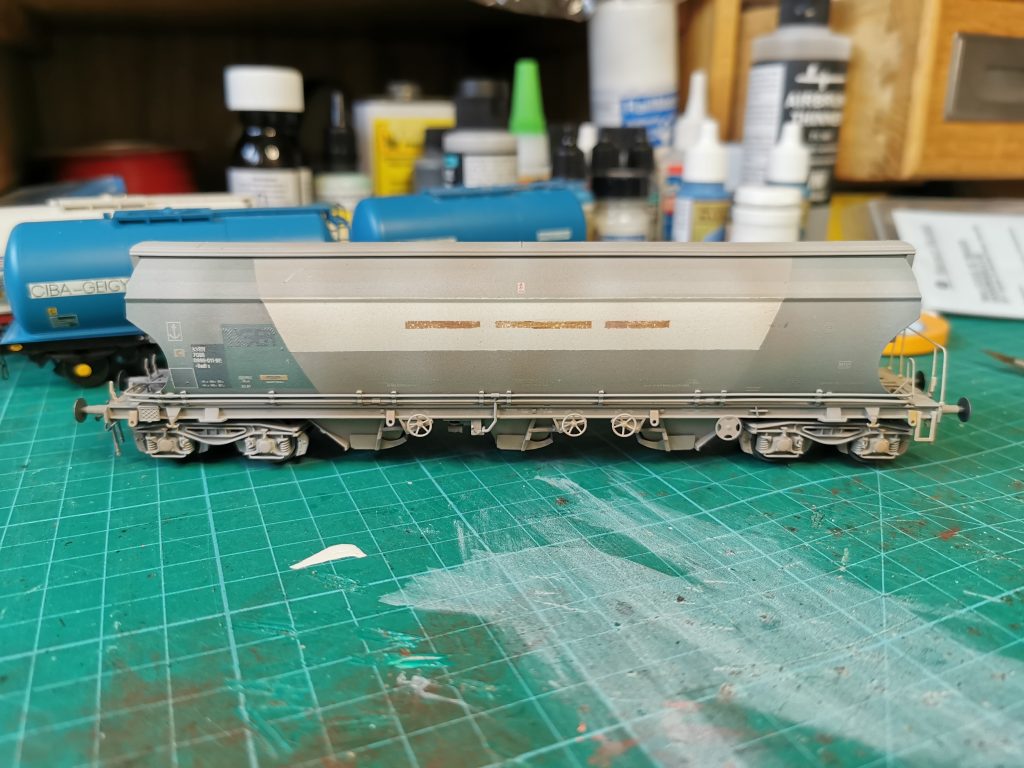
Next, I removed the 21 wagon number prefix, as some time in the mid 80s the Polybulk number prefix was changed to 33. Gloss varnish was then applied to the data panel end, and once dry the 33 prefix was added, along with Railtec Transfers Tiger logos.
33 prefix and Tiger logos added
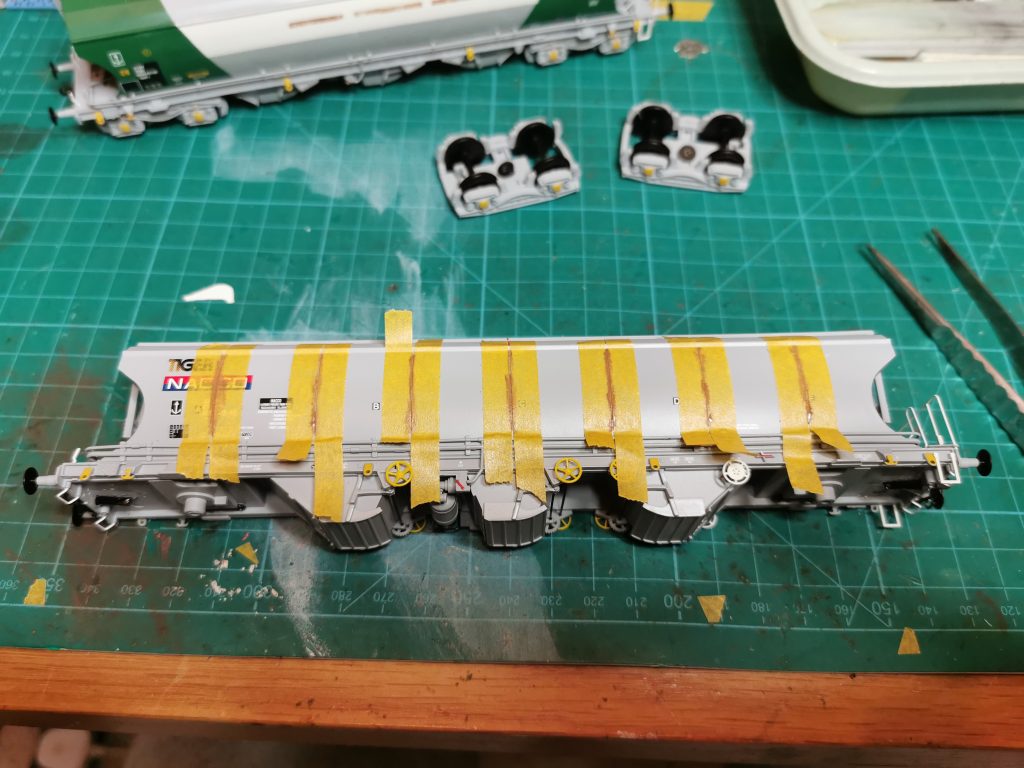
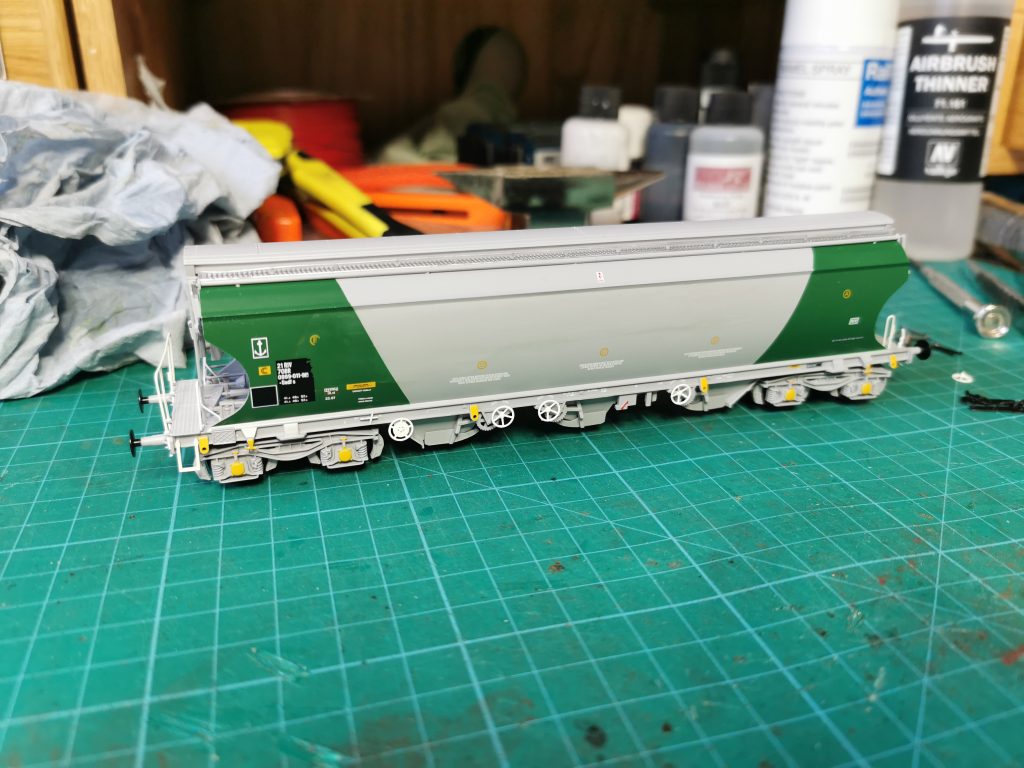
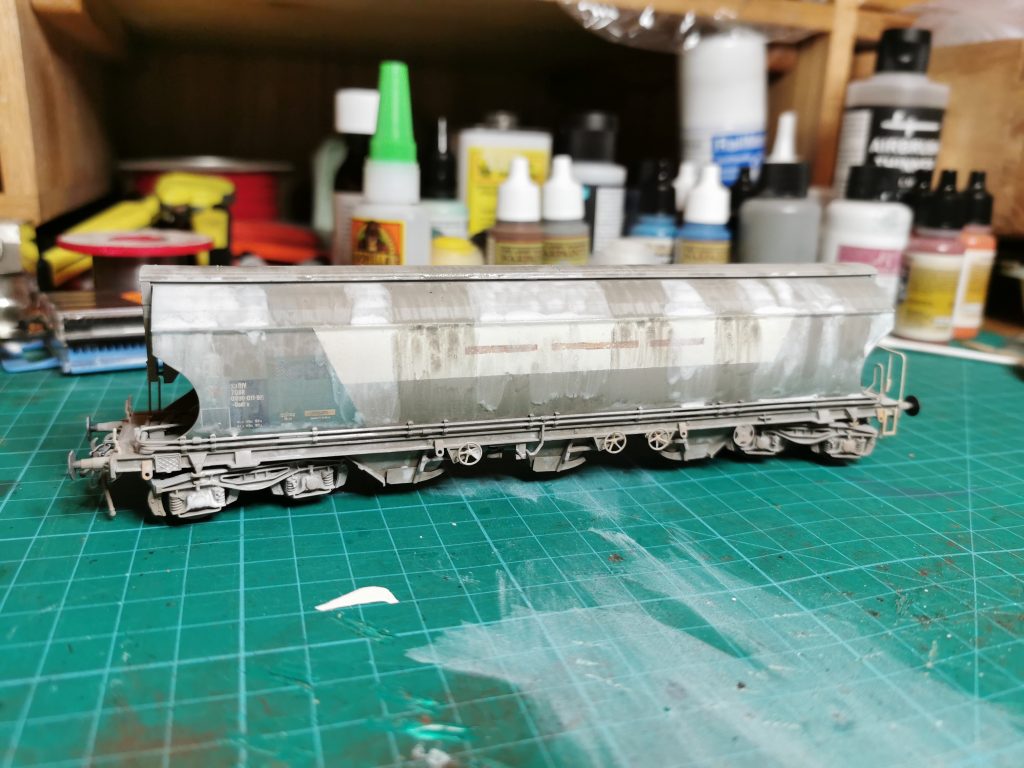
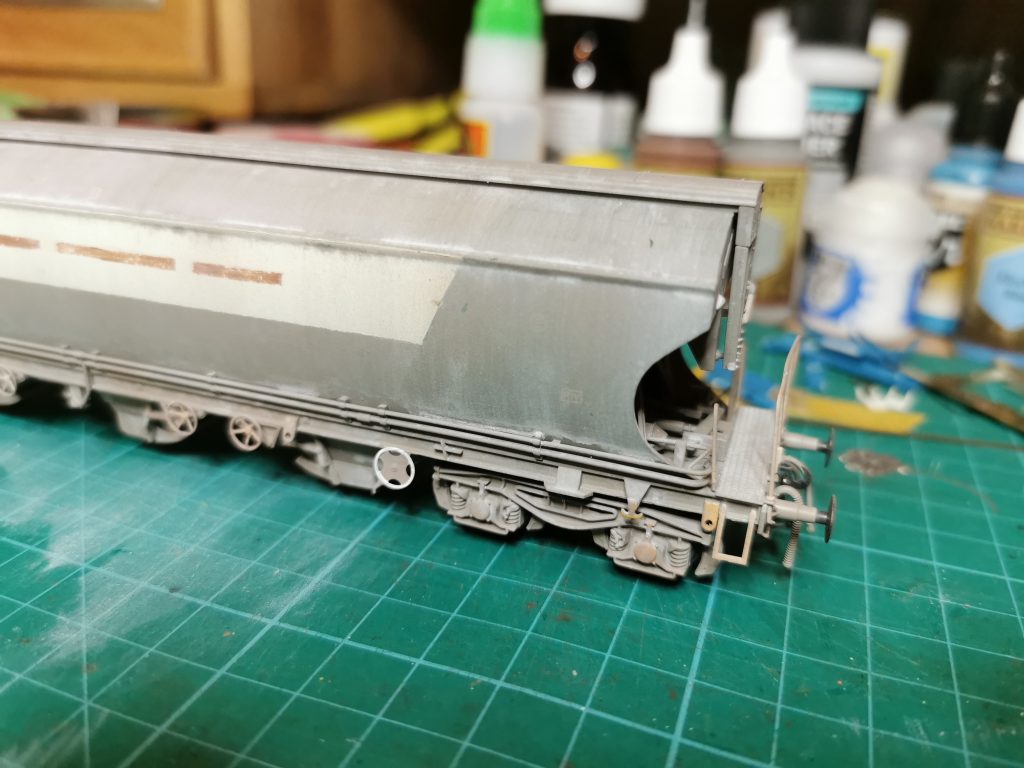
The wagon was now ready for the first stage of the weathering process. I masked up the painted white area, tiger logos and parts of the data panels, as these appear much less weathered on the prototype.
I used three colours in the airbrush, starting with Army Painter Brown Leather. After this base layer, I removed the masking tape before a second pass with the airbrush. I then changed to Army Painter Ash Grey before finishing with Games Workshop Scar White. At this point, I was really happy with the outcome, and I could have easily considered it finished.
The airbrush weathering is complete
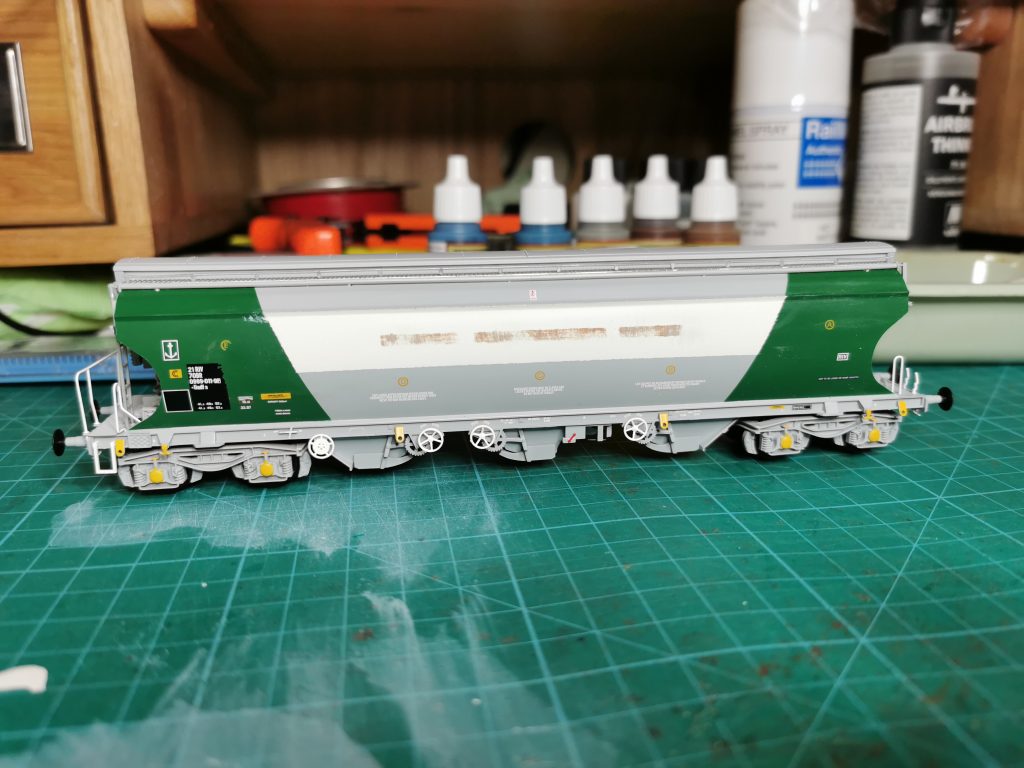
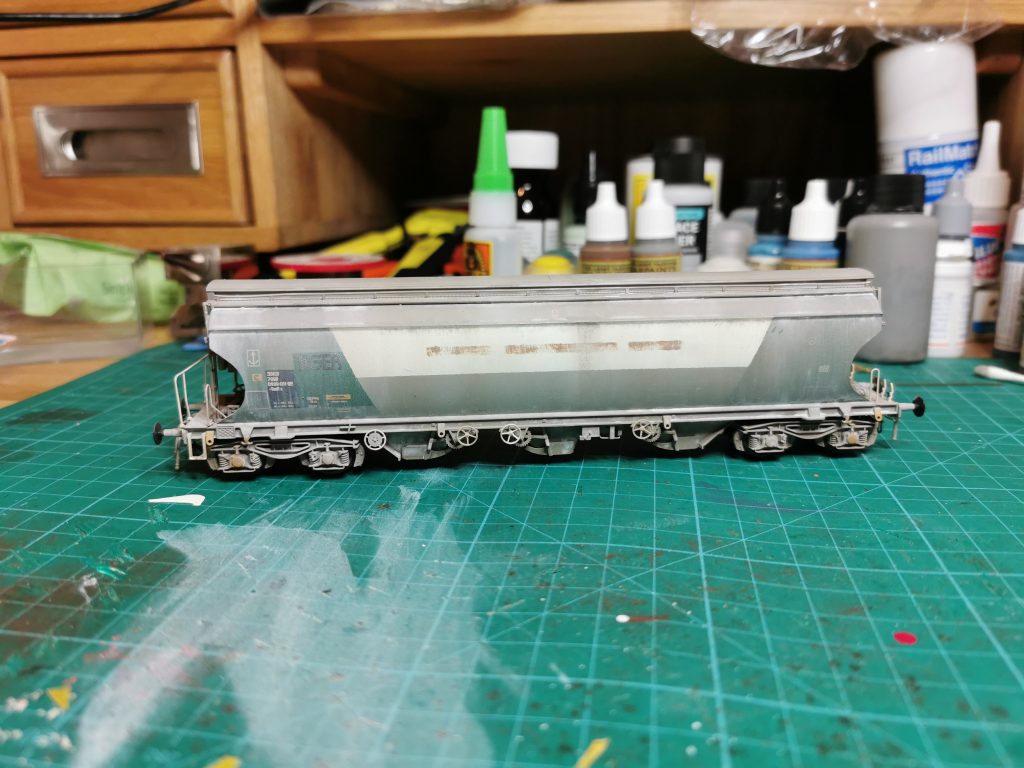
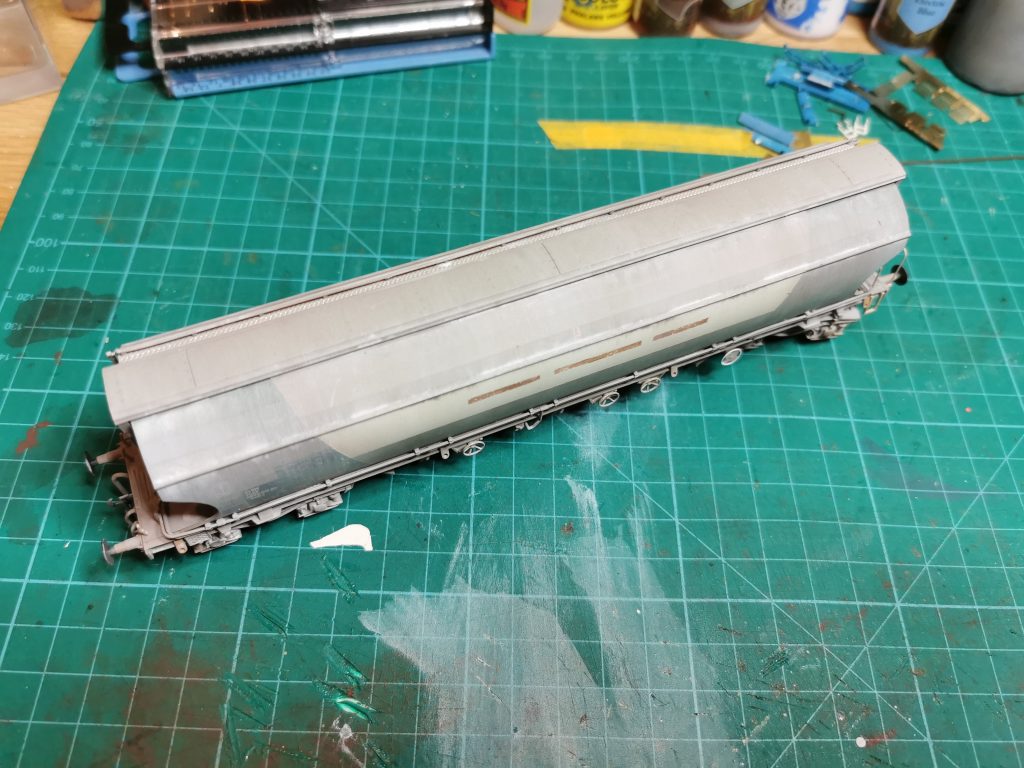
I was now ready to introduce some weathered streaking effects caused by rainwater mixing with China clay dust. To do this I used Flory Models Grey and White clay based washes, applying a good amount with a 10mm flat brush and leaving it to dry.
Flory Models washes applied and left to dry
After half an hour it was dry and ready to be manipulated with a damp sponge. Always using a downward motion, I wiped the excess wash off, which leaves a nice dusty but streaky finish.
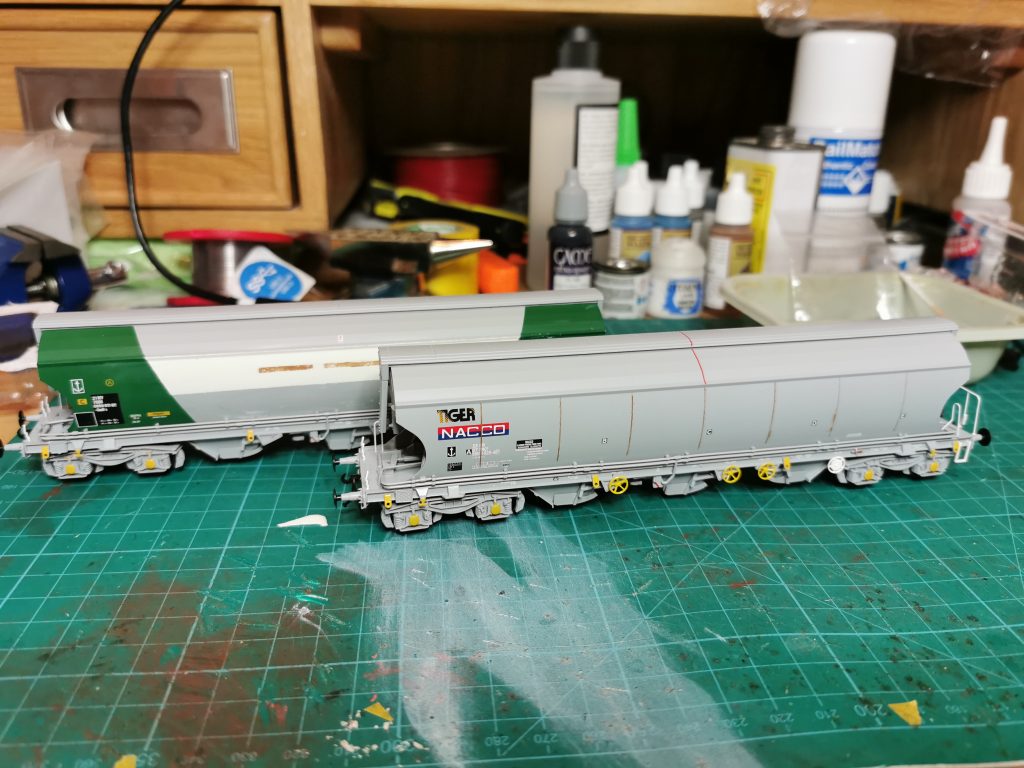
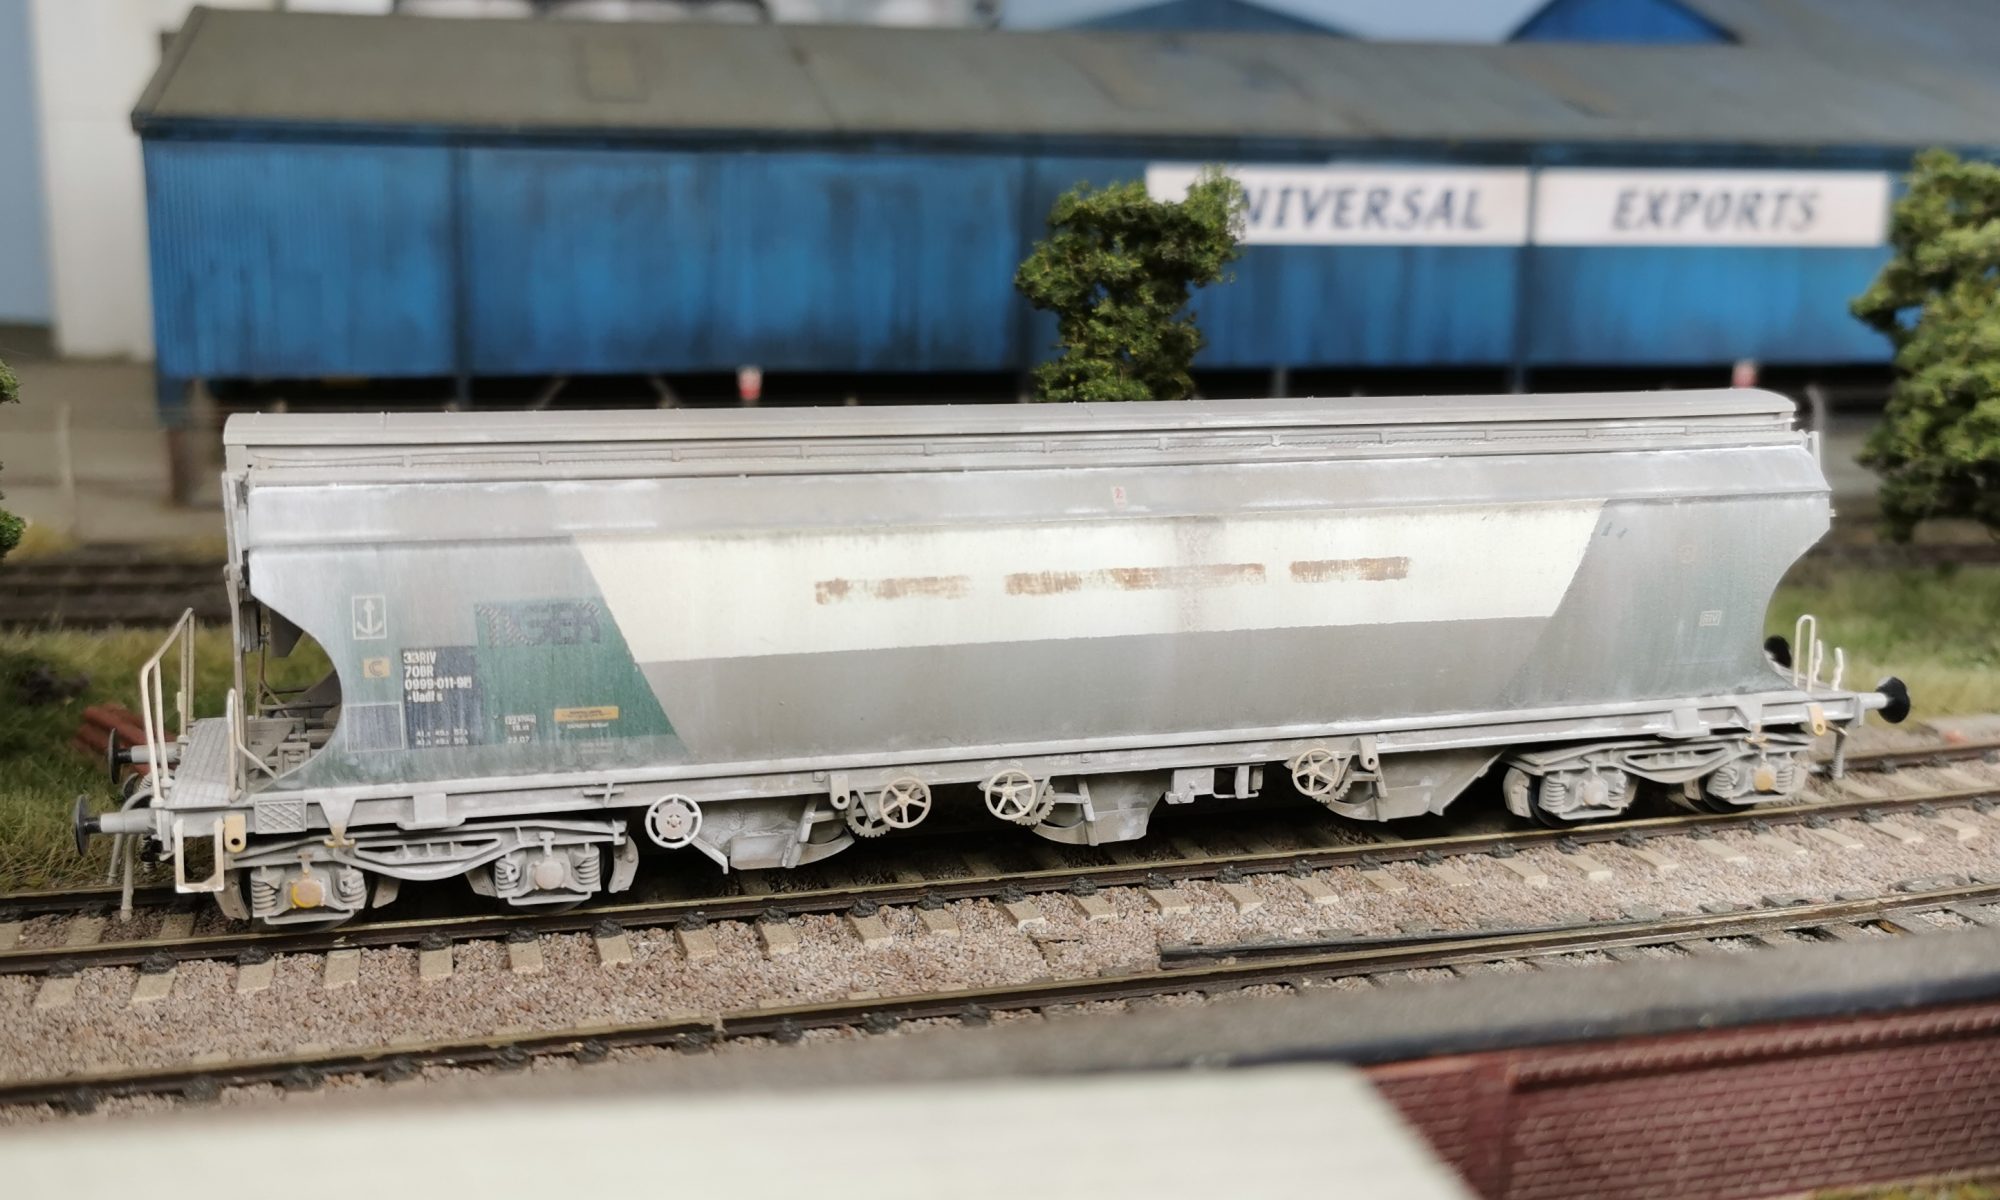
The finish Polybulk wagon
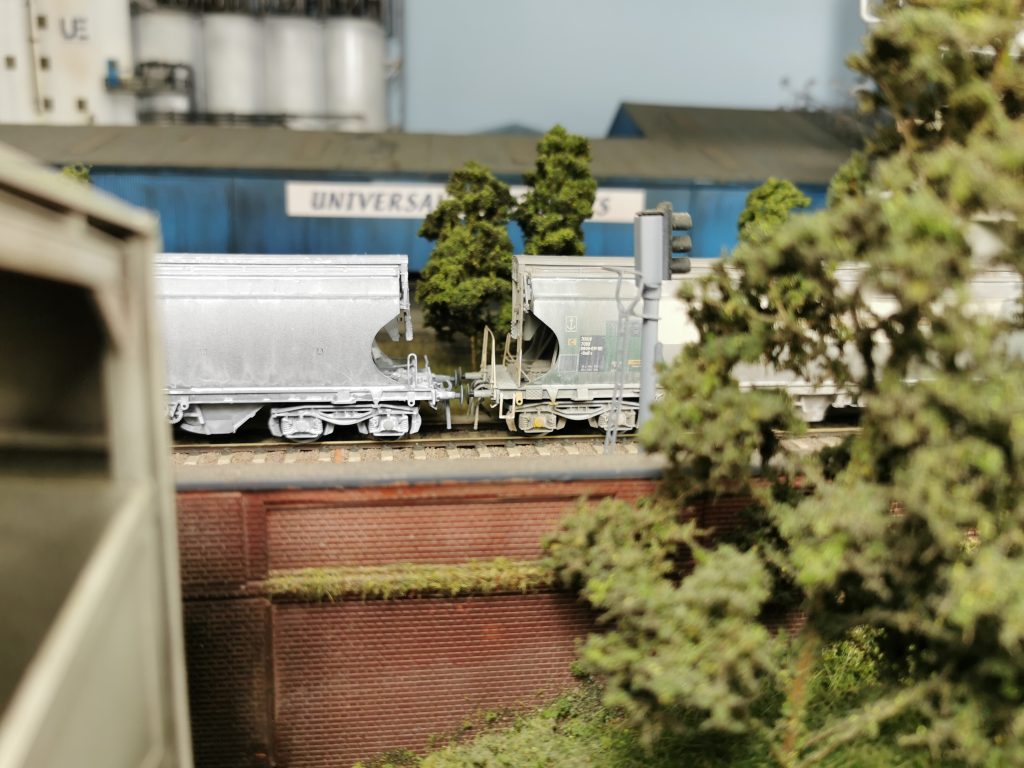
This one is now finished, and ready to be put to work on Farkham. It could be used as a single wagon in a Speedlink train or mixed in with other china clay wagons.