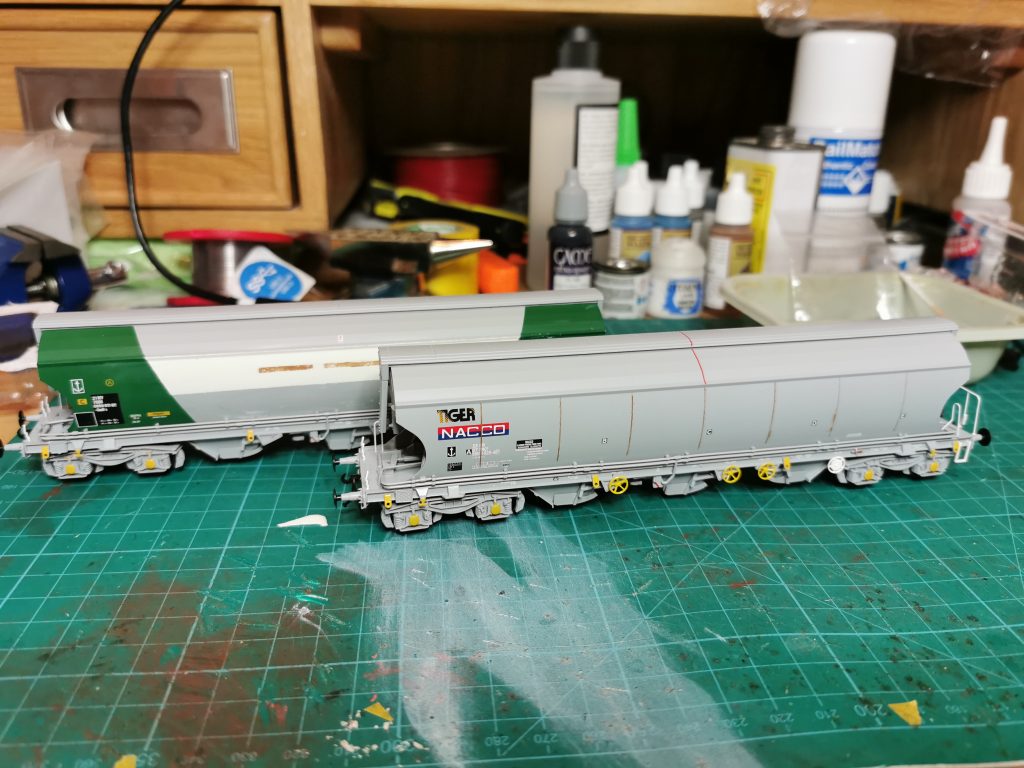
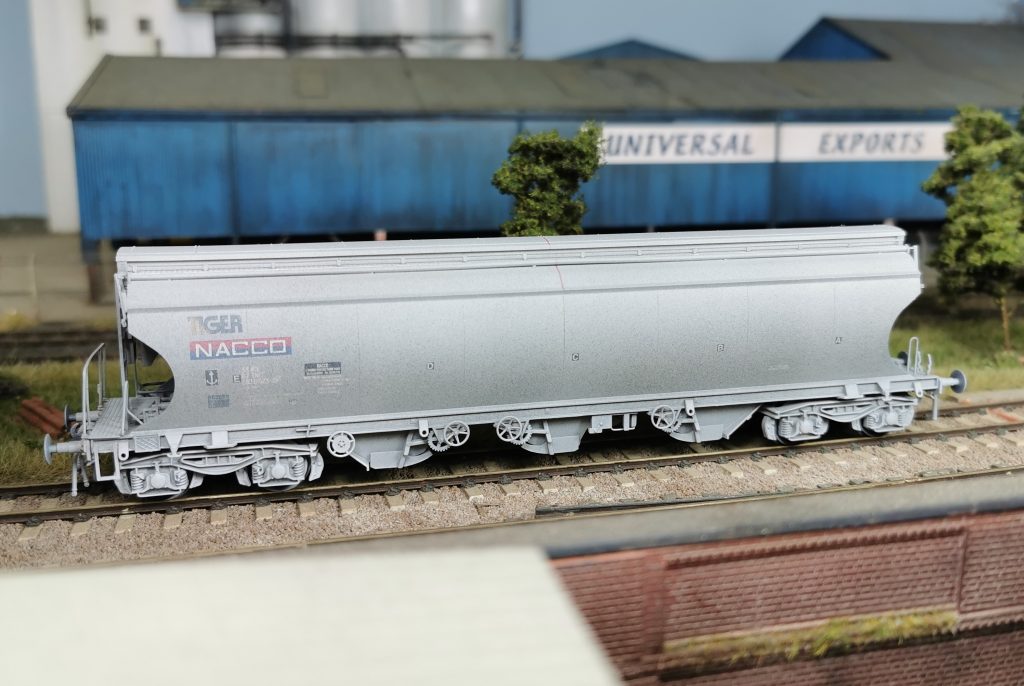
The second of the Rails of Sheffield exclusive Polybulks, fits perfectly into 1990 straight from the box so a minimum amount of work was required. Looking at the prototype, the plain grey Polybulks appear to have visible seam welds to the body side. Or at least, these seam welds weather heavier than the rest of the steel work.
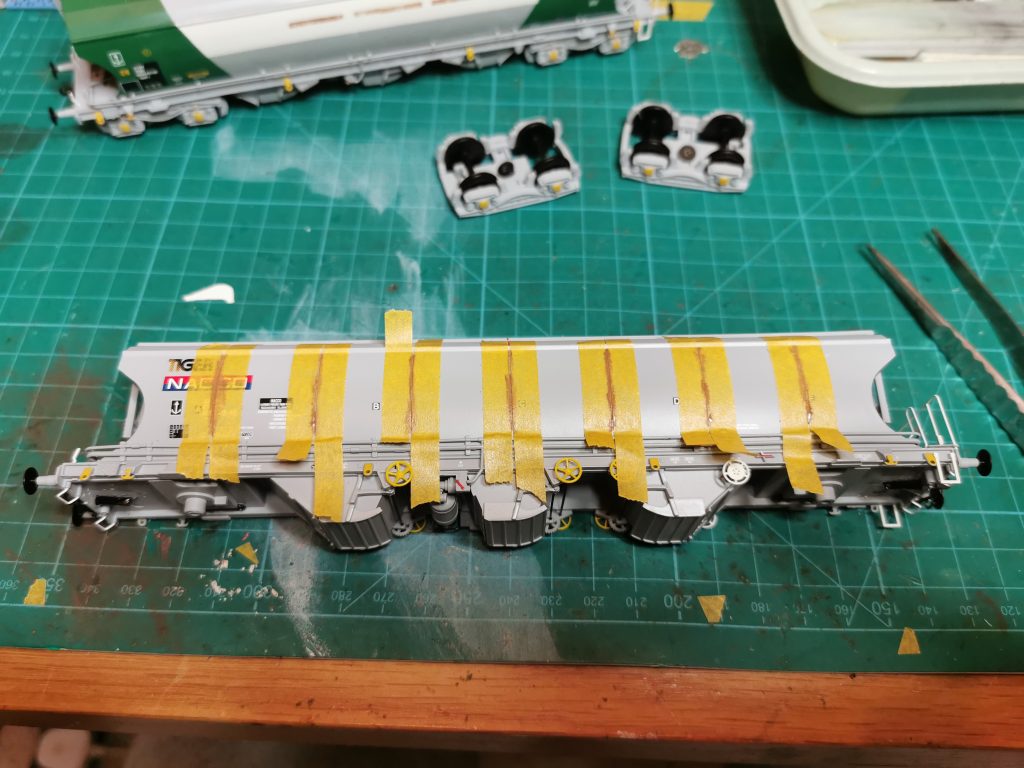
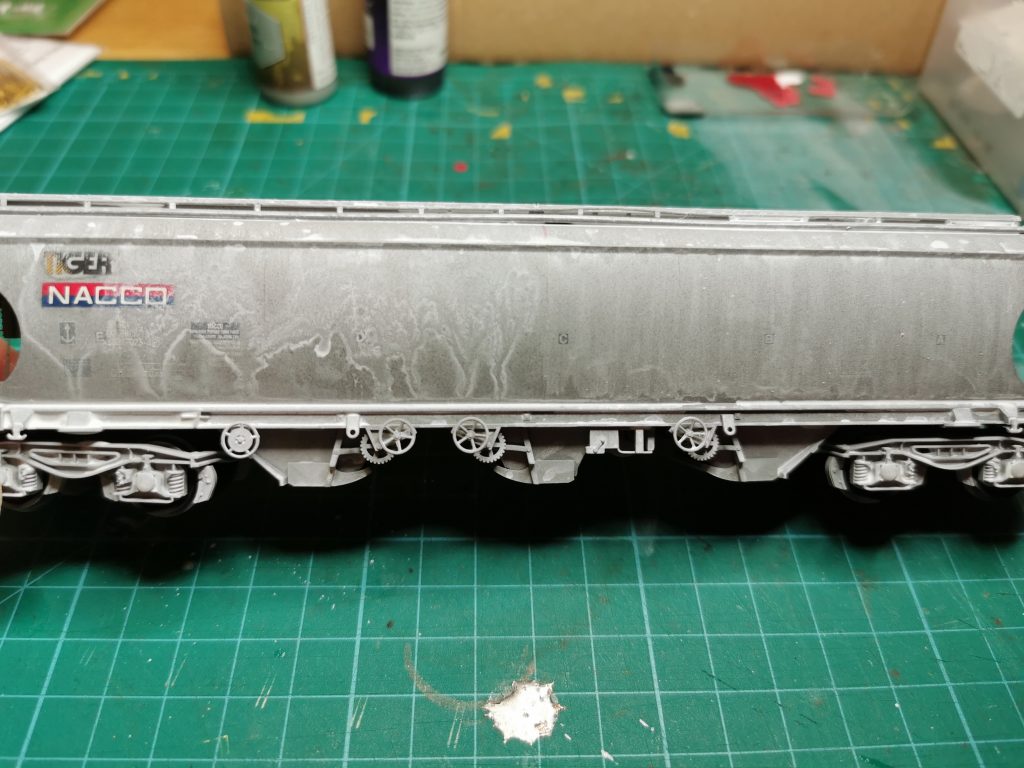
The first job then, was to mask up the seam weld lines and paint them with a brush using Brown Leather from the Army Painter range.
Masking up the internal welded seamsSeam weld lines brush painted
The next stage was to airbrush weather the wagon, using Charcoal Grey and White. The charcoal grey was used to darken the body slightly, while the white highlights areas of clay dust.
Weathered with the airbrush
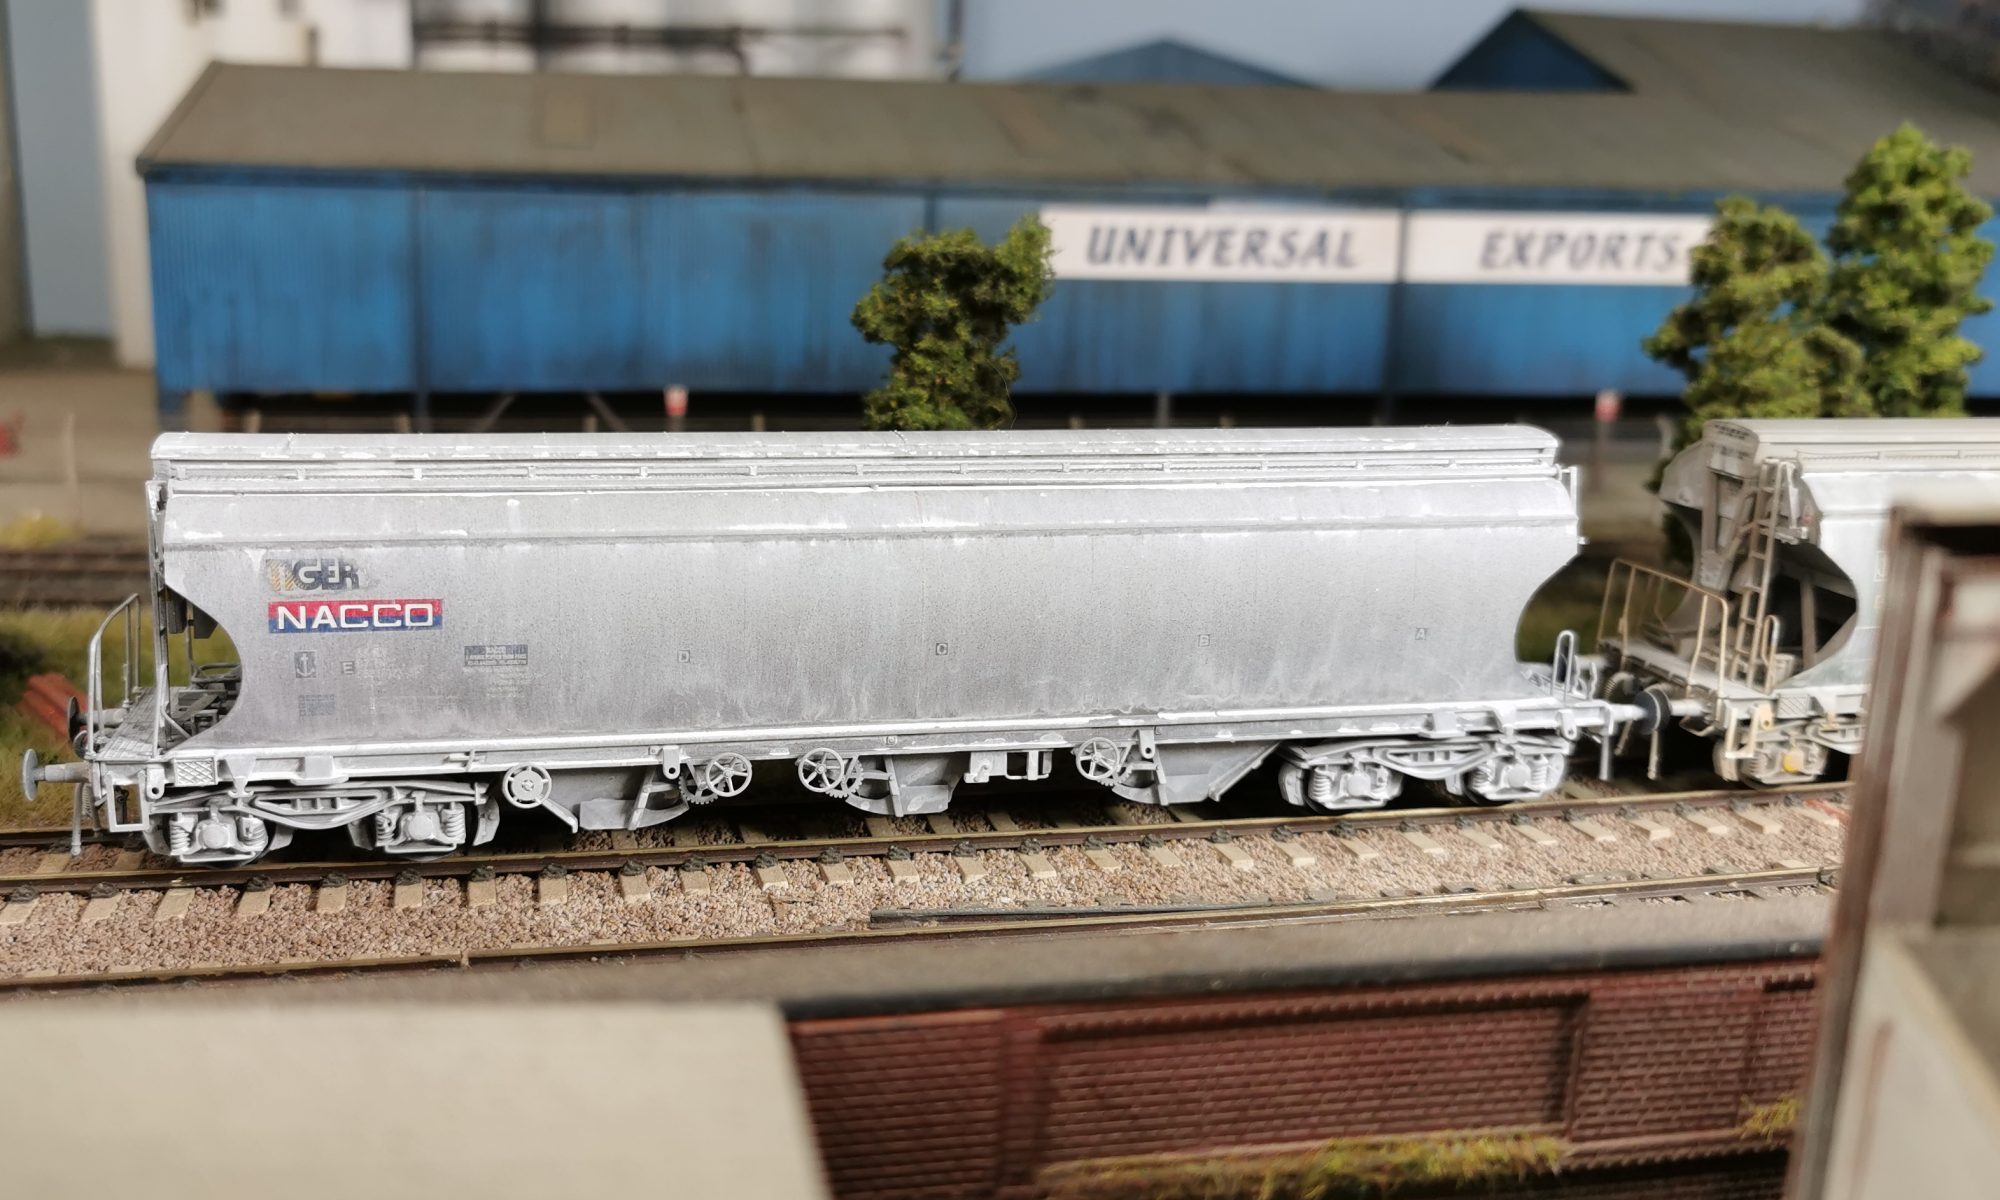
The Tiger and Nacco logos were then cleaned of airbrushed paint with Isopropyl Alcohol and a cotton bud. These appear cleaner on the prototype. Finally, the wagon was given a wash of Florey Models White, and left to dry. Once dry, this was wiped off with a damp sponge leaving streaks to the body sides.
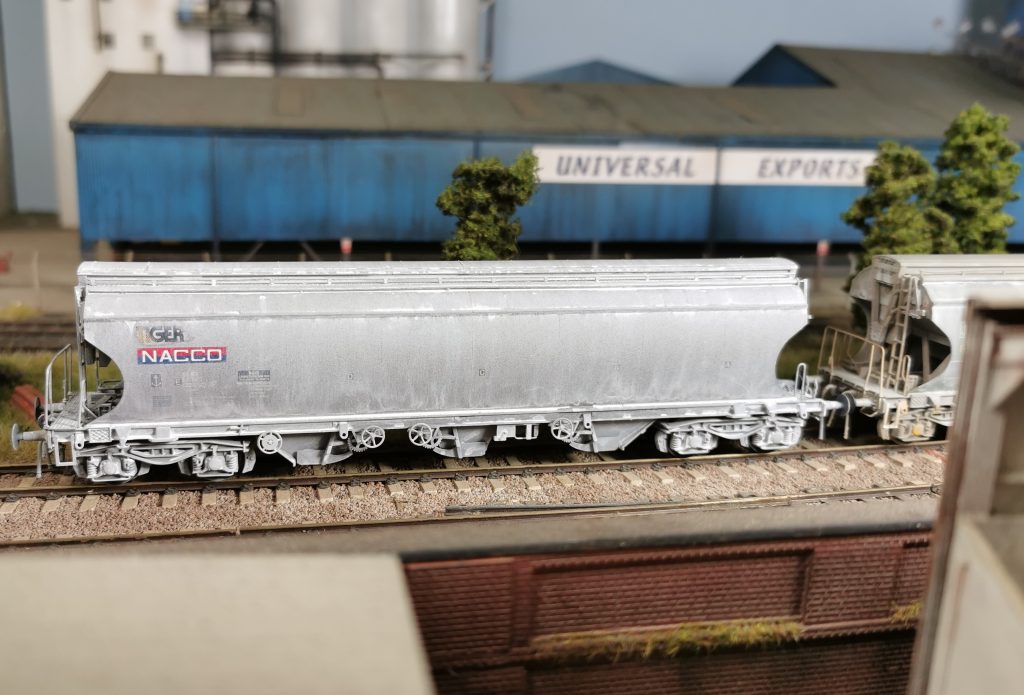
Starting to wipe the wash off, leaving streaksThe finished wagonThe first two finished Polybulks together
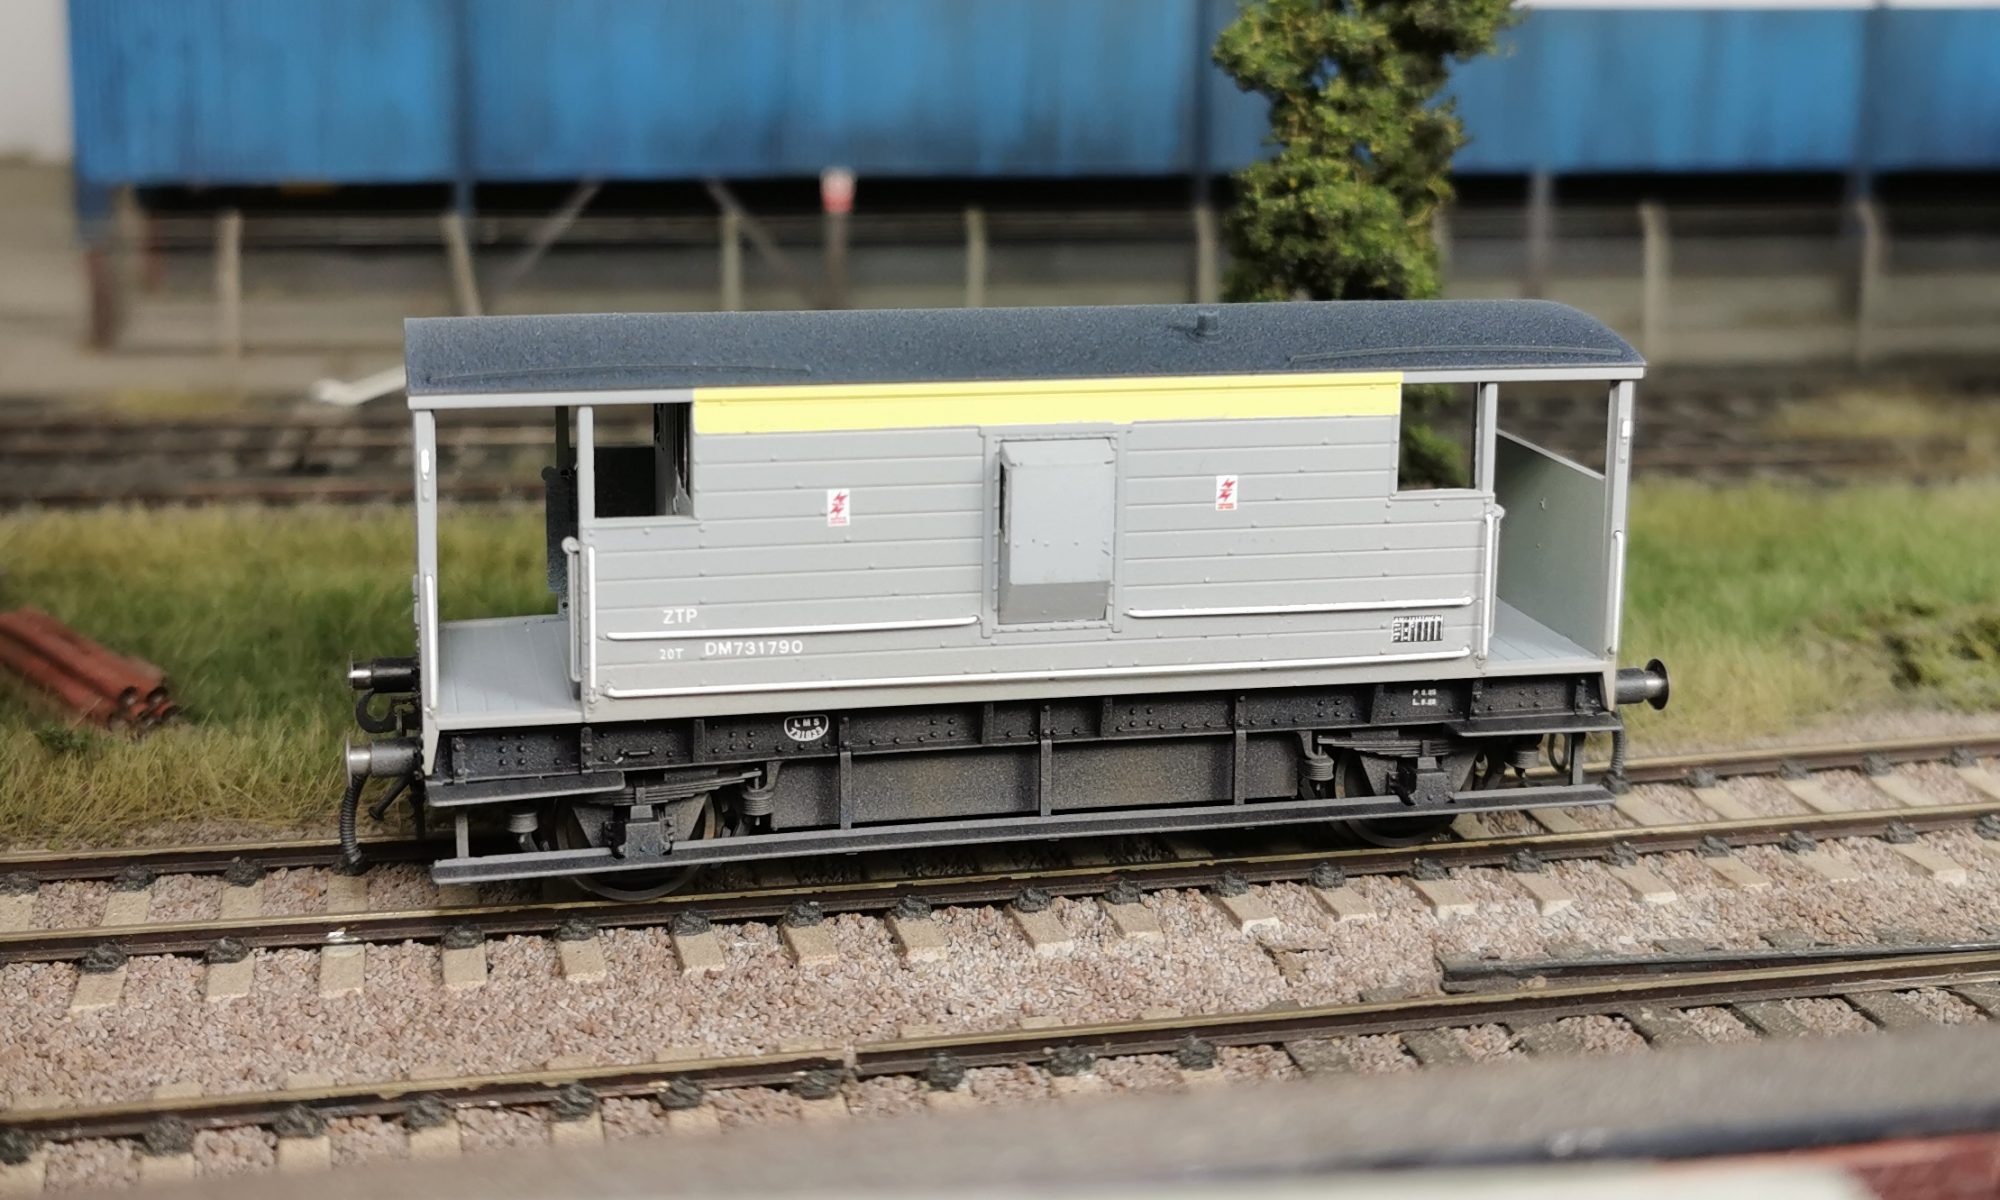
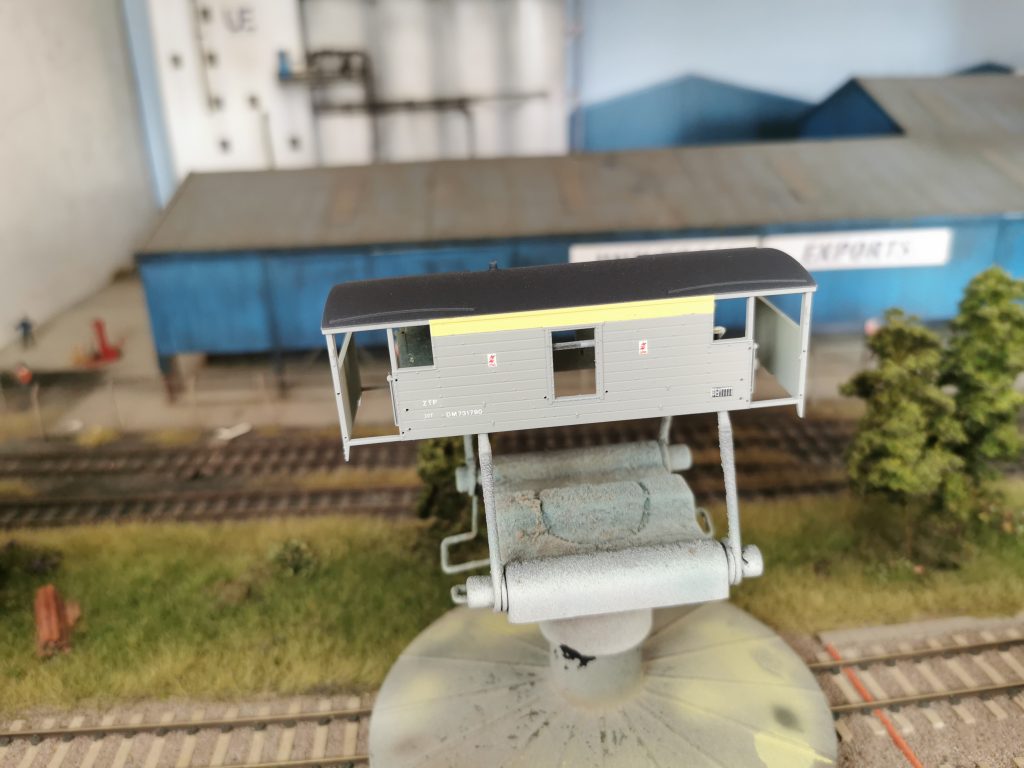
I’ve recently purchased two of these Hornby brake vans at a bargain price of £14.95 each. So, thoughts soon turned to what I would do with them.
For this one, I’ve found a prototype photo on Paul Bartlett’s website which I’m going to use as a guide.
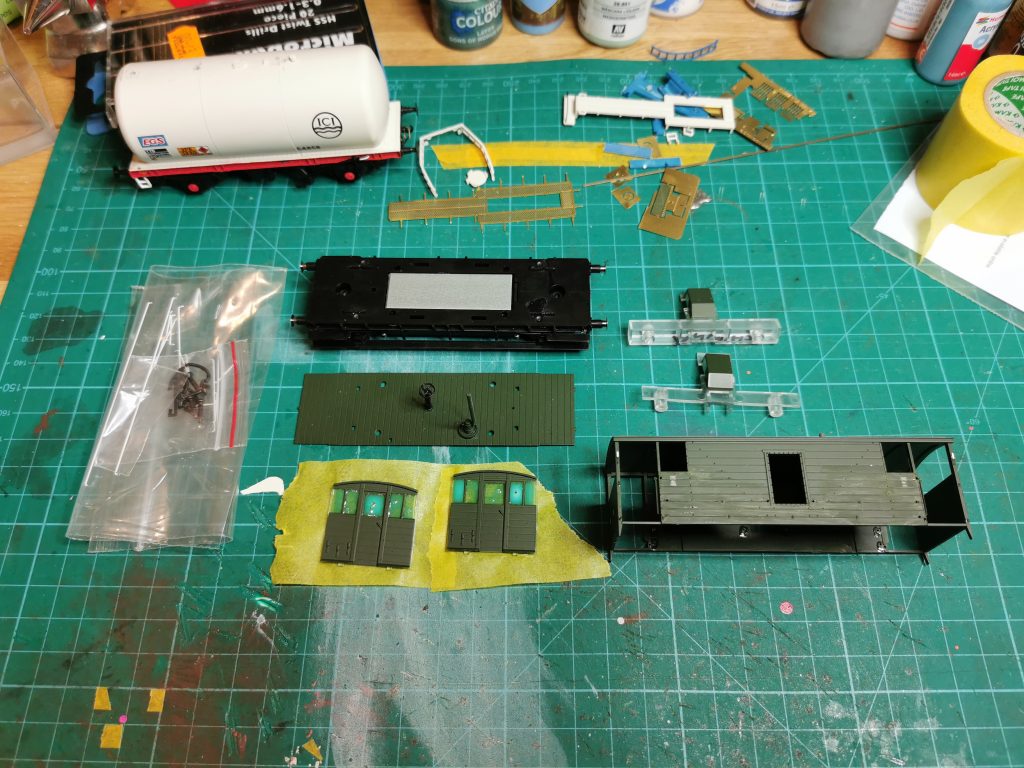
I started by removing the handrails and dismantling the van. I also drilled out the handrail holes making them slightly wider, which aids refitting and prevents them from looking bent. I then removed the numbers and markings with Isopropyl Alcohol, and masked the door and ducket windows with Vallejo masking fluid.
Dismantled and ready for primer
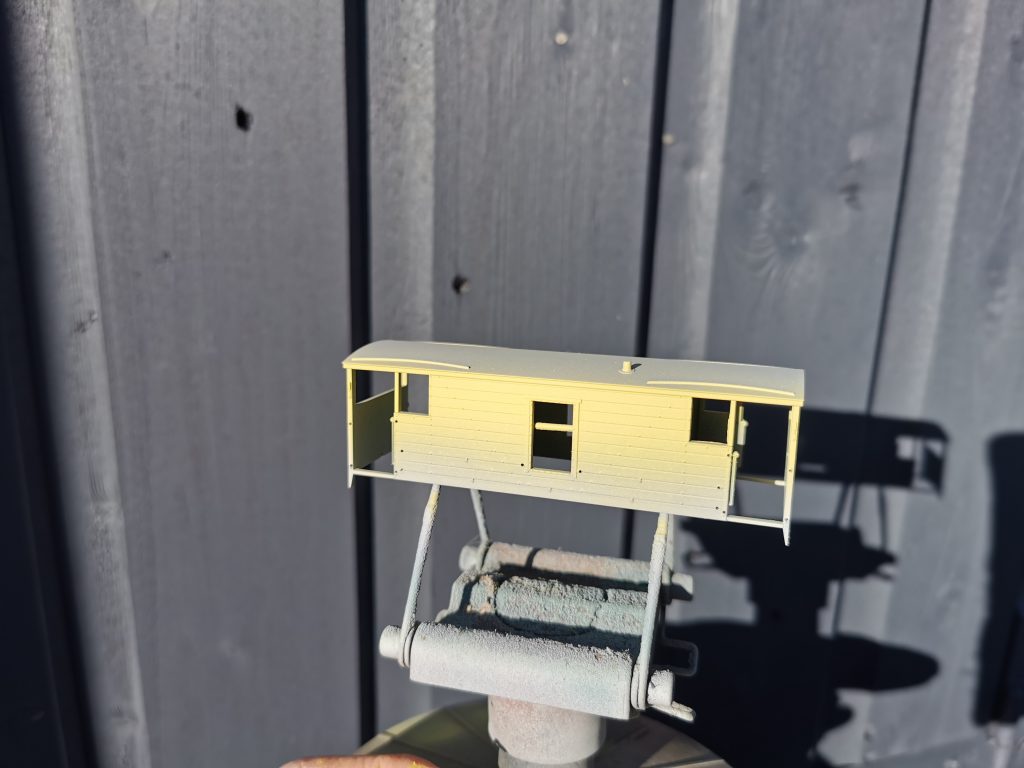
Next, I primed the van with Vallejo grey primer through the airbrush. The following day, once this had dried properly, I sprayed the faded Dutch yellow using a mixture of Games Workshop Phalanx Yellow and Scar White. Once dry the yellow was masked up and Army Painter Ash Grey was sprayed on the remainder of the body.
The faded yellow
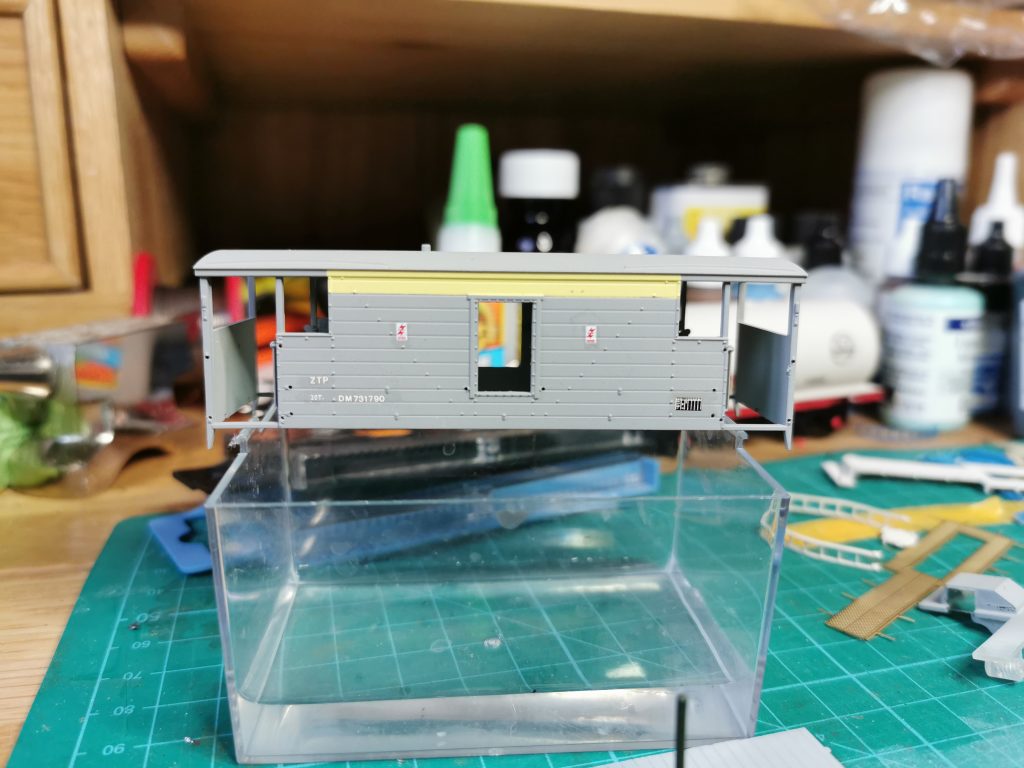
I applied gloss varnish with a brush to areas that required transfers. I find this speeds up the process, rather than airbrushing it. And the end result isn’t compromised. Then the transfers were applied and another coat of gloss varnish added to secure them permanently.
Transfers added
Note the electrification flashes. The one on the right is offset while the other is central.
The roof was next to be painted so Charcoal Grey was sprayed with the airbrush, after some careful masking. More Vallejo masking fluid was used over masking tape seams as a precaution. There is nothing worse than unnecessary overspray from poor masking!
Roof painted dark grey
A coat of matt varnish was sprayed from a rattle can. I’ve used many different brands of rattle can varnish over the years, but one I always recommend is Colour Forge. The finish is second to none.
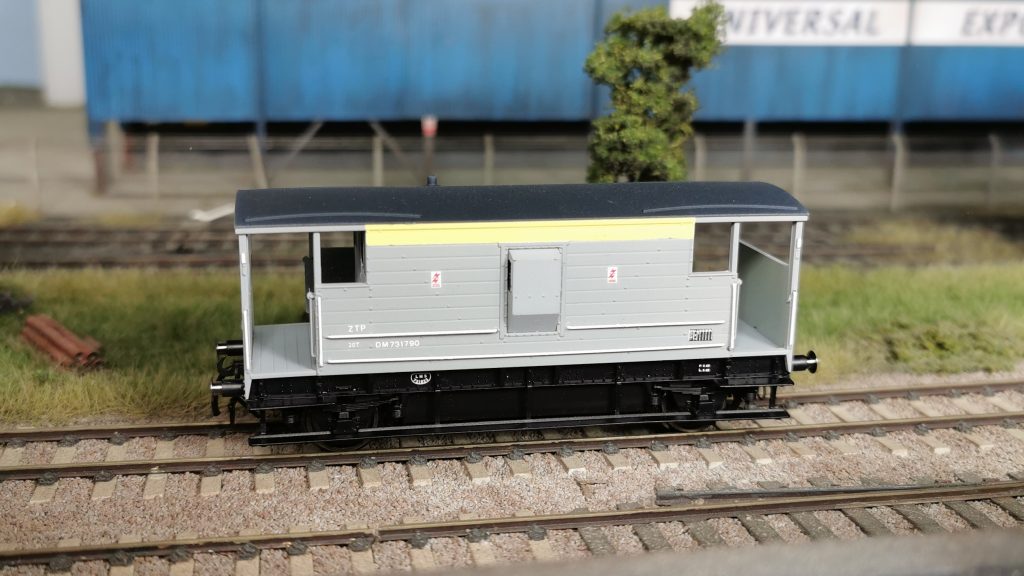
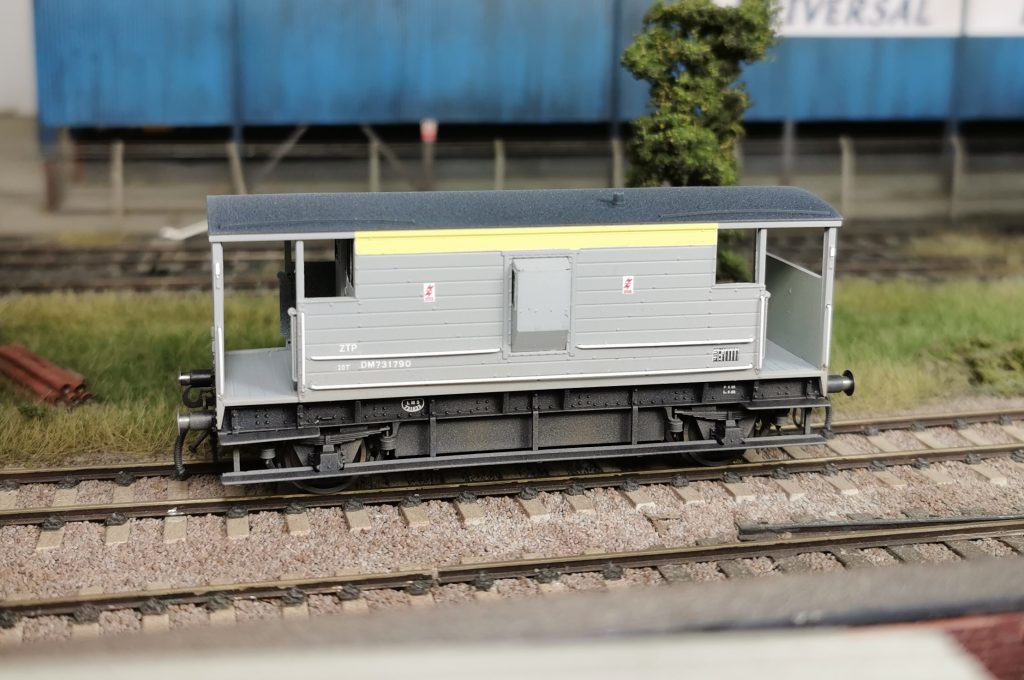
Final tasks before weathering was to paint the lamp irons white and glue the handrails back in place.
Resprayed and ready for weathering
Weathering consisted of 3 colours applied lightly through the airbrush. Ash Grey, Brown Leather and Light Rust. The roof was also given a light blow over with Ash Grey, just to take the newness off the dark grey.
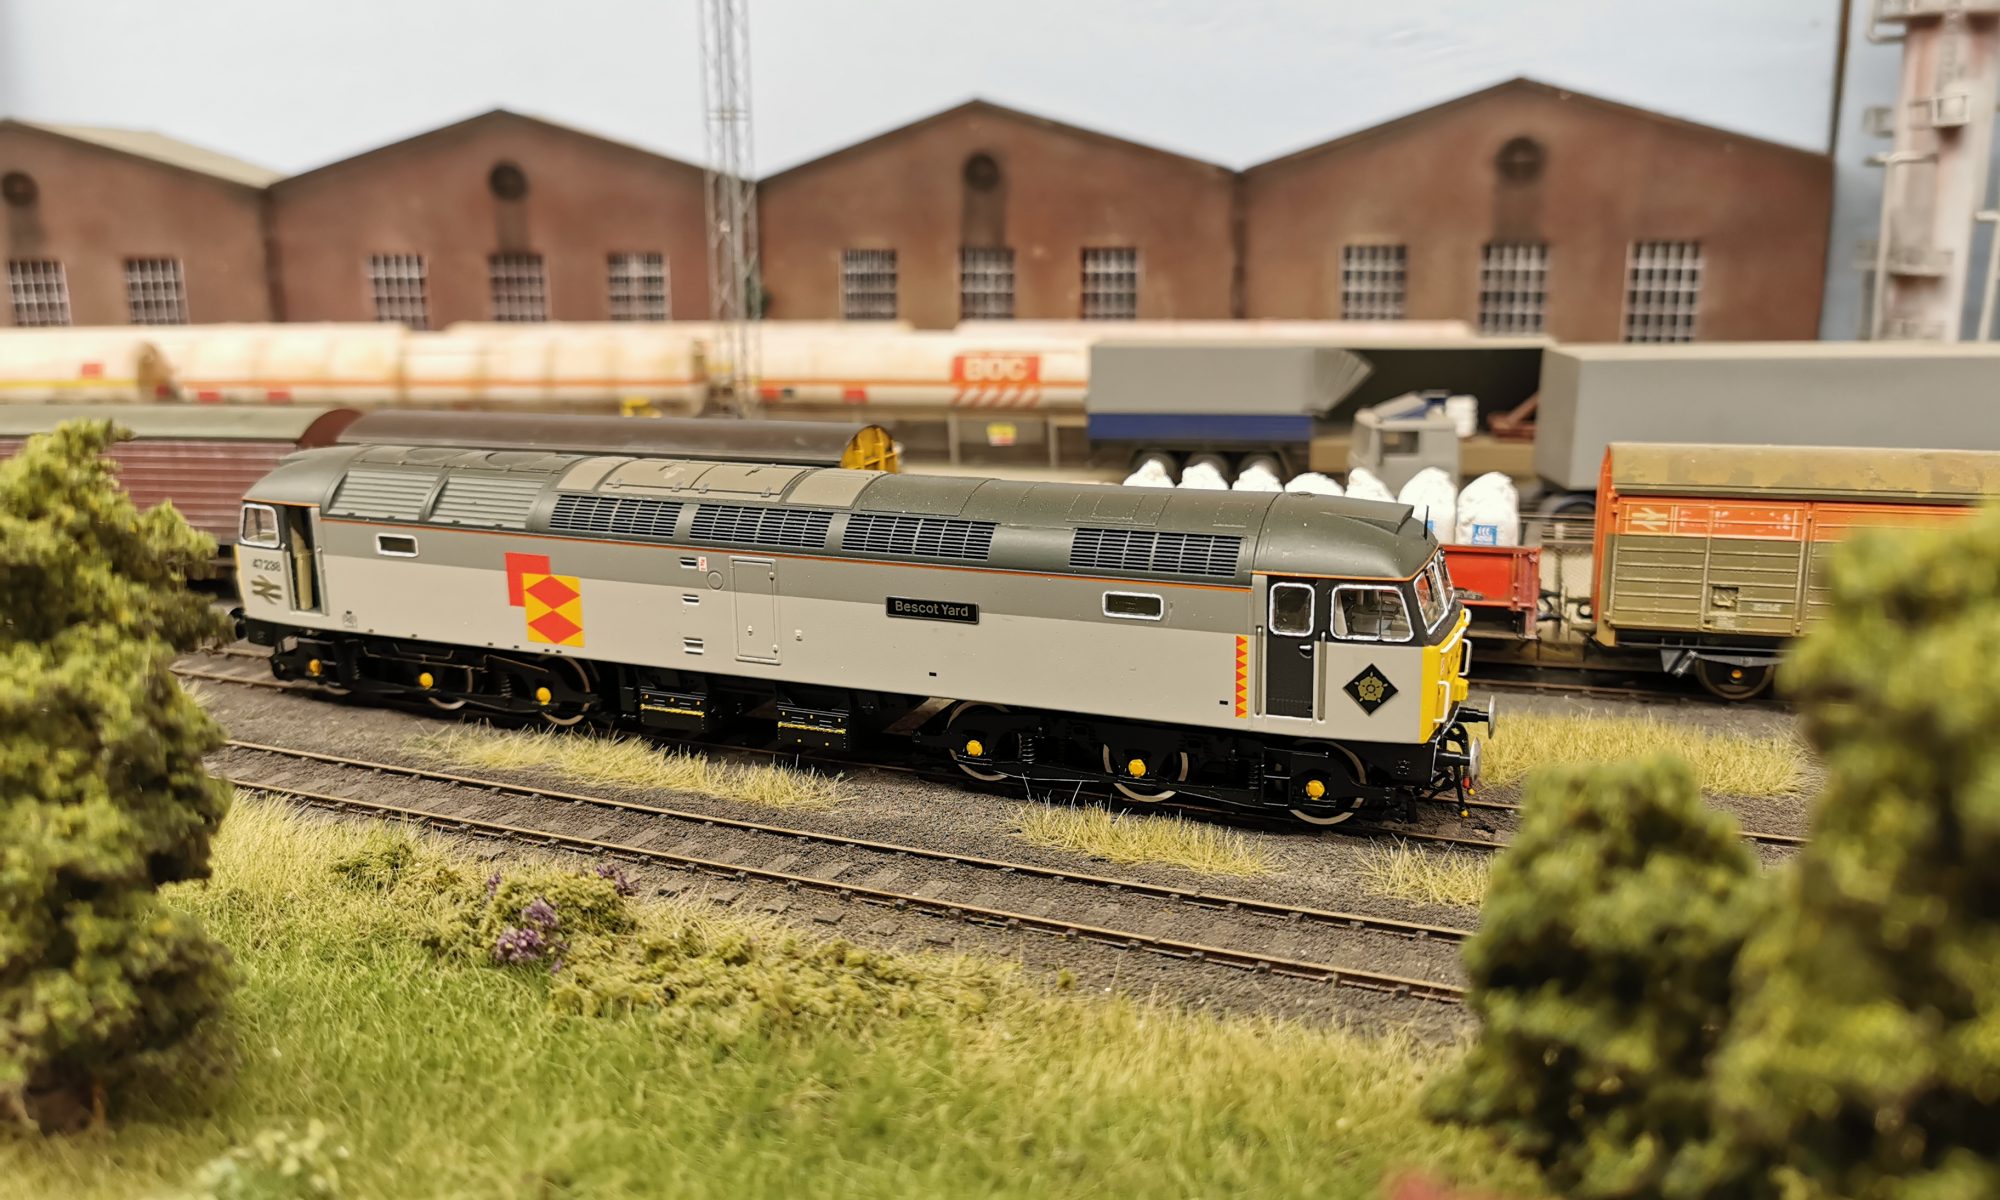
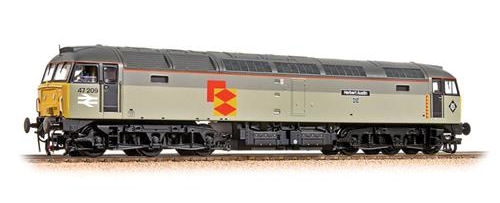
One loco that has always been on my radar to do is 47 238 ‘Bescot Yard’. In fact, I’ve had the nameplates for this loco for a number of years, buying them at a Wolverhampton model railway club show from the orignal Shawplan owner, Graham Shaw.
The Bachmann Class 47 as supplied
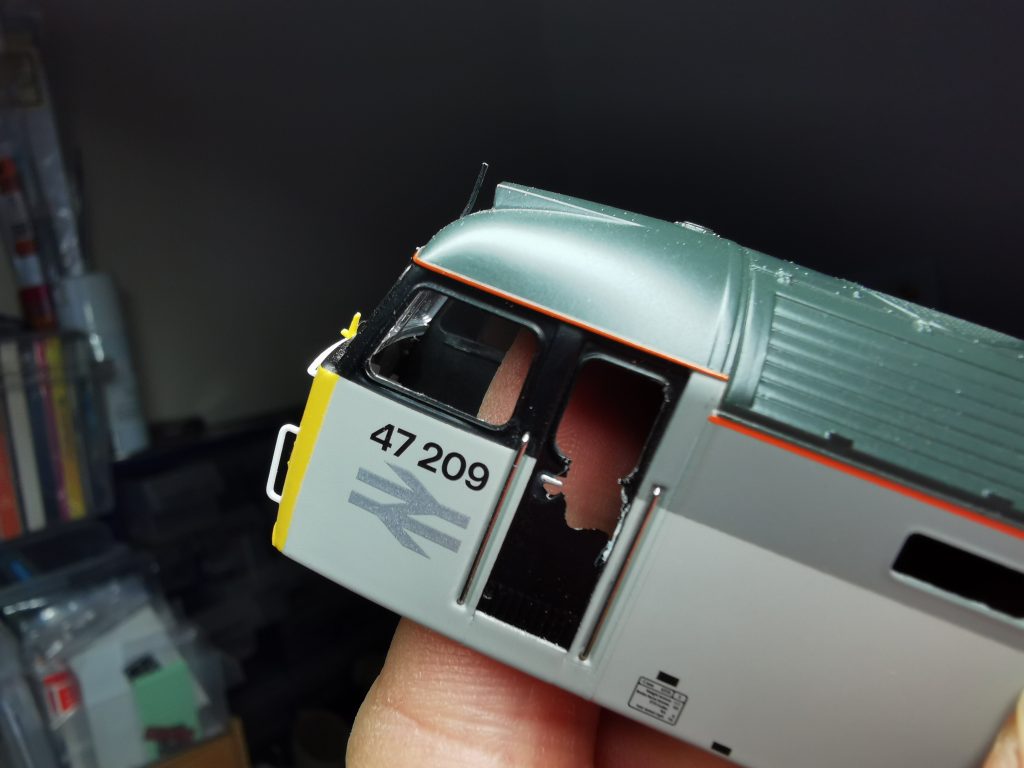
The donor loco for this project is a Bachmann 31-663 Class 47, 47 209 in Railfreight livery. The first job was to remove the windows, which is usually a simple job, but not this time. Some of the windows were well and truely glued in, and on being a little too heavy handed, one of the cab doors cracked and came off with the window. I don’t know what they used in the factory when this loco was assembled, but its good stuff! As a precausion, the remaining glazing was removed with Glue Buster.
The broken cab door.
At this point, I decided to cut out the rest of the cab door so the loco could be modelled with the cab door open. It is the summer of 1990 afterall. Part of the chassis needed to be cut out to allow the door to be open, and the wiring for the lights was rerouted to the other side of the cab. The cab and bulkhead also needed modification with the razor saw, and a new cab floor and brace was fabricated with some plastikard. All these were painted after they were fixed in place. A rumage through the parts box found a suitable cab door from a Hornby class 56. Although not identical to a class 47 cab door, it looked fine inside the cab. You can’t see enough of it to notice it’s different. A kick plate was made and glued to the bottom of the door, covering the lower door handle which is found on the class 56. I then made a plastic bracket and located the cab door in place.
Part of the chassis removed.
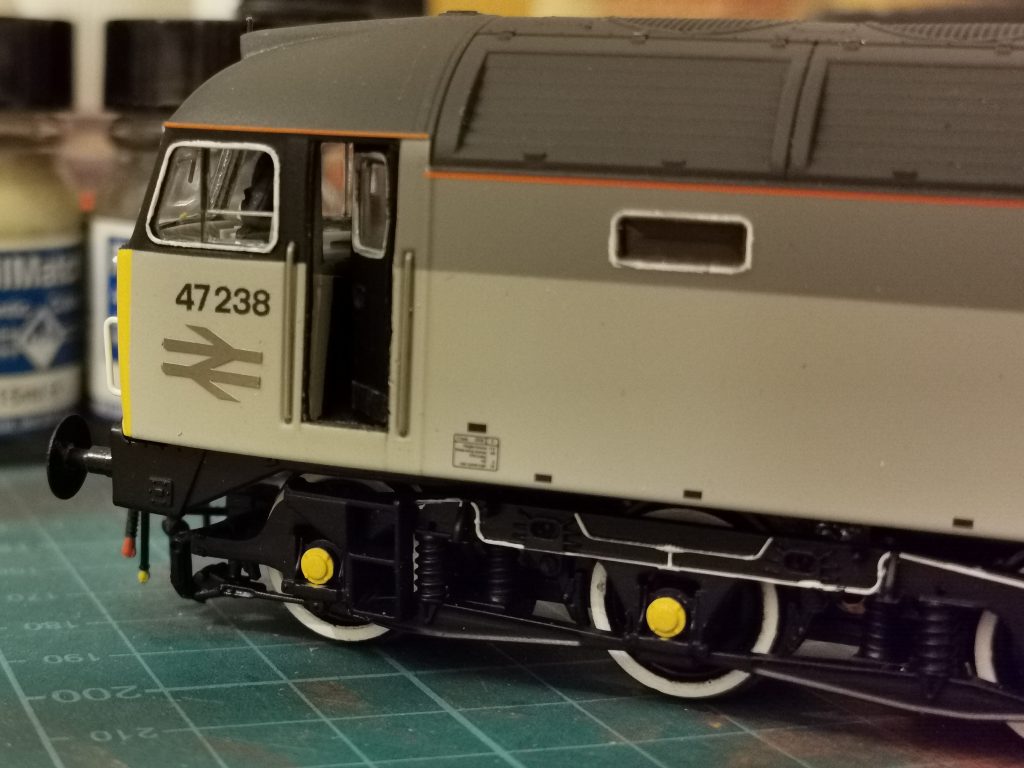
Next, the loco numbers, nameplates and BR arrows were removed. The new numbers, etched nameplates, depot plaques and arrows were secured in place with some varnish. Attention could then turn to painting the window surrounds white, with a good quality brush and a steady hand. The
was done for the bufferbeam before fitting screwlink couplings and appropriate pipework. The glazing was then reinstalled using liquid poly, and the fuel tanks were also swapped to suit. The bogies were also swapped from another Bachmann model that already had the details painted in white. Yellow stripes were painted on the fuel tanks, and the buffer heads painted silver, as per the prototype.
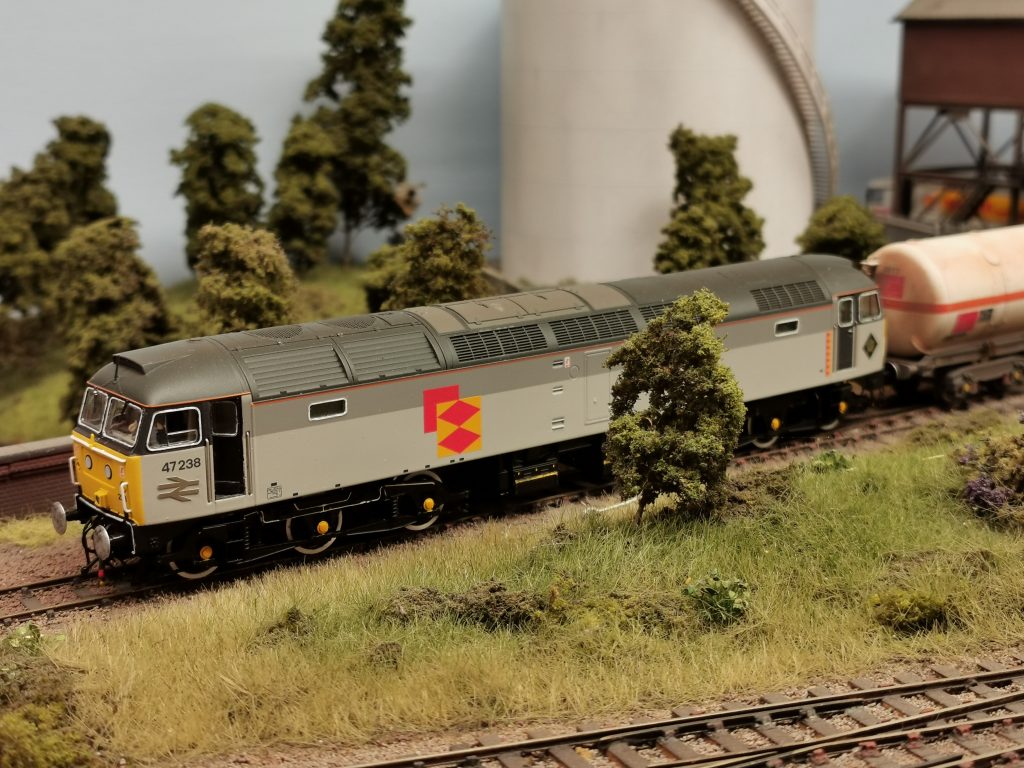
BR arrows offset and painted window surrounds. The finished loco.
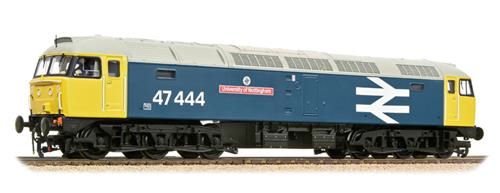
I recently purchased a model of MENTOR from a friend and realised I didn’t have any suitable traction for it. With a quick look through my collection of Bachmann Class 47’s, and some research time spent on class47.co.uk, a suitable doner loco was found.
The base model for this project
The base model for this project was Bachmann 31-660A 47 444 ‘University of Nottingham’, and once the body was seperated from the chassis, work began on removing the numbers.
This model has a round boiler plate cover, so that was shaved off using a sharp scalpel, and a replacement square etched brass boiler plate was fitted. This was supplied by Shawplan, part number EEDP47-15.
New etch boiler blanking plate fitted and primed.
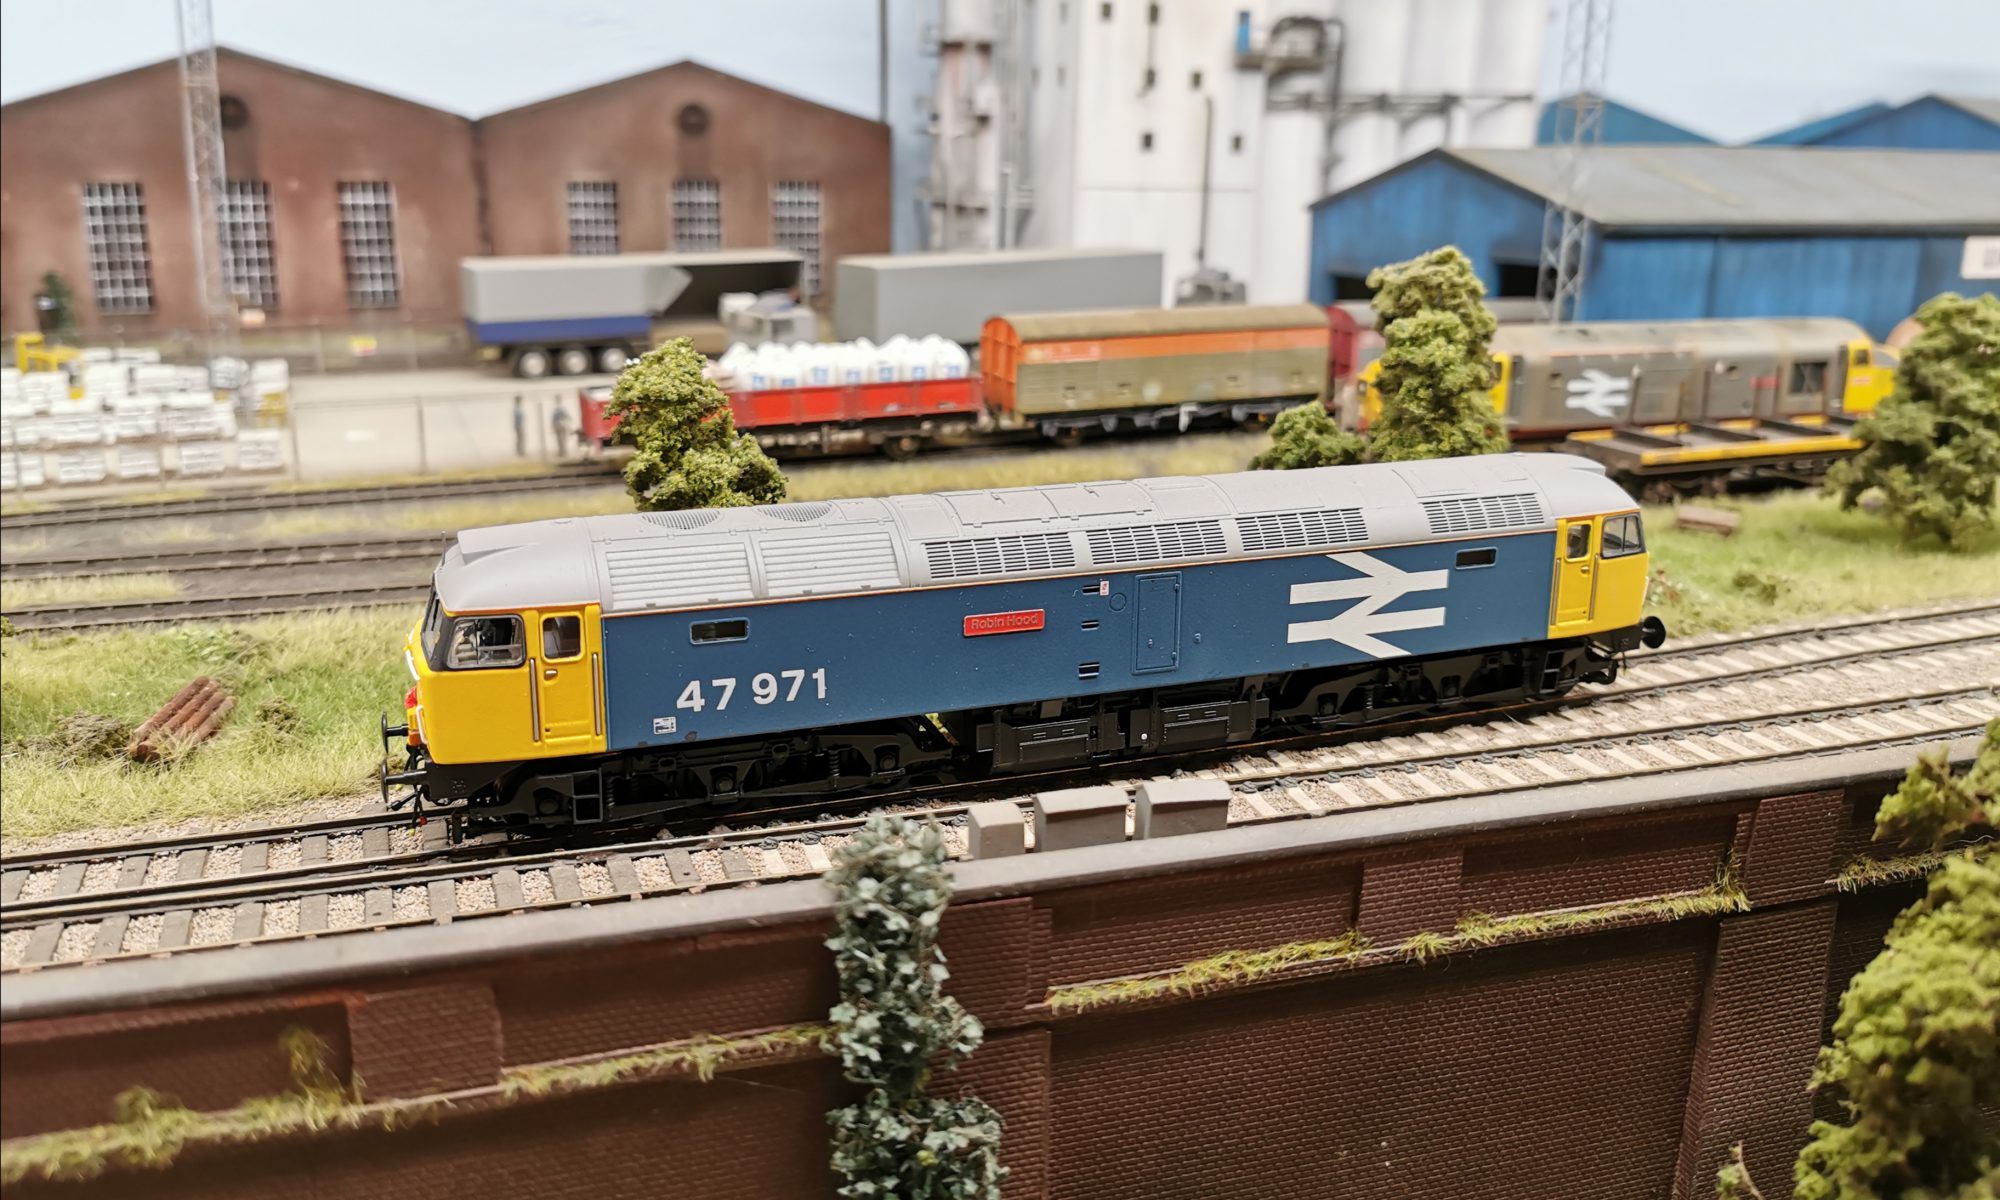
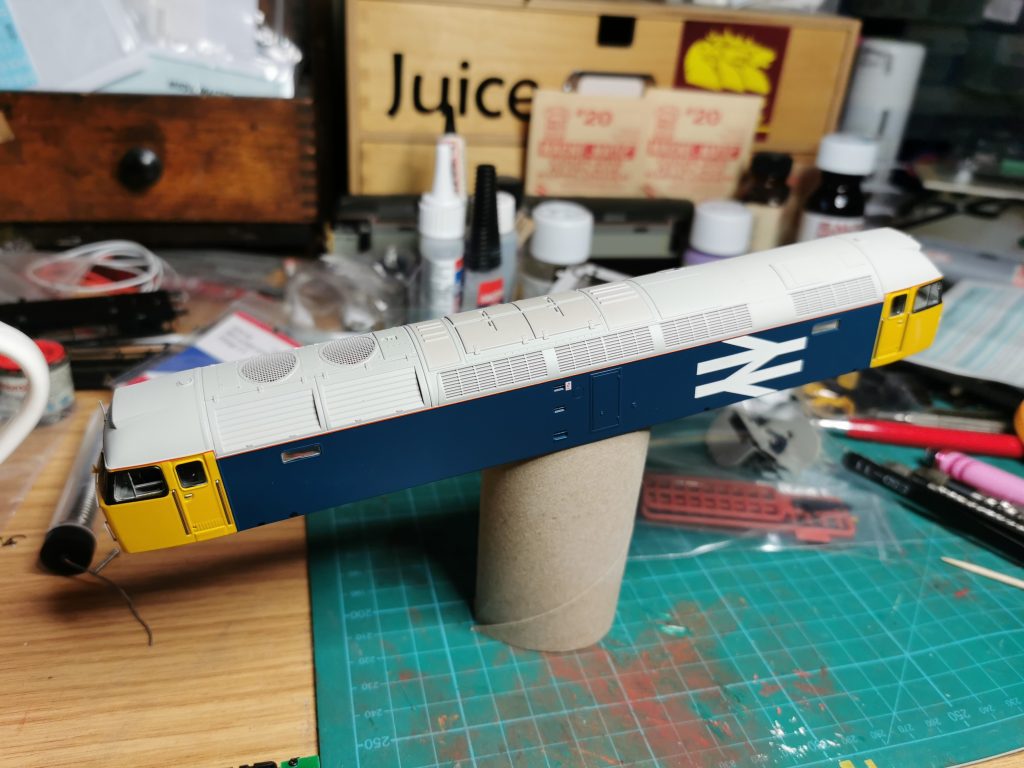
47 971 has a non standard darker colour grey roof, so the next job was to mask up and respray it. I sprayed the etched roof details with white Etch Primer first, and after studying further photos of the prototype, I decided to paint the roof with Games Workshop Dawnstone Grey.
I then turned my attention to the cab fronts. While sorting through the spares box, I found a pack of Shawplan white metal MU fittings. I don’t think they are available anymore, and I think I bought them of Graham Shaw many years ago at Wolverhampton Model Railway Club’s exhibition. Anyway, a pilot hole was drilled and the MU fitting was painted before fitting using Games Workshop Jokaero Orange. The bufferbeam details were then added, with Romford screw link couplings and the fuel tank was swapped for the correct one for this loco.
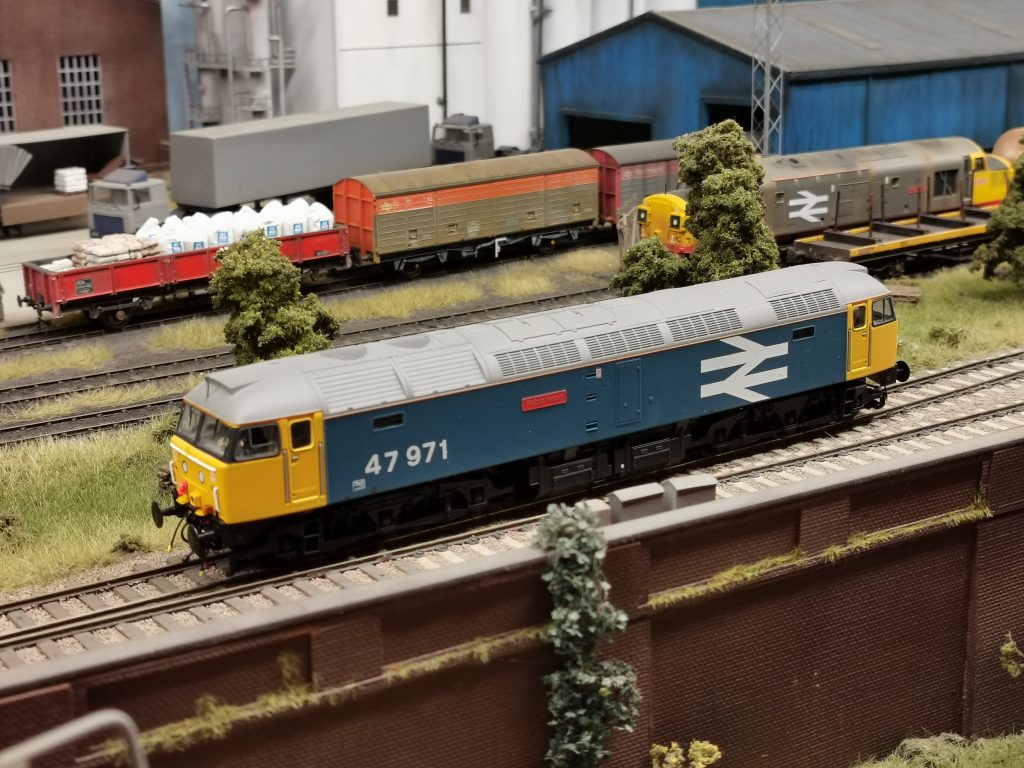
The loco now received an acrylic gloss varnish, ready for Railtec Transfers. I used left over parts from other transfer sheets, but Railtec do a complete sheet for this loco. Note the numbers on the prototype are wonky and spaced further apart than normal! Once left to dry over night, a coat of acrylic matt varnish was applied. The loco just requires weathering to finish, but I’ll leave that for another day.